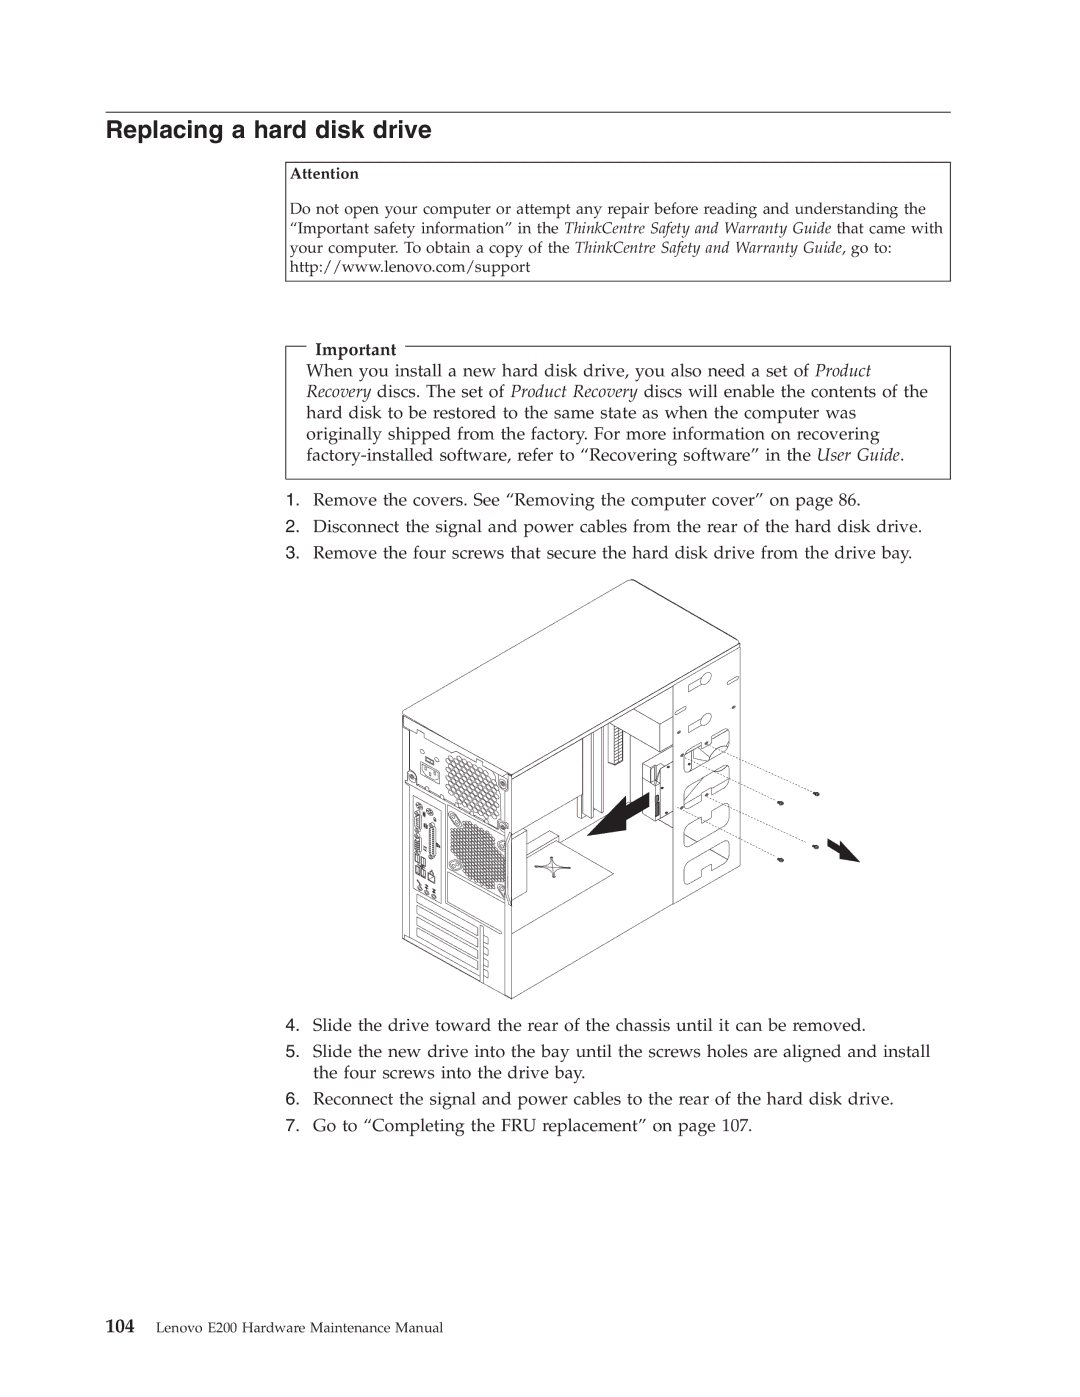
E200 specifications
The Lenovo E200 is a versatile and compact laptop designed for both professional and personal use. With a focus on performance, portability, and connectivity, the E200 serves as an ideal computing solution for users seeking reliability and functionality without sacrificing style.At the heart of the Lenovo E200 lies an efficient processor that ensures smooth multitasking and quick application responses. It typically comes equipped with options ranging from Intel Core i3 to Core i7, catering to various user needs from casual browsing to more demanding tasks like content creation and data analysis. The laptop's memory configurations can be customized, offering ample RAM for users who require more memory for intensive applications.
One of the standout features of the E200 is its vibrant display. The laptop is equipped with a high-definition screen that delivers exceptional color accuracy and brightness, making it perfect for streaming videos, editing photos, or simply enjoying your favorite content. The thin bezels around the display contribute to a modern design by maximizing the viewing area, further enhancing the user experience.
Beyond its display, the E200 also emphasizes connectivity options. It includes multiple USB ports, including USB-C, allowing for fast data transfer and easy connection to peripheral devices. The inclusion of HDMI and Ethernet ports ensures that users can easily connect to external displays and wired networks. Additionally, built-in Wi-Fi 6 technology provides faster internet connections and improves overall connectivity, making it ideal for both office and home environments.
Portability is another critical aspect of the Lenovo E200. Weighing just under 4 pounds and featuring a slim profile, it can easily fit into a backpack or briefcase, allowing users to take it on the go. The battery life is impressive for a laptop in this category, often lasting a full day on a single charge, which is a crucial feature for busy professionals who need a reliable work companion.
Security is also prioritized in the E200 with features like a fingerprint reader and optional IR camera for facial recognition. These technologies provide users with secure and convenient login options, ensuring that sensitive information remains protected.
In summary, the Lenovo E200 is a well-rounded laptop that excels in performance, connectivity, and portability. With its powerful processors, stunning display, and advanced security features, it is tailored for both professionals and casual users who value efficiency and style in their computing experience. Whether for work, study, or leisure, the Lenovo E200 stands out as a reliable choice.

