6 | LEARNING TO WELD | 6 |
|
|
|
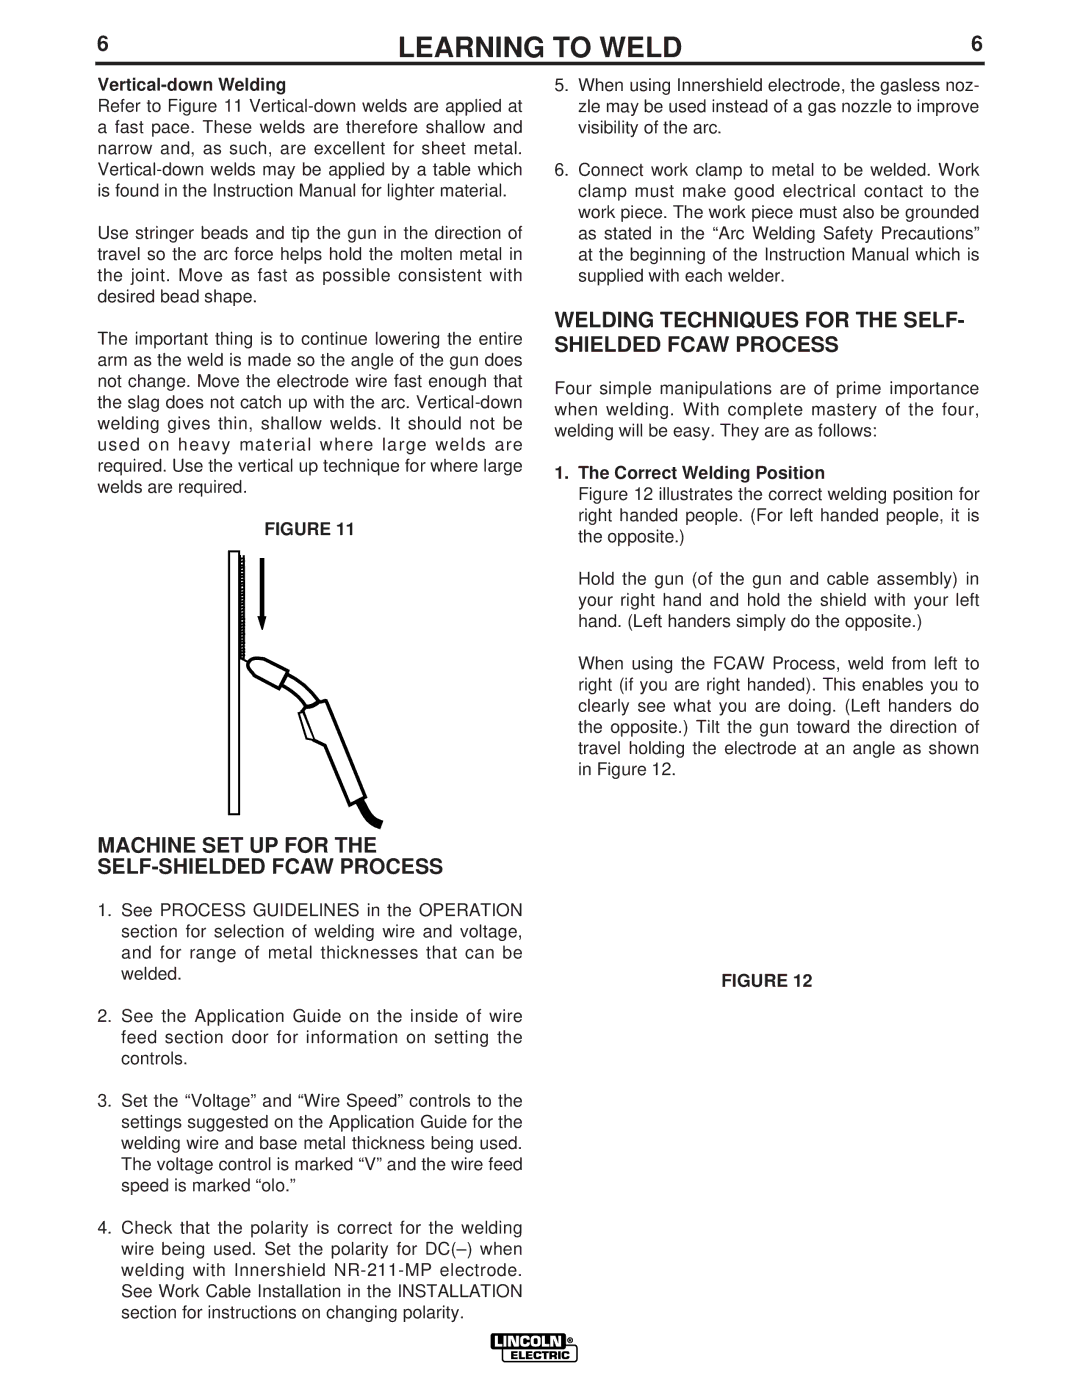
Vertical-down Welding
Refer to Figure 11
Use stringer beads and tip the gun in the direction of travel so the arc force helps hold the molten metal in the joint. Move as fast as possible consistent with desired bead shape.
The important thing is to continue lowering the entire arm as the weld is made so the angle of the gun does not change. Move the electrode wire fast enough that the slag does not catch up with the arc.
FIGURE 11
5.When using Innershield electrode, the gasless noz- zle may be used instead of a gas nozzle to improve visibility of the arc.
6.Connect work clamp to metal to be welded. Work clamp must make good electrical contact to the work piece. The work piece must also be grounded as stated in the “Arc Welding Safety Precautions” at the beginning of the Instruction Manual which is supplied with each welder.
WELDING TECHNIQUES FOR THE SELF- SHIELDED FCAW PROCESS
Four simple manipulations are of prime importance when welding. With complete mastery of the four, welding will be easy. They are as follows:
1.The Correct Welding Position
Figure 12 illustrates the correct welding position for right handed people. (For left handed people, it is the opposite.)
Hold the gun (of the gun and cable assembly) in your right hand and hold the shield with your left hand. (Left handers simply do the opposite.)
When using the FCAW Process, weld from left to right (if you are right handed). This enables you to clearly see what you are doing. (Left handers do the opposite.) Tilt the gun toward the direction of travel holding the electrode at an angle as shown in Figure 12.
MACHINE SET UP FOR THE
SELF-SHIELDED FCAW PROCESS
1. See PROCESS GUIDELINES in the OPERATION |
|
section for selection of welding wire and voltage, |
|
and for range of metal thicknesses that can be |
|
welded. | FIGURE 12 |
|
2.See the Application Guide on the inside of wire feed section door for information on setting the controls.
3.Set the “Voltage” and “Wire Speed” controls to the settings suggested on the Application Guide for the welding wire and base metal thickness being used. The voltage control is marked “V” and the wire feed speed is marked “olo.”
4.Check that the polarity is correct for the welding wire being used. Set the polarity for