Troubleshooting
Chapter 4
Controller Remote Management and Troubleshooting
4.1 Remote Management of the Controller
The controller can be managed locally through the
The controller supports SNMP and allows the system to be remotely monitored.
4.1.1Network Connection
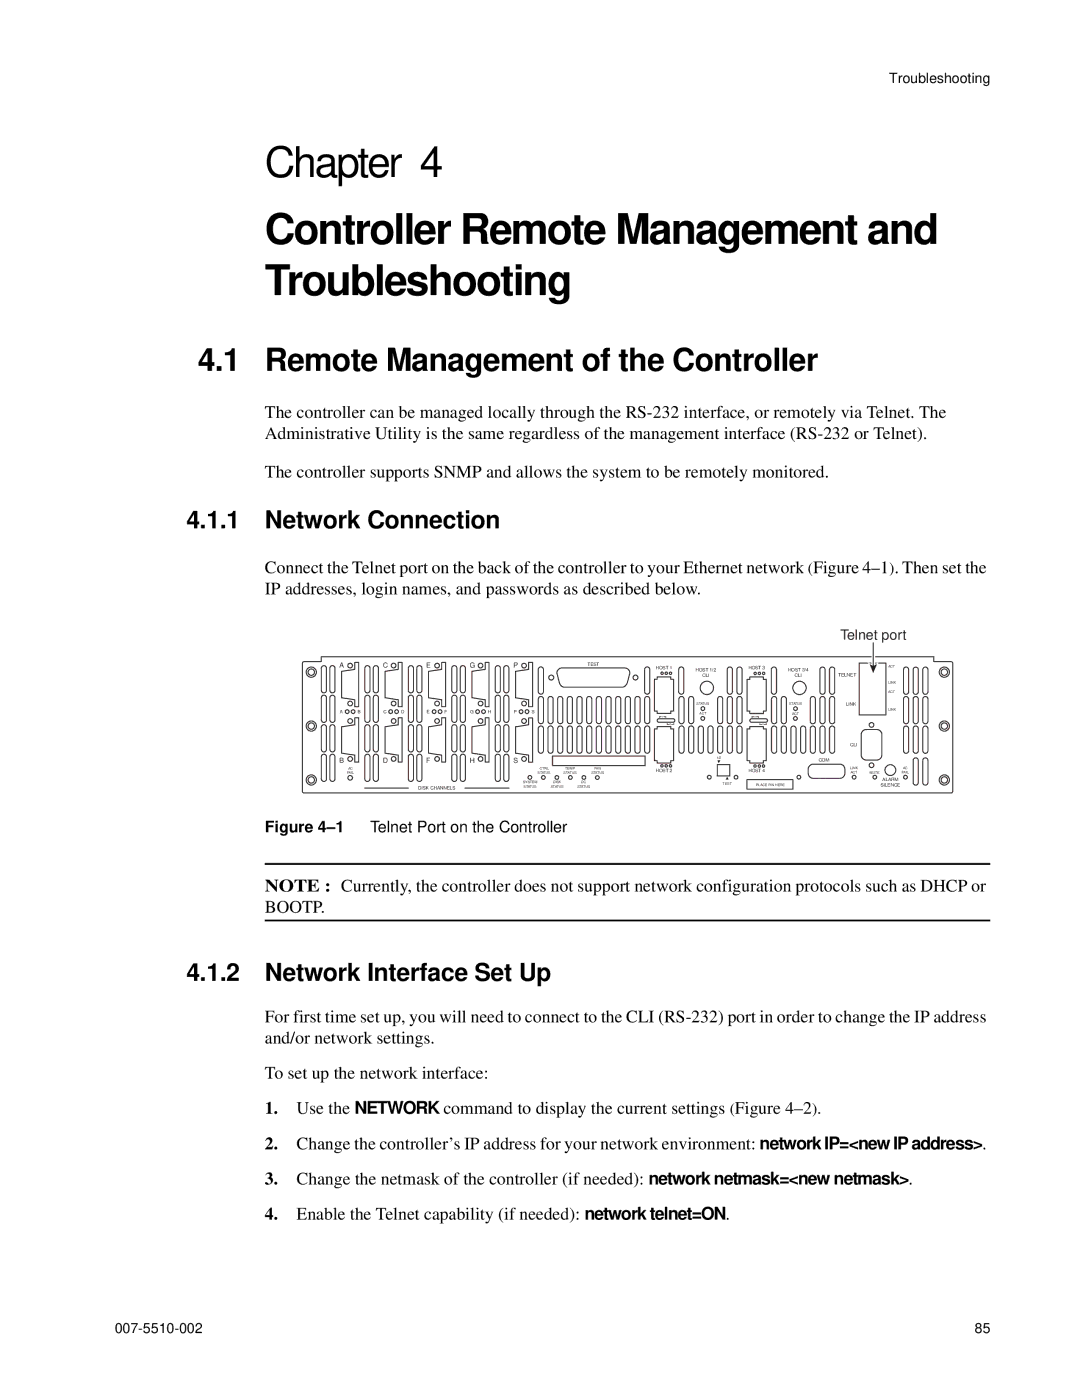
Connect the Telnet port on the back of the controller to your Ethernet network (Figure
A | C | E | G | P | TEST |
A B | C D | E F | G H | P | S |
B | D | F | H | S |
|
AC |
| CTRL | TEMP | FAN |
FAIL |
| STATUS | STATUS | STATUS |
| SYSTEM |
| DISK | DC |
DISK CHANNELS | STATUS |
| STATUS | STATUS |
|
|
|
|
Figure 4–1 Telnet Port on the Controller
HOST 1 | HOST 1/2 |
| CLI |
STATUS
ACT
1
2
1/2
HOST 2
TEST
|
| Telnet port | ||
HOST 3 | HOST 3/4 |
|
| ACT |
| CLI | TELNET |
|
|
|
|
|
| LINK |
|
|
|
| ACT |
| STATUS | LINK |
|
|
|
|
|
| LINK |
3 | ACT |
|
|
|
|
|
|
| |
4 |
|
|
|
|
|
| CLI |
|
|
|
| COM |
|
|
HOST 4 |
| LINK |
| AC |
| ACT | MUTE | FAIL | |
|
|
|
| ALARM |
PLACE PIN HERE |
|
|
| SILENCE |
NOTE : Currently, the controller does not support network configuration protocols such as DHCP or
BOOTP.
4.1.2Network Interface Set Up
For first time set up, you will need to connect to the CLI
To set up the network interface:
1.Use the NETWORK command to display the current settings (Figure
2.Change the controller’s IP address for your network environment: network IP=<new IP address>.
3.Change the netmask of the controller (if needed): network netmask=<new netmask>.
4.Enable the Telnet capability (if needed): network telnet=ON.
85 |