Instant EtherFast® Series
The NetWare Page
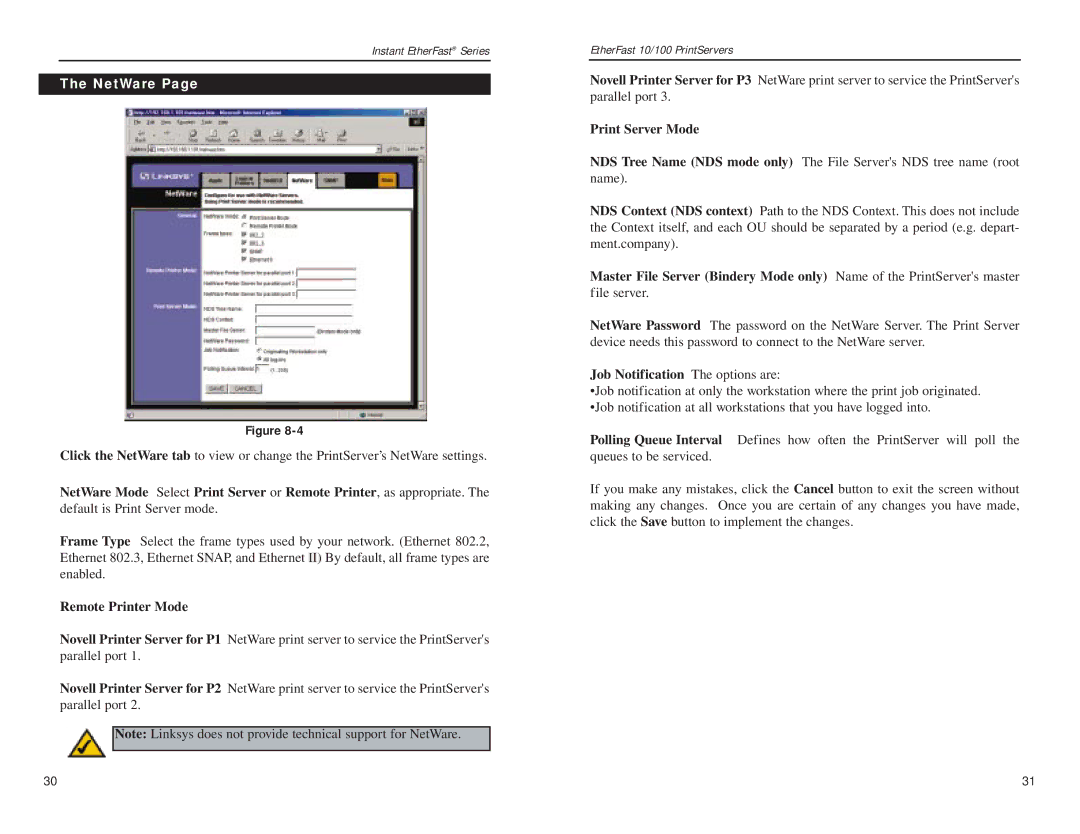
Figure
Click the NetWare tab to view or change the PrintServer’s NetWare settings.
NetWare Mode Select Print Server or Remote Printer, as appropriate. The default is Print Server mode.
Frame Type Select the frame types used by your network. (Ethernet 802.2, Ethernet 802.3, Ethernet SNAP, and Ethernet II) By default, all frame types are enabled.
Remote Printer Mode
Novell Printer Server for P1 NetWare print server to service the PrintServer's parallel port 1.
Novell Printer Server for P2 NetWare print server to service the PrintServer's parallel port 2.
Note: Linksys does not provide technical support for NetWare.
EtherFast 10/100 PrintServers
Novell Printer Server for P3 NetWare print server to service the PrintServer's parallel port 3.
Print Server Mode
NDS Tree Name (NDS mode only) The File Server's NDS tree name (root name).
NDS Context (NDS context) Path to the NDS Context. This does not include the Context itself, and each OU should be separated by a period (e.g. depart- ment.company).
Master File Server (Bindery Mode only) Name of the PrintServer's master
file server.
NetWare Password The password on the NetWare Server. The Print Server device needs this password to connect to the NetWare server.
Job Notification The options are:
•Job notification at only the workstation where the print job originated. •Job notification at all workstations that you have logged into.
Polling Queue Interval Defines how often the PrintServer will poll the queues to be serviced.
If you make any mistakes, click the Cancel button to exit the screen without making any changes. Once you are certain of any changes you have made, click the Save button to implement the changes.
30 | 31 |