Instant EtherFast® Series
The 3-Port PrintServer’s Ports
| Figure |
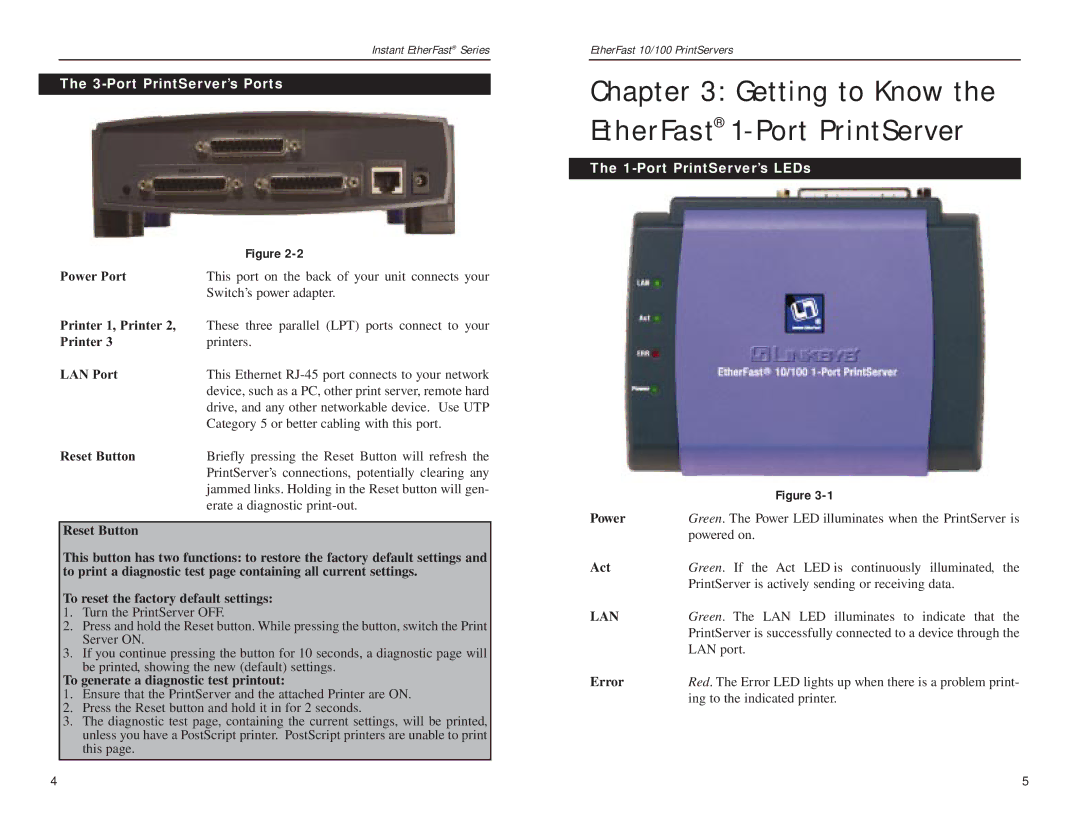
Power Port | This port on the back of your unit connects your |
| Switch’s power adapter. |
Printer 1, Printer 2, | These three parallel (LPT) ports connect to your |
Printer 3 | printers. |
LAN Port | This Ethernet |
| device, such as a PC, other print server, remote hard |
| drive, and any other networkable device. Use UTP |
| Category 5 or better cabling with this port. |
Reset Button | Briefly pressing the Reset Button will refresh the |
| PrintServer’s connections, potentially clearing any |
| jammed links. Holding in the Reset button will gen- |
| erate a diagnostic |
|
|
Reset Button |
|
This button has two functions: to restore the factory default settings and to print a diagnostic test page containing all current settings.
To reset the factory default settings:
1.Turn the PrintServer OFF.
2.Press and hold the Reset button. While pressing the button, switch the Print Server ON.
3.If you continue pressing the button for 10 seconds, a diagnostic page will be printed, showing the new (default) settings.
To generate a diagnostic test printout:
1.Ensure that the PrintServer and the attached Printer are ON.
2.Press the Reset button and hold it in for 2 seconds.
3.The diagnostic test page, containing the current settings, will be printed, unless you have a PostScript printer. PostScript printers are unable to print this page.
EtherFast 10/100 PrintServers
Chapter 3: Getting to Know the EtherFast® 1-Port PrintServer
The 1-Port PrintServer’s LEDs
| Figure |
Power | Green. The Power LED illuminates when the PrintServer is |
| powered on. |
Act | Green. If the Act LED is continuously illuminated, the |
| PrintServer is actively sending or receiving data. |
LAN | Green. The LAN LED illuminates to indicate that the |
| PrintServer is successfully connected to a device through the |
| LAN port. |
Error | Red. The Error LED lights up when there is a problem print- |
| ing to the indicated printer. |
4 | 5 |
