LMF-400: EP-60R
Configuration & Calibration
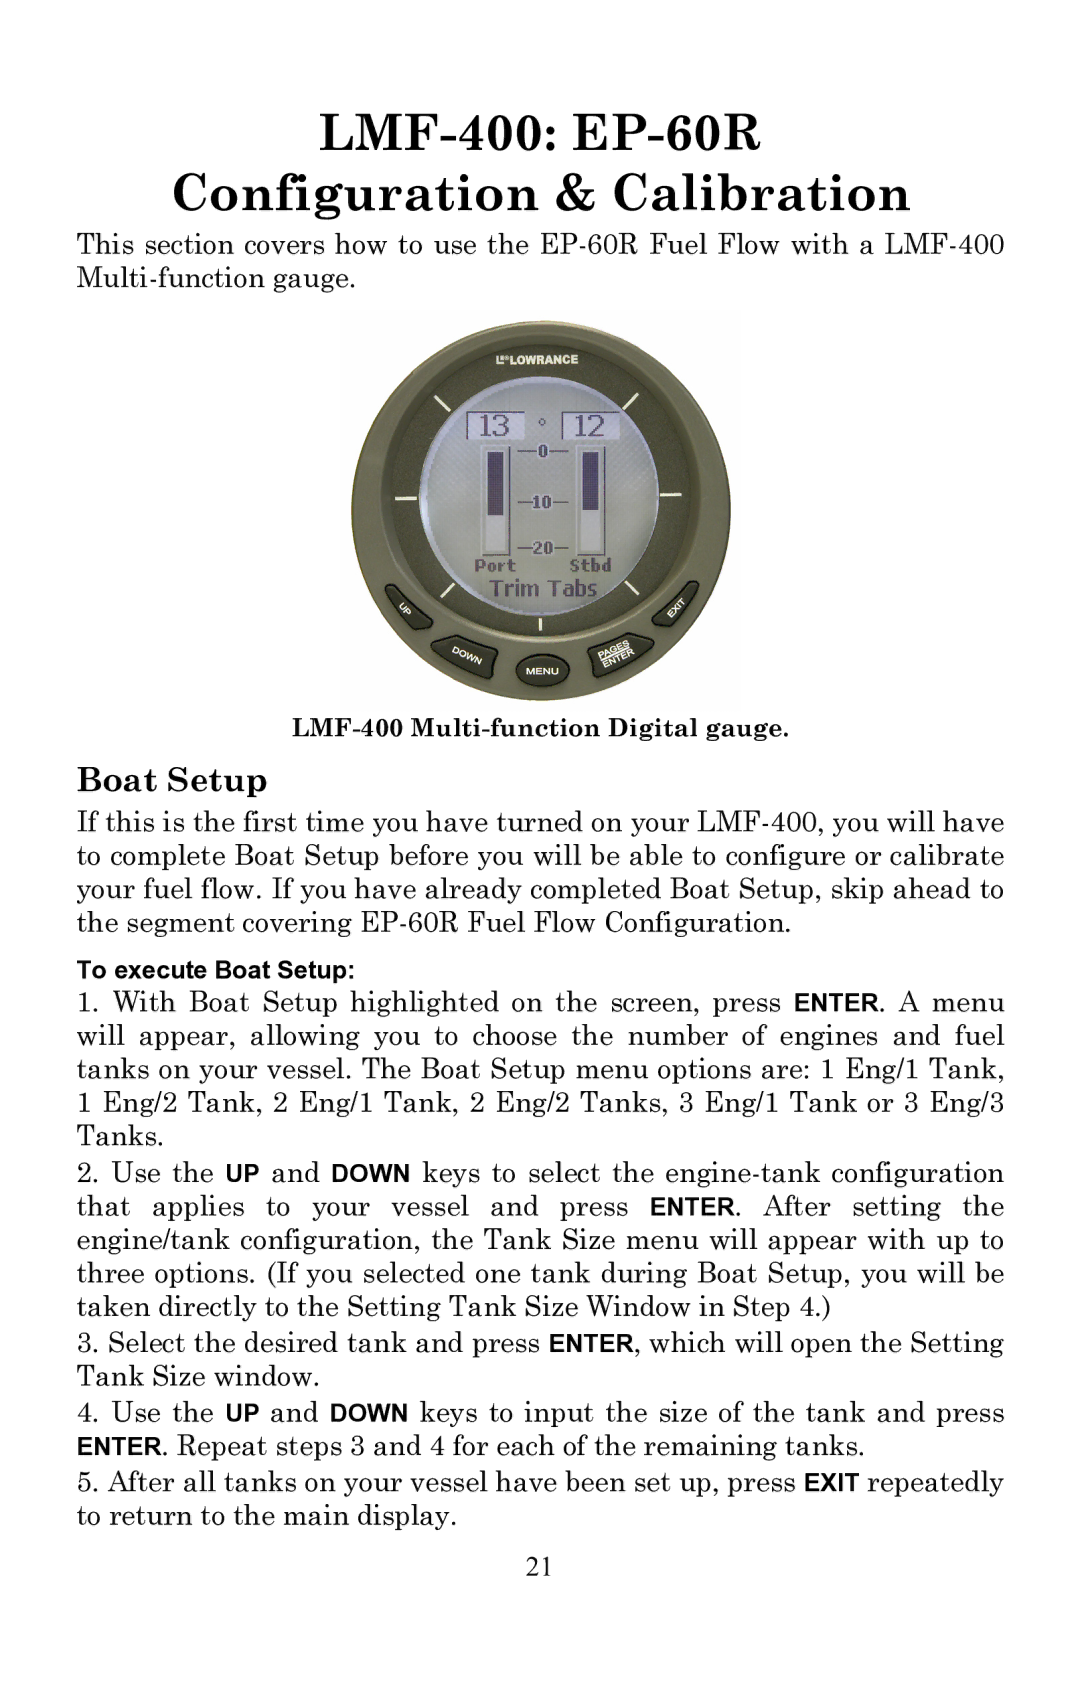
This section covers how to use the
Boat Setup
If this is the first time you have turned on your
To execute Boat Setup:
1.With Boat Setup highlighted on the screen, press ENTER. A menu will appear, allowing you to choose the number of engines and fuel tanks on your vessel. The Boat Setup menu options are: 1 Eng/1 Tank,
1Eng/2 Tank, 2 Eng/1 Tank, 2 Eng/2 Tanks, 3 Eng/1 Tank or 3 Eng/3 Tanks.
2.Use the UP and DOWN keys to select the
3.Select the desired tank and press ENTER, which will open the Setting Tank Size window.
4.Use the UP and DOWN keys to input the size of the tank and press ENTER. Repeat steps 3 and 4 for each of the remaining tanks.
5.After all tanks on your vessel have been set up, press EXIT repeatedly to return to the main display.
21