Memorex E-IDE software manual Physical Installation of Your NEW DVD Recorder, Cable.10

Models: E-IDE

1 27
Download 27 pages 33.73 Kb
Page 6
Image 6

MASTER - Leave the jumper switch on the MASTER position if:

You'll be replacing your system's existing CD-ROM drive with your new Memorex DVD recorder. In this case you need to disconnect your CD-ROM drive's secondary IDE con- troller cable and power cable and then plug in the new Memorex DVD recorder using the same IDE controller cable connector and power cable.

You will be adding your new Memorex DVD drive to an existing drive that will become the SLAVE recorder. The MASTER recorder is connected to the last IDE connector on a 3- connector IDE cable, and the SLAVE recorder is connected to the middle connector. Remove the existing CD-ROM drive from its IDE cable and power cable connections and change its jumper setting to SLAVE. Reconnect the CD-ROM drive to the middle connec- tor on the multi-ribbon IDE cable and connect the Memorex DVD drive to the last IDE connector as the MASTER. (The MASTER drive is typically the faster drive in a pair).

Your new Memorex DVD drive will be used in a special application with multiple Memorex DVD recorders. In this case only one drive can be the MASTER. All other drives connected to the same cable should have SLAVE settings.

This drive will be the only IDE drive installed in the computer. This is unusual unless your computer is using a SCSI hard disk drive and a SCSI CD-ROM drive.

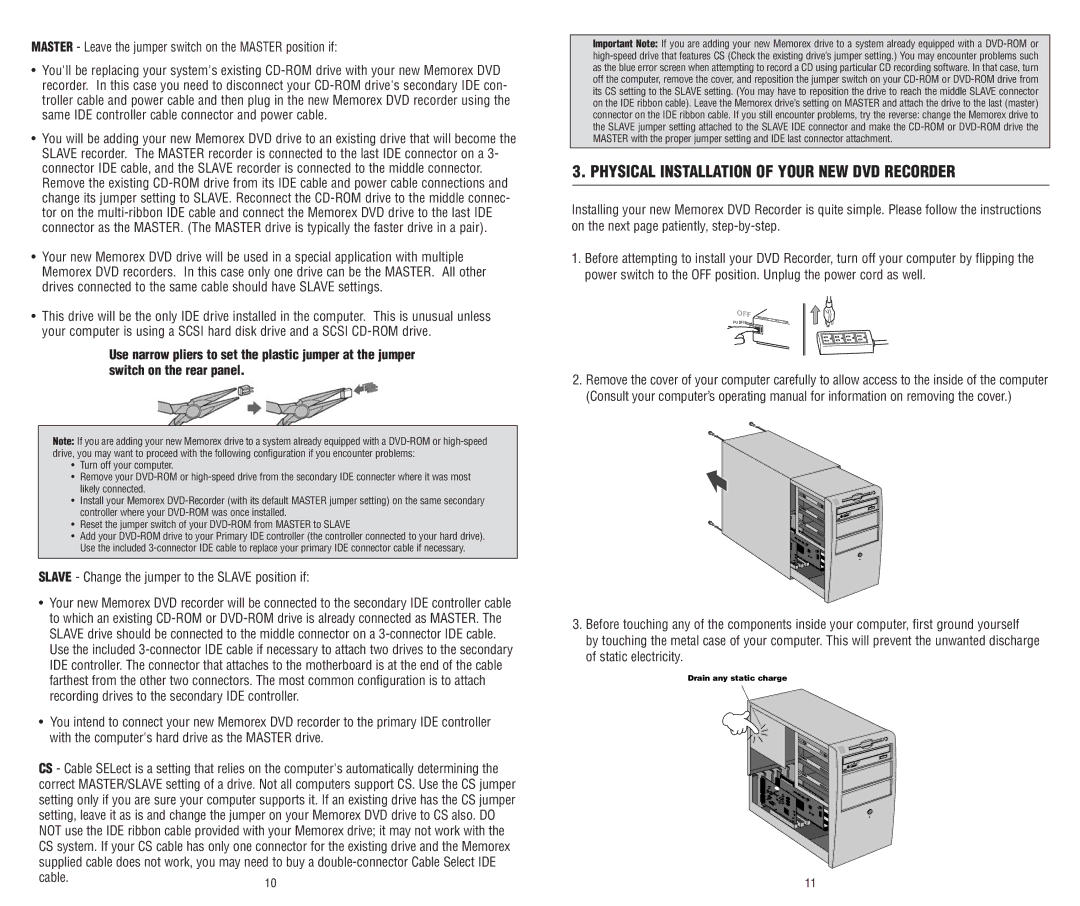
Use narrow pliers to set the plastic jumper at the jumper switch on the rear panel.

Note: If you are adding your new Memorex drive to a system already equipped with a DVD-ROM or high-speed drive, you may want to proceed with the following configuration if you encounter problems:

Turn off your computer.

Remove your DVD-ROM or high-speed drive from the secondary IDE connecter where it was most likely connected.

Install your Memorex DVD-Recorder (with its default MASTER jumper setting) on the same secondary controller where your DVD-ROM was once installed.

Reset the jumper switch of your DVD-ROM from MASTER to SLAVE

Add your DVD-ROM drive to your Primary IDE controller (the controller connected to your hard drive). Use the included 3-connector IDE cable to replace your primary IDE connector cable if necessary.

SLAVE - Change the jumper to the SLAVE position if:

Your new Memorex DVD recorder will be connected to the secondary IDE controller cable to which an existing CD-ROM or DVD-ROM drive is already connected as MASTER. The SLAVE drive should be connected to the middle connector on a 3-connector IDE cable. Use the included 3-connector IDE cable if necessary to attach two drives to the secondary IDE controller. The connector that attaches to the motherboard is at the end of the cable farthest from the other two connectors. The most common configuration is to attach recording drives to the secondary IDE controller.

You intend to connect your new Memorex DVD recorder to the primary IDE controller with the computer's hard drive as the MASTER drive.

CS - Cable SELect is a setting that relies on the computer's automatically determining the correct MASTER/SLAVE setting of a drive. Not all computers support CS. Use the CS jumper setting only if you are sure your computer supports it. If an existing drive has the CS jumper setting, leave it as is and change the jumper on your Memorex DVD drive to CS also. DO NOT use the IDE ribbon cable provided with your Memorex drive; it may not work with the CS system. If your CS cable has only one connector for the existing drive and the Memorex supplied cable does not work, you may need to buy a double-connector Cable Select IDE

cable.10

Important Note: If you are adding your new Memorex drive to a system already equipped with a DVD-ROM or high-speed drive that features CS (Check the existing drive’s jumper setting.) You may encounter problems such as the blue error screen when attempting to record a CD using particular CD recording software. In that case, turn off the computer, remove the cover, and reposition the jumper switch on your CD-ROM or DVD-ROM drive from its CS setting to the SLAVE setting. (You may have to reposition the drive to reach the middle SLAVE connector on the IDE ribbon cable). Leave the Memorex drive’s setting on MASTER and attach the drive to the last (master) connector on the IDE ribbon cable. If you still encounter problems, try the reverse: change the Memorex drive to the SLAVE jumper setting attached to the SLAVE IDE connector and make the CD-ROM or DVD-ROM drive the MASTER with the proper jumper setting and IDE last connector attachment.

3. PHYSICAL INSTALLATION OF YOUR NEW DVD RECORDER

Installing your new Memorex DVD Recorder is quite simple. Please follow the instructions on the next page patiently, step-by-step.

1.Before attempting to install your DVD Recorder, turn off your computer by flipping the power switch to the OFF position. Unplug the power cord as well.

PUSH

2.Remove the cover of your computer carefully to allow access to the inside of the computer (Consult your computer’s operating manual for information on removing the cover.)

3.Before touching any of the components inside your computer, first ground yourself

by touching the metal case of your computer. This will prevent the unwanted discharge of static electricity.

Drain any static charge

11

Page 6
Image 6
Memorex E-IDE Physical Installation of Your NEW DVD Recorder, Master Leave the jumper switch on the Master position if