Operation
This chapter shows each of the menu options and how they are used.
COPY Quick
1. Copy
Button
The Copy menu option or the front panel Copy quick key have two different modes of operation:
¾Single Master Mode: This mode requires that a single master disc is loaded onto the hard drive prior to initiating the duplication process. This mode is ideal if your job involves one or very few master disc(s).
¾Multi Master Mode (Batch Mode): This mode does not require you to manually load your master. Simply place the master disc(s) on top of the stack of blank discs needed for that particular job of the master disc. This mode is ideal if you have numerous master discs and fewer copies for each master disc.
These modes are described in detail in Single Master and Multi Master Modes on page 11. If you are making copies in Single Master Mode, continue on to the next section. If you are making copies in Multi Master Mode, jump ahead to Making Copies in Multi Master Mode on page 16.
You can press either the ![]() Single Master or
Single Master or ![]() Multi Master Quick Buttons to eliminate the need of going into the Master Mode menu.
Multi Master Quick Buttons to eliminate the need of going into the Master Mode menu.
1.1 Making Copies in Single Master Mode
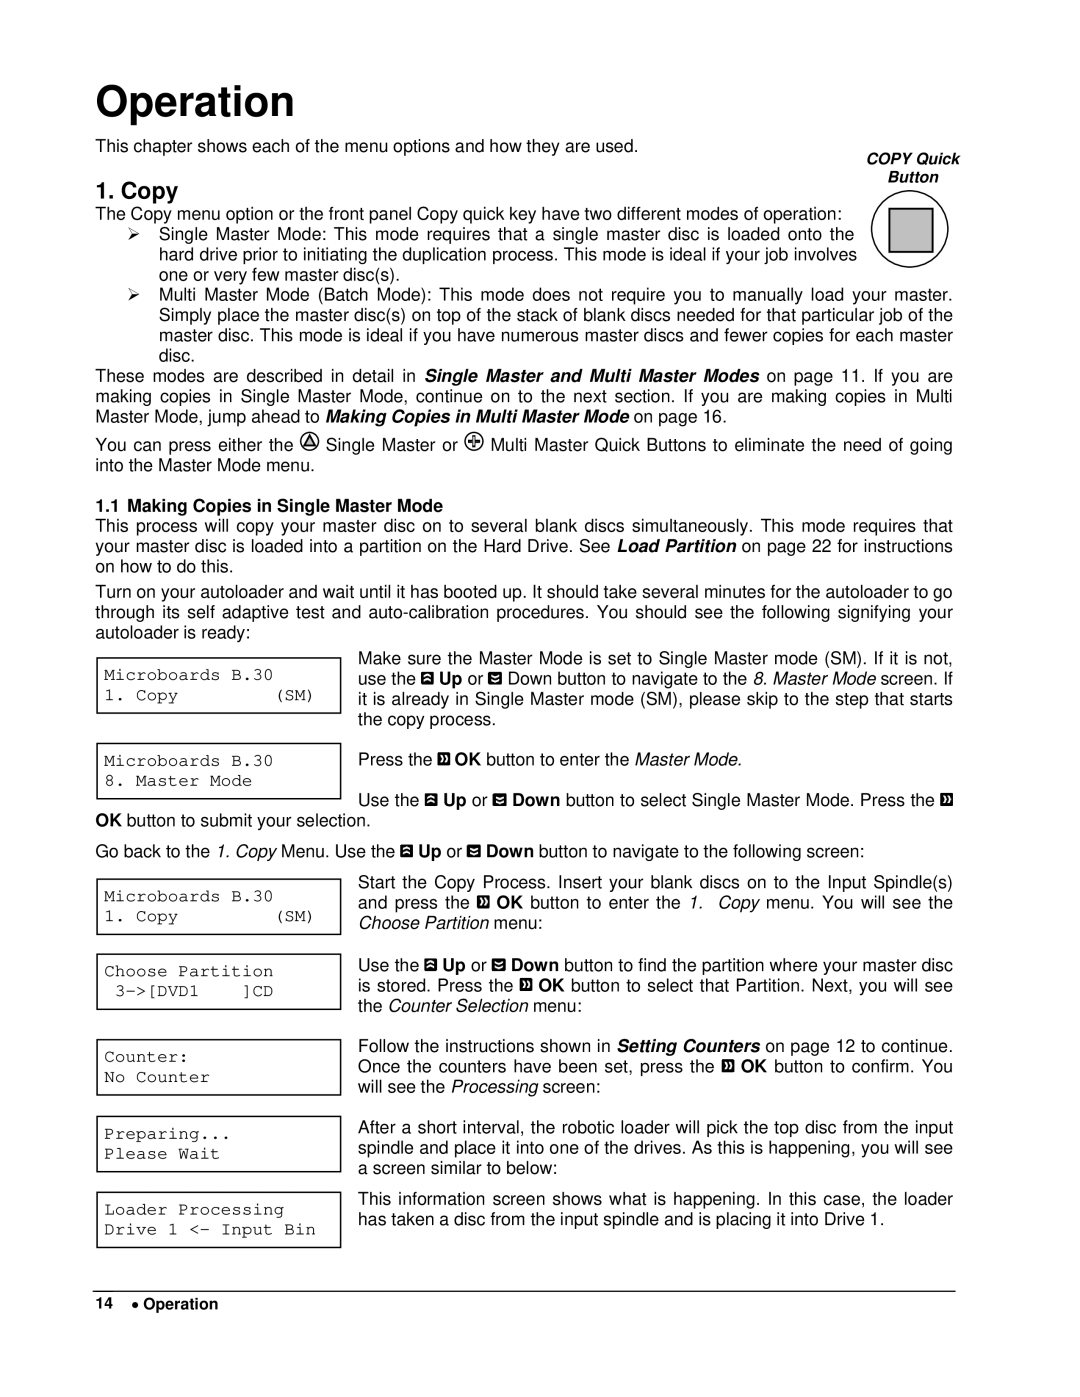
This process will copy your master disc on to several blank discs simultaneously. This mode requires that your master disc is loaded into a partition on the Hard Drive. See Load Partition on page 22 for instructions on how to do this.
Turn on your autoloader and wait until it has booted up. It should take several minutes for the autoloader to go through its self adaptive test and
Microboards B.30
1. Copy | (SM) |
Make sure the Master Mode is set to Single Master mode (SM). If it is not, use the ![]() Up or
Up or ![]() Down button to navigate to the 8. Master Mode screen. If it is already in Single Master mode (SM), please skip to the step that starts the copy process.
Down button to navigate to the 8. Master Mode screen. If it is already in Single Master mode (SM), please skip to the step that starts the copy process.
Microboards B.30 | Press the OK button to enter the Master Mode. |
8. Master Mode |
|
Use the ![]() Up or
Up or ![]() Down button to select Single Master Mode. Press the
Down button to select Single Master Mode. Press the ![]() OK button to submit your selection.
OK button to submit your selection.
Go back to the 1. Copy Menu. Use the ![]() Up or
Up or ![]() Down button to navigate to the following screen:
Down button to navigate to the following screen:
Microboards B.30
1. Copy | (SM) |
Choose Partition
Counter:
No Counter
Preparing...
Please Wait
Start the Copy Process. Insert your blank discs on to the Input Spindle(s) and press the ![]() OK button to enter the 1. Copy menu. You will see the Choose Partition menu:
OK button to enter the 1. Copy menu. You will see the Choose Partition menu:
Use the ![]() Up or
Up or ![]() Down button to find the partition where your master disc is stored. Press the
Down button to find the partition where your master disc is stored. Press the ![]() OK button to select that Partition. Next, you will see the Counter Selection menu:
OK button to select that Partition. Next, you will see the Counter Selection menu:
Follow the instructions shown in Setting Counters on page 12 to continue. Once the counters have been set, press the ![]() OK button to confirm. You will see the Processing screen:
OK button to confirm. You will see the Processing screen:
After a short interval, the robotic loader will pick the top disc from the input spindle and place it into one of the drives. As this is happening, you will see a screen similar to below:
Loader Processing Drive 1 <- Input Bin
This information screen shows what is happening. In this case, the loader has taken a disc from the input spindle and is placing it into Drive 1.
14 • Operation
