3. Compare
Use the Compare function to perform a
Note: The
If you are at the 1. Copy Menu, do the following:
Microboards B.30
1. Copy | (MM) |
| |
Microboards B.30 | |
3. Compare |
|
| |
Choose Partition | |
]DVD | |
Counter:
No Counter
Use the ![]() Up or
Up or ![]() Down button to find the 3. Compare menu.
Down button to find the 3. Compare menu.
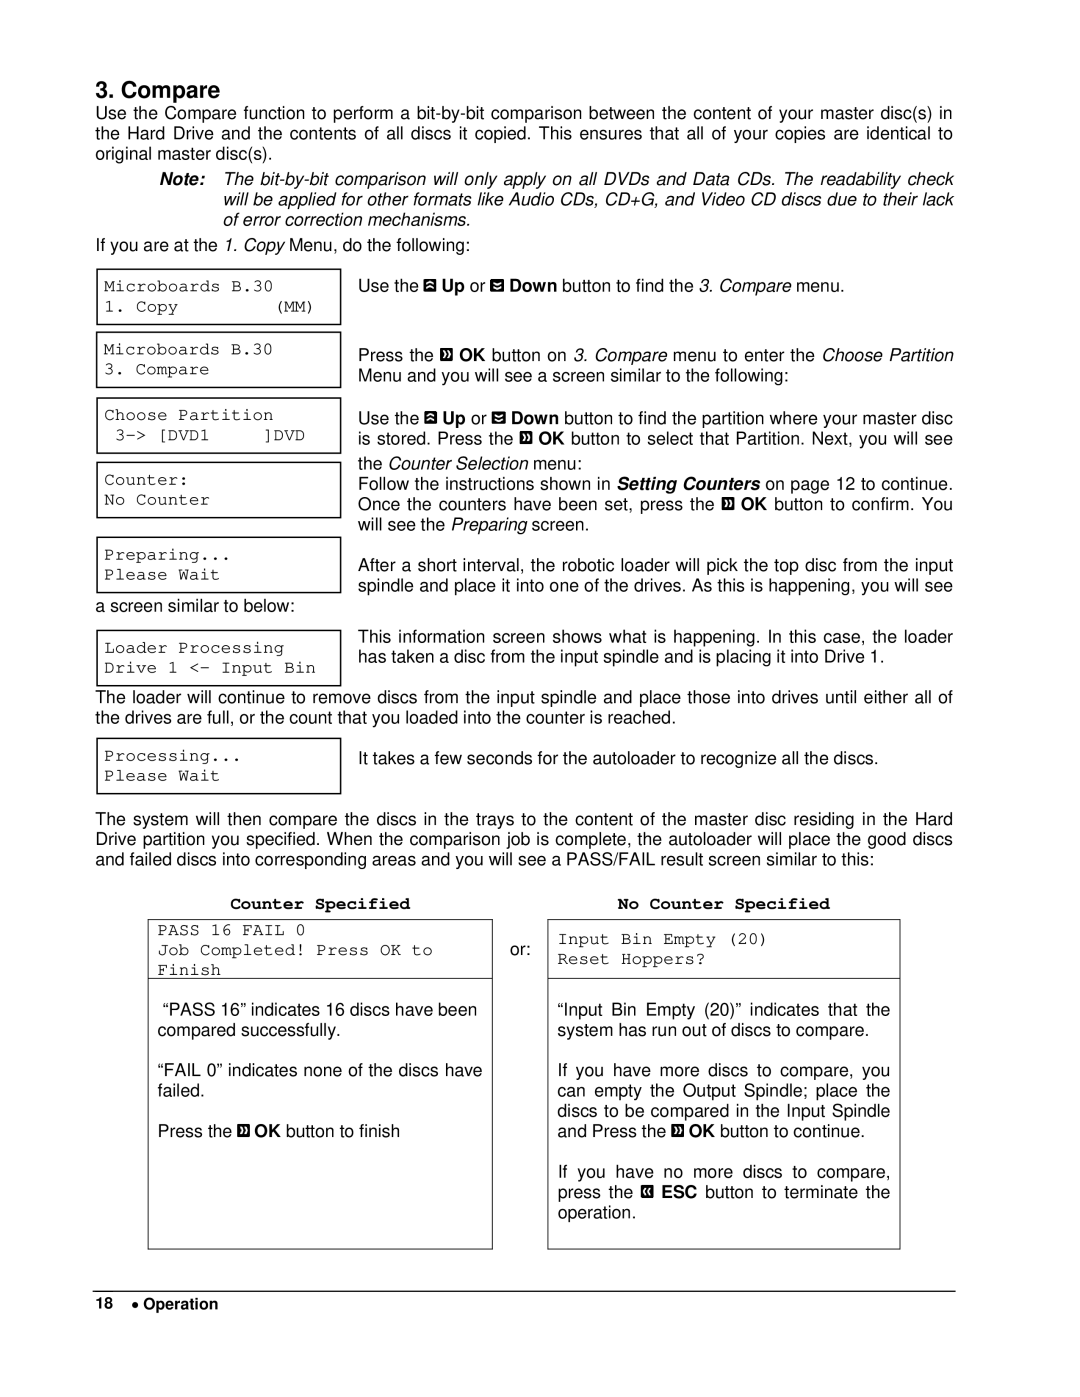
Press the ![]() OK button on 3. Compare menu to enter the Choose Partition Menu and you will see a screen similar to the following:
OK button on 3. Compare menu to enter the Choose Partition Menu and you will see a screen similar to the following:
Use the ![]() Up or
Up or ![]() Down button to find the partition where your master disc is stored. Press the
Down button to find the partition where your master disc is stored. Press the ![]() OK button to select that Partition. Next, you will see
OK button to select that Partition. Next, you will see
the Counter Selection menu:
Follow the instructions shown in Setting Counters on page 12 to continue. Once the counters have been set, press the ![]() OK button to confirm. You will see the Preparing screen.
OK button to confirm. You will see the Preparing screen.
Preparing...
Please Wait
a screen similar to below:
After a short interval, the robotic loader will pick the top disc from the input spindle and place it into one of the drives. As this is happening, you will see
Loader Processing Drive 1 <- Input Bin
This information screen shows what is happening. In this case, the loader has taken a disc from the input spindle and is placing it into Drive 1.
The loader will continue to remove discs from the input spindle and place those into drives until either all of the drives are full, or the count that you loaded into the counter is reached.
Processing...
Please Wait
It takes a few seconds for the autoloader to recognize all the discs.
The system will then compare the discs in the trays to the content of the master disc residing in the Hard Drive partition you specified. When the comparison job is complete, the autoloader will place the good discs and failed discs into corresponding areas and you will see a PASS/FAIL result screen similar to this:
Counter Specified
PASS 16 FAIL 0
Job Completed! Press OK to Finish
“PASS 16” indicates 16 discs have been compared successfully.
“FAIL 0” indicates none of the discs have failed.
Press the ![]() OK button to finish
OK button to finish
or:
No Counter Specified
Input Bin Empty (20)
Reset Hoppers?
“Input Bin Empty (20)” indicates that the system has run out of discs to compare.
If you have more discs to compare, you can empty the Output Spindle; place the discs to be compared in the Input Spindle and Press the ![]() OK button to continue.
OK button to continue.
If you have no more discs to compare, press the ![]() ESC button to terminate the operation.
ESC button to terminate the operation.
18 • Operation
