2
Hardware Installation 


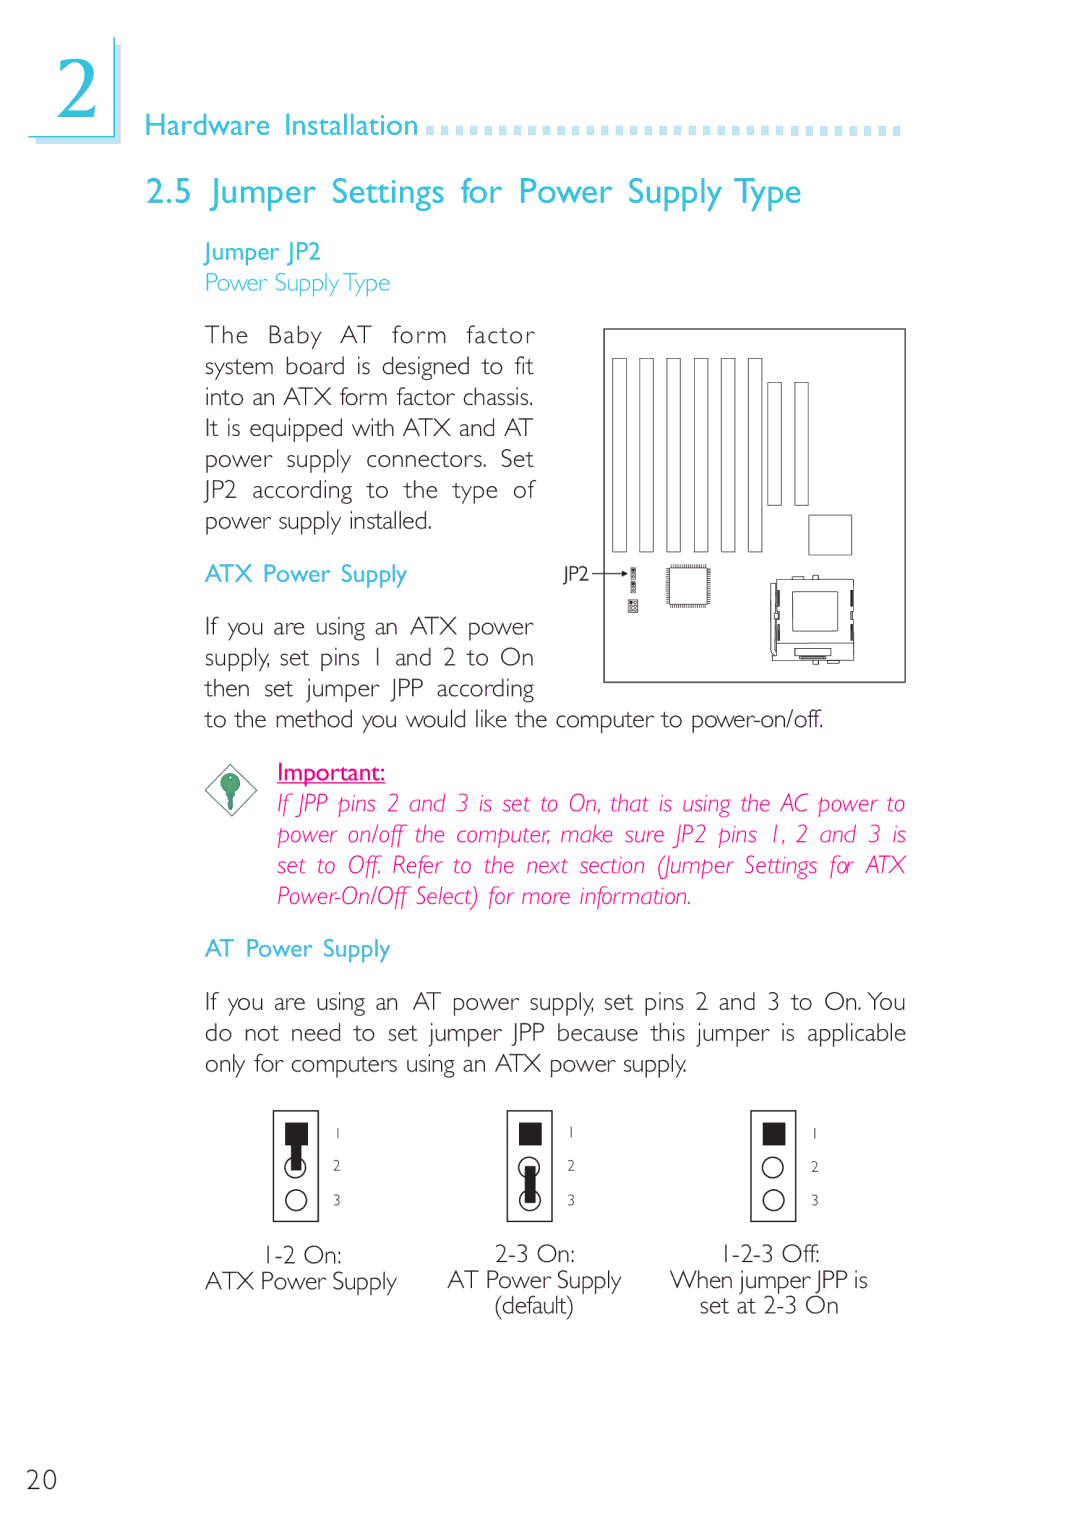
2.5 Jumper Settings for Power Supply Type
Jumper JP2
Power Supply Type
The Baby AT form factor system board is designed to fit into an ATX form factor chassis. It is equipped with ATX and AT power supply connectors. Set JP2 according to the type of power supply installed.
ATX Power Supply
If you are using an ATX power supply, set pins 1 and 2 to On
then set jumper JPP according
to the method you would like the computer to
Important:
If JPP pins 2 and 3 is set to On, that is using the AC power to power on/off the computer, make sure JP2 pins 1, 2 and 3 is set to Off. Refer to the next section (Jumper Settings for ATX
AT Power Supply
If you are using an AT power supply, set pins 2 and 3 to On. You do not need to set jumper JPP because this jumper is applicable only for computers using an ATX power supply.
1 | 1 | 1 |
2 | 2 | 2 |
3 | 3 | 3 |
ATX Power Supply | AT Power Supply | When jumper JPP is |
| (default) | set at |
20