BULB EXPOSURES
Bulb photographs can be taken in the
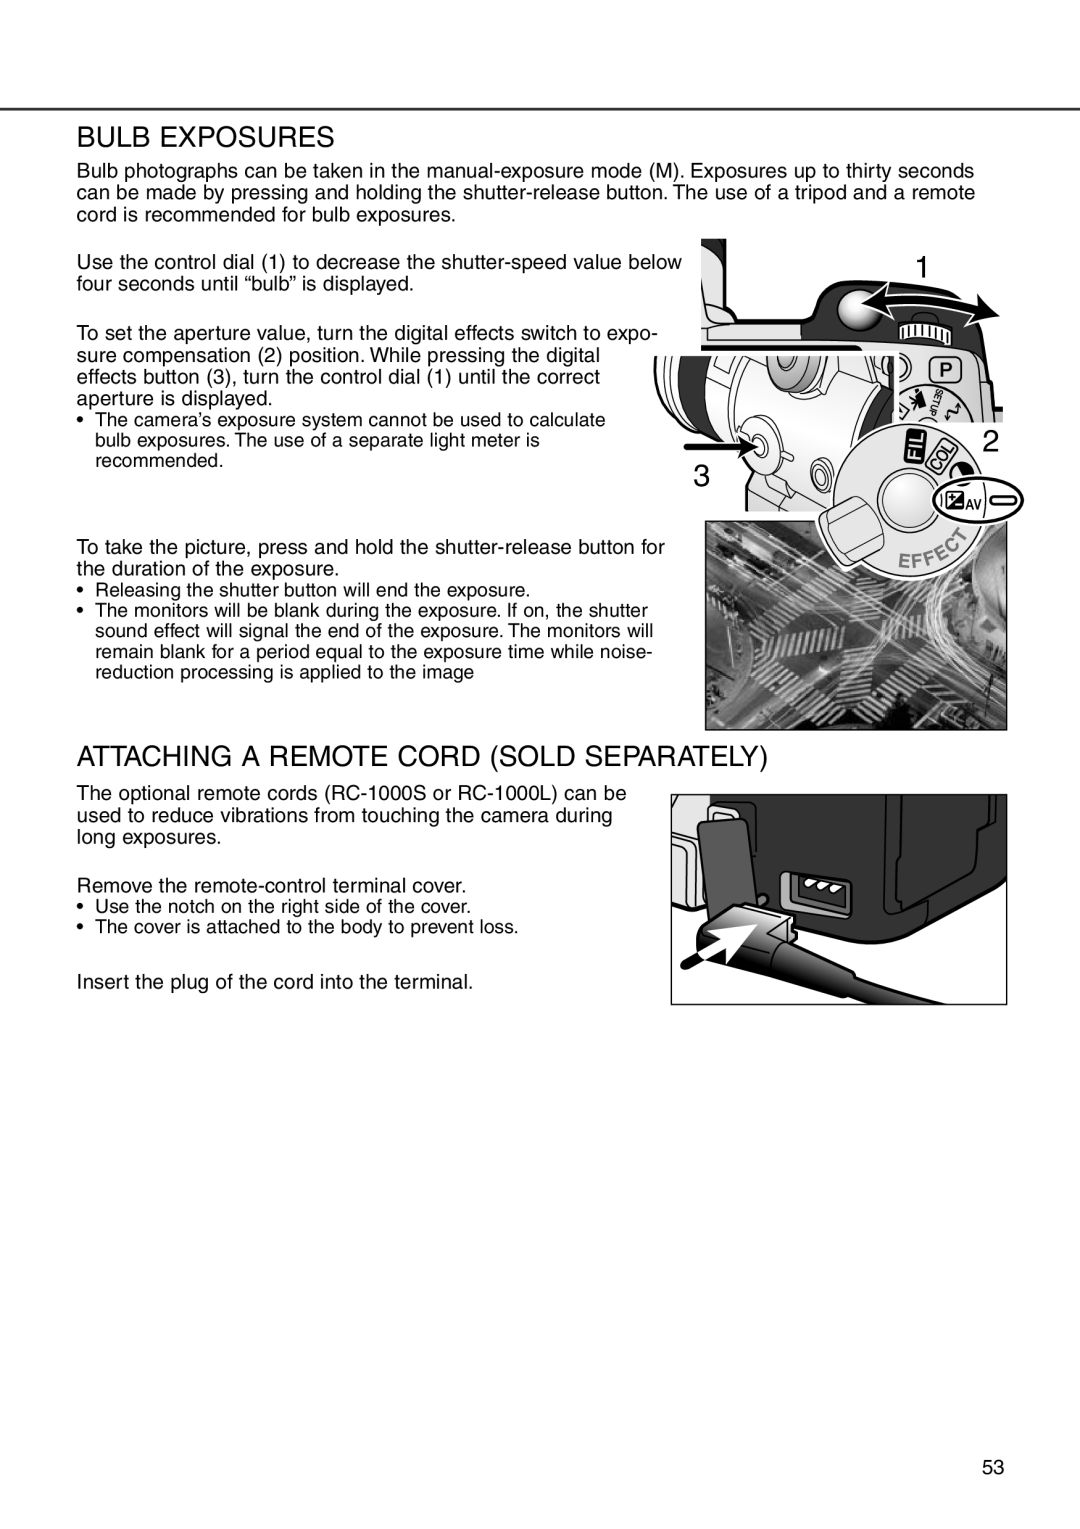
Use the control dial (1) to decrease the | 1 |
four seconds until “bulb” is displayed. |
|
To set the aperture value, turn the digital effects switch to expo- |
|
sure compensation (2) position. While pressing the digital |
|
effects button (3), turn the control dial (1) until the correct |
|
aperture is displayed. |
|
• | The camera’s exposure system cannot be used to calculate | 2 |
| bulb exposures. The use of a separate light meter is | |
| recommended. | 3 |
|
| |
To take the picture, press and hold the |
| |
the duration of the exposure. |
| |
• | Releasing the shutter button will end the exposure. |
|
• | The monitors will be blank during the exposure. If on, the shutter |
|
| sound effect will signal the end of the exposure. The monitors will |
|
| remain blank for a period equal to the exposure time while noise- |
|
| reduction processing is applied to the image |
|
ATTACHING A REMOTE CORD (SOLD SEPARATELY)
The optional remote cords
Remove the
• Use the notch on the right side of the cover.
• The cover is attached to the body to prevent loss.
Insert the plug of the cord into the terminal.
53