SETUP MODE
EVF AUTO SWITCH – CONTROLLING THE
AUTO-DISPLAY FUNCTION
This option controls the
SETTING THE DATE AND TIME
It is important to accurately set the clock. When a still image or a movie clip is recorded, the date and time of the recording are saved with the image and are displayed during playback or can be read with the DiMAGE Viewer software included on the
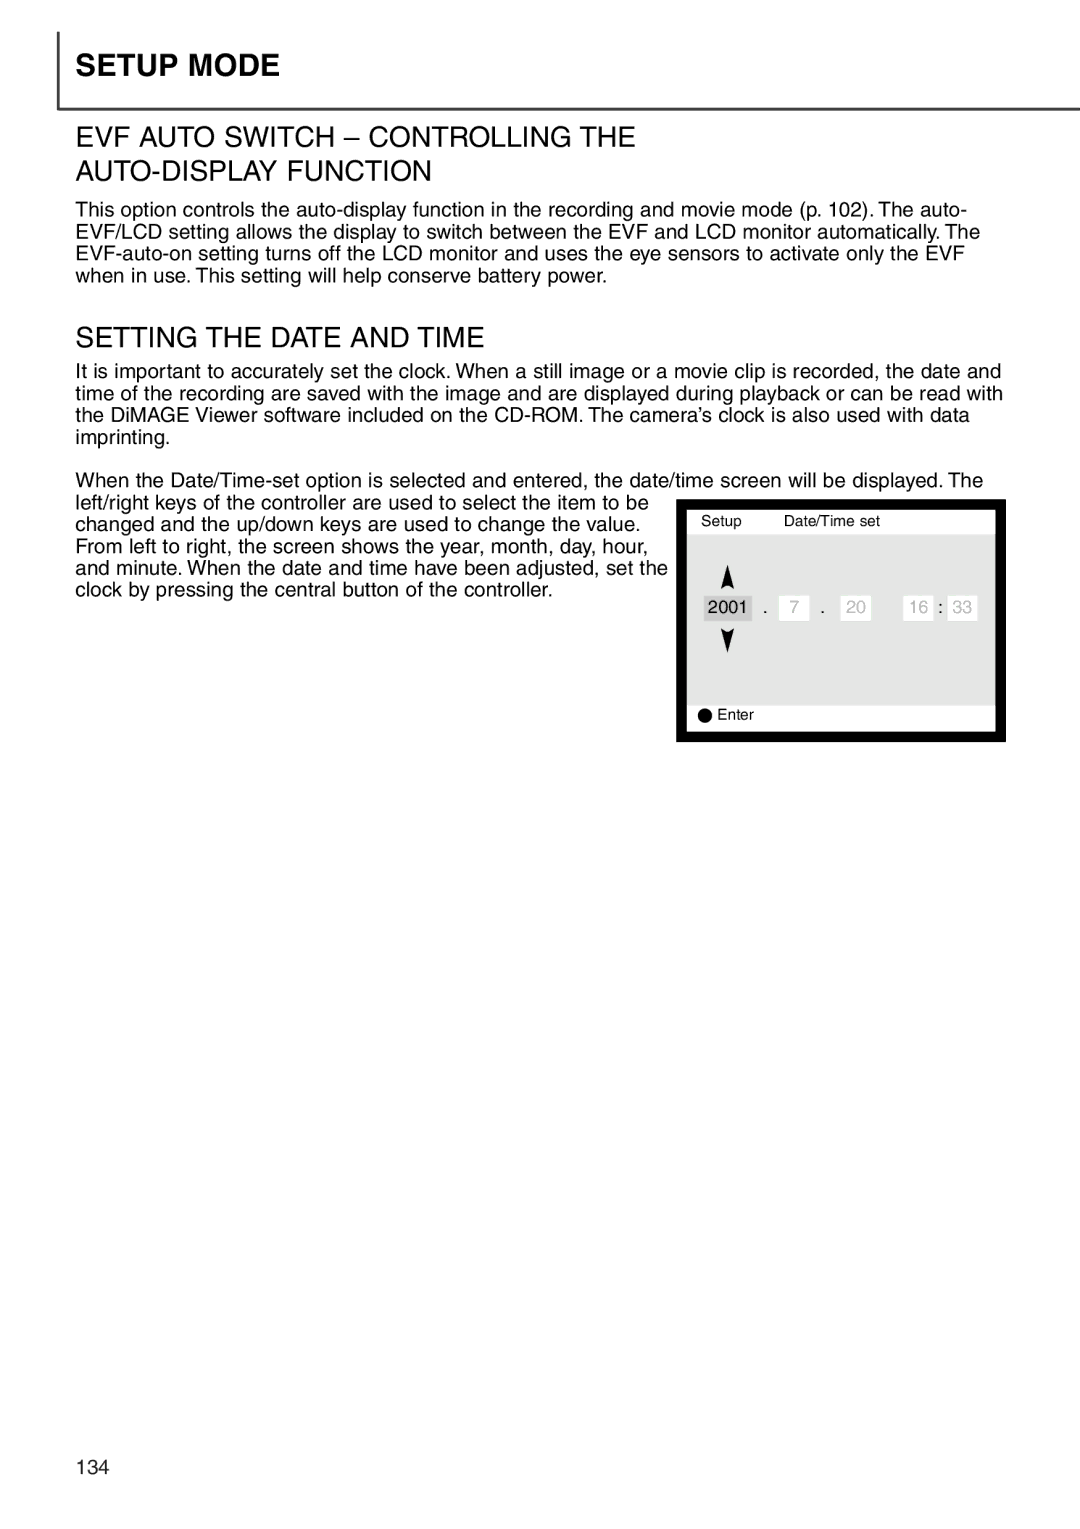
When the
changed and the up/down keys are used to change the value. Setup From left to right, the screen shows the year, month, day, hour,
and minute. When the date and time have been adjusted, set the clock by pressing the central button of the controller.
2001 . 7 . 20 | 16 : 33 |
Enter
134