Utility Mode Operations Chapter 5
5 | 5.3 Changing Default Settings |
|
To set the “Default Copy Output Levels” function
This specifies the auto and manual default printing density level settings.
1Press the [Utility] key.
2Touch [User’s Choice].
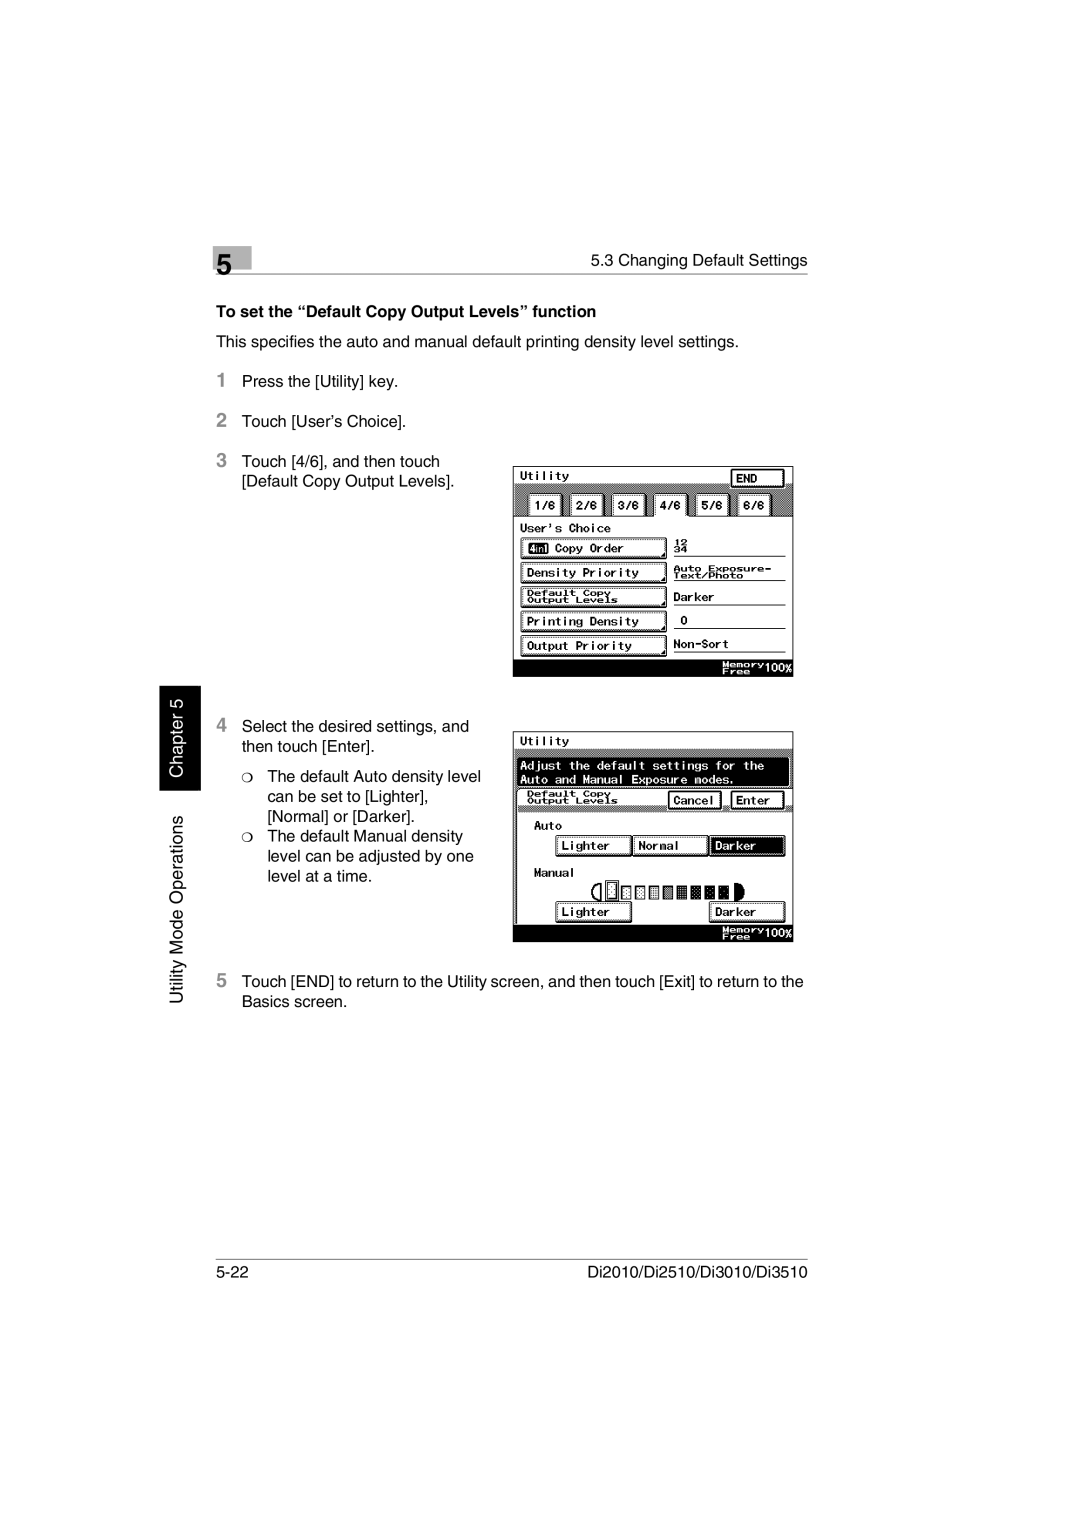
3Touch [4/6], and then touch [Default Copy Output Levels].
4Select the desired settings, and then touch [Enter].
❍The default Auto density level can be set to [Lighter], [Normal] or [Darker].
❍The default Manual density level can be adjusted by one level at a time.
5Touch [END] to return to the Utility screen, and then touch [Exit] to return to the Basics screen.
Di2010/Di2510/Di3010/Di3510 |