Adjusting projected images
To save and call the customized picture quality settings (PICTURE MODE):
This projector has nine picture modes: CINEMA, VIDEO, 3D, GAME, ISF(DAY), and ISF(NIGHT), which provide the optimum preset picture quality settings according to the images to be viewed, and AV MEMORY 1 to 3. You can customize and save the settings of these picture modes and call them when viewing images.
To change and store the picture quality settings of each picture mode:
(See page 29 for menu setting.)
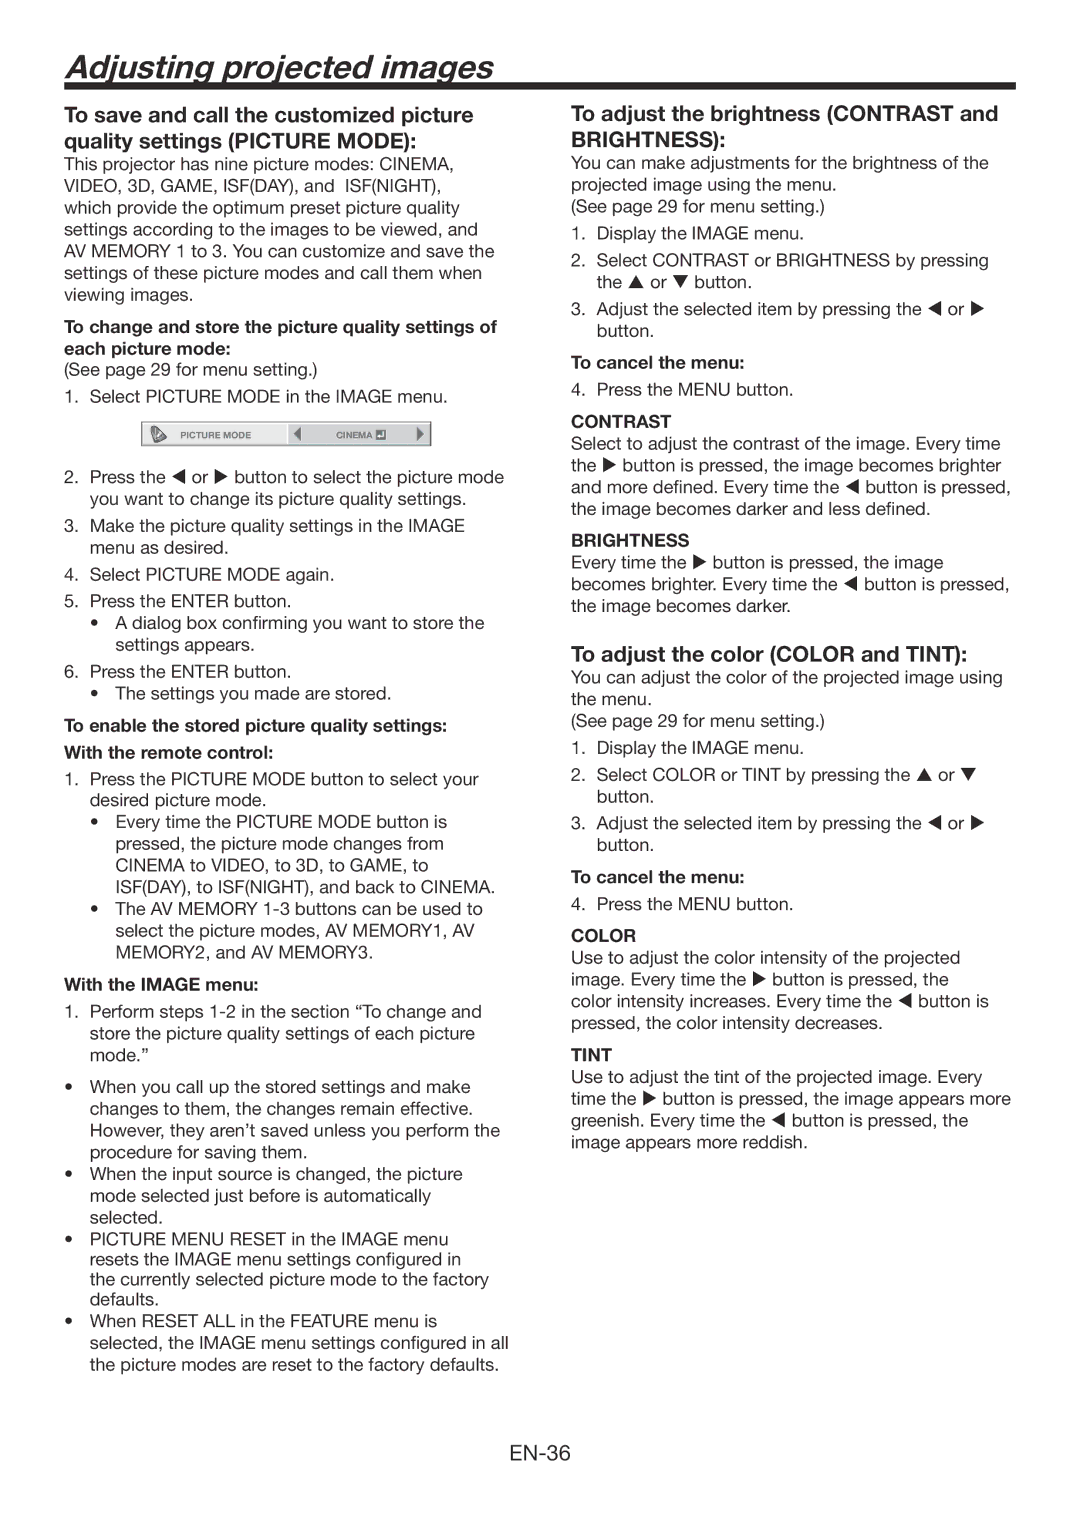
1. Select PICTURE MODE in the IMAGE menu.
|
|
|
|
PICTURE MODE | CINEMA |
|
|
| |||
|
|
|
|
2.Press the t or u button to select the picture mode you want to change its picture quality settings.
3.Make the picture quality settings in the IMAGE menu as desired.
4.Select PICTURE MODE again.
5.Press the ENTER button.
•A dialog box confirming you want to store the settings appears.
6.Press the ENTER button.
•The settings you made are stored.
To enable the stored picture quality settings: With the remote control:
1.Press the PICTURE MODE button to select your desired picture mode.
•Every time the PICTURE MODE button is pressed, the picture mode changes from CINEMA to VIDEO, to 3D, to GAME, to ISF(DAY), to ISF(NIGHT), and back to CINEMA.
•The AV MEMORY
With the IMAGE menu:
1.Perform steps
•When you call up the stored settings and make changes to them, the changes remain effective. However, they aren’t saved unless you perform the procedure for saving them.
•When the input source is changed, the picture mode selected just before is automatically selected.
•PICTURE MENU RESET in the IMAGE menu resets the IMAGE menu settings configured in the currently selected picture mode to the factory defaults.
•When RESET ALL in the FEATURE menu is selected, the IMAGE menu settings configured in all the picture modes are reset to the factory defaults.
To adjust the brightness (CONTRAST and
BRIGHTNESS):
You can make adjustments for the brightness of the projected image using the menu.
(See page 29 for menu setting.)
1.Display the IMAGE menu.
2.Select CONTRAST or BRIGHTNESS by pressing the or button.
3.Adjust the selected item by pressing the or button.
To cancel the menu:
4. Press the MENU button.
CONTRAST
Select to adjust the contrast of the image. Every time the button is pressed, the image becomes brighter and more defined. Every time the button is pressed, the image becomes darker and less defined.
BRIGHTNESS
Every time the button is pressed, the image becomes brighter. Every time the button is pressed, the image becomes darker.
To adjust the color (COLOR and TINT):
You can adjust the color of the projected image using the menu.
(See page 29 for menu setting.)
1.Display the IMAGE menu.
2.Select COLOR or TINT by pressing the p or q button.
3.Adjust the selected item by pressing the t or u button.
To cancel the menu:
4. Press the MENU button.
COLOR
Use to adjust the color intensity of the projected image. Every time the u button is pressed, the color intensity increases. Every time the t button is pressed, the color intensity decreases.
TINT
Use to adjust the tint of the projected image. Every time the u button is pressed, the image appears more greenish. Every time the t button is pressed, the image appears more reddish.
