U-6 Screen adjustment
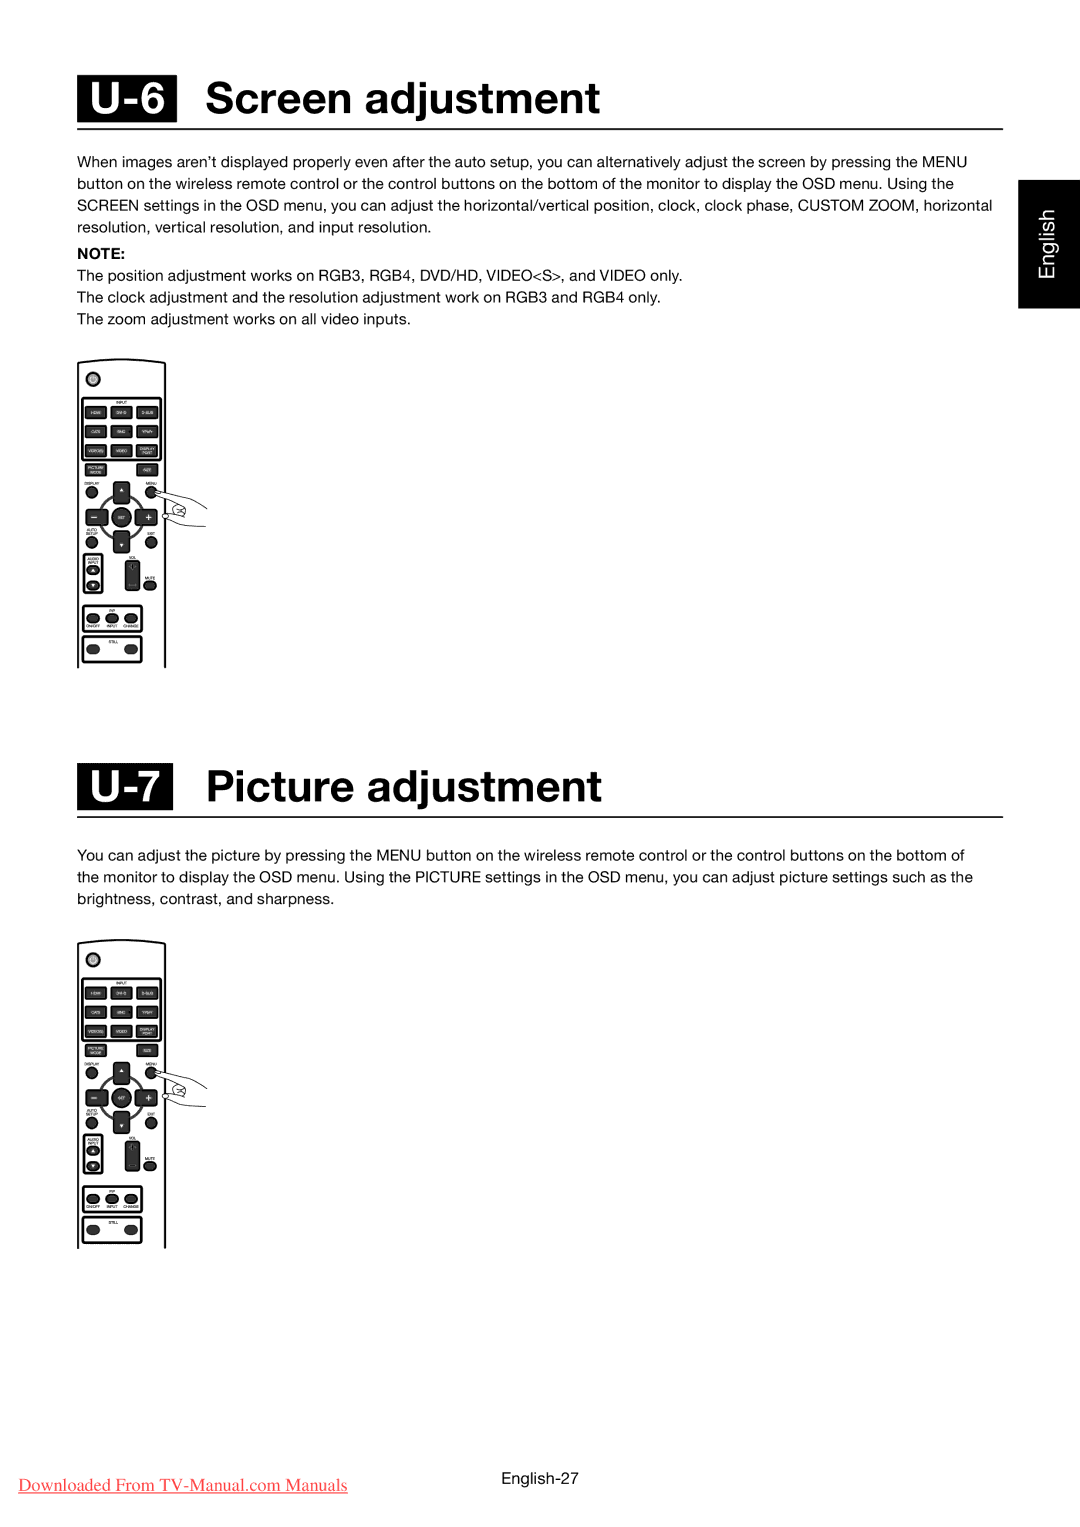
When images aren’t displayed properly even after the auto setup, you can alternatively adjust the screen by pressing the MENU button on the wireless remote control or the control buttons on the bottom of the monitor to display the OSD menu. Using the SCREEN settings in the OSD menu, you can adjust the horizontal/vertical position, clock, clock phase, CUSTOM ZOOM, horizontal resolution, vertical resolution, and input resolution.
NOTE:
The position adjustment works on RGB3, RGB4, DVD/HD, VIDEO<S>, and VIDEO only.
The clock adjustment and the resolution adjustment work on RGB3 and RGB4 only.
The zoom adjustment works on all video inputs.
English
U-7 Picture adjustment
You can adjust the picture by pressing the MENU button on the wireless remote control or the control buttons on the bottom of the monitor to display the OSD menu. Using the PICTURE settings in the OSD menu, you can adjust picture settings such as the brightness, contrast, and sharpness.
Downloaded From | |
|