MODELS:
SERVICE ADJUSTMENTS
There are 4 Service Adjustments:
Electrical Adjustments (there are no mechanical adjustments)
•Horizontal and Vertical Centering Adjustment
•Index Delay Adjustment
•Geometry Alignment
•Data Transfer Functions
Test Equipment and Test Patterns
•Remote Control
•Internally generated Test Patterns
•No external test equipment or pattern generators are required.
SERVICE MODE
The Service Mode is used for all service adjustments.
Service adjustments may only be performed using the remote control.
1.Activating the Service Mode
1.Press the <MENU> button on a remote control. (The “MENU” display will appear.)
2.Press the buttons
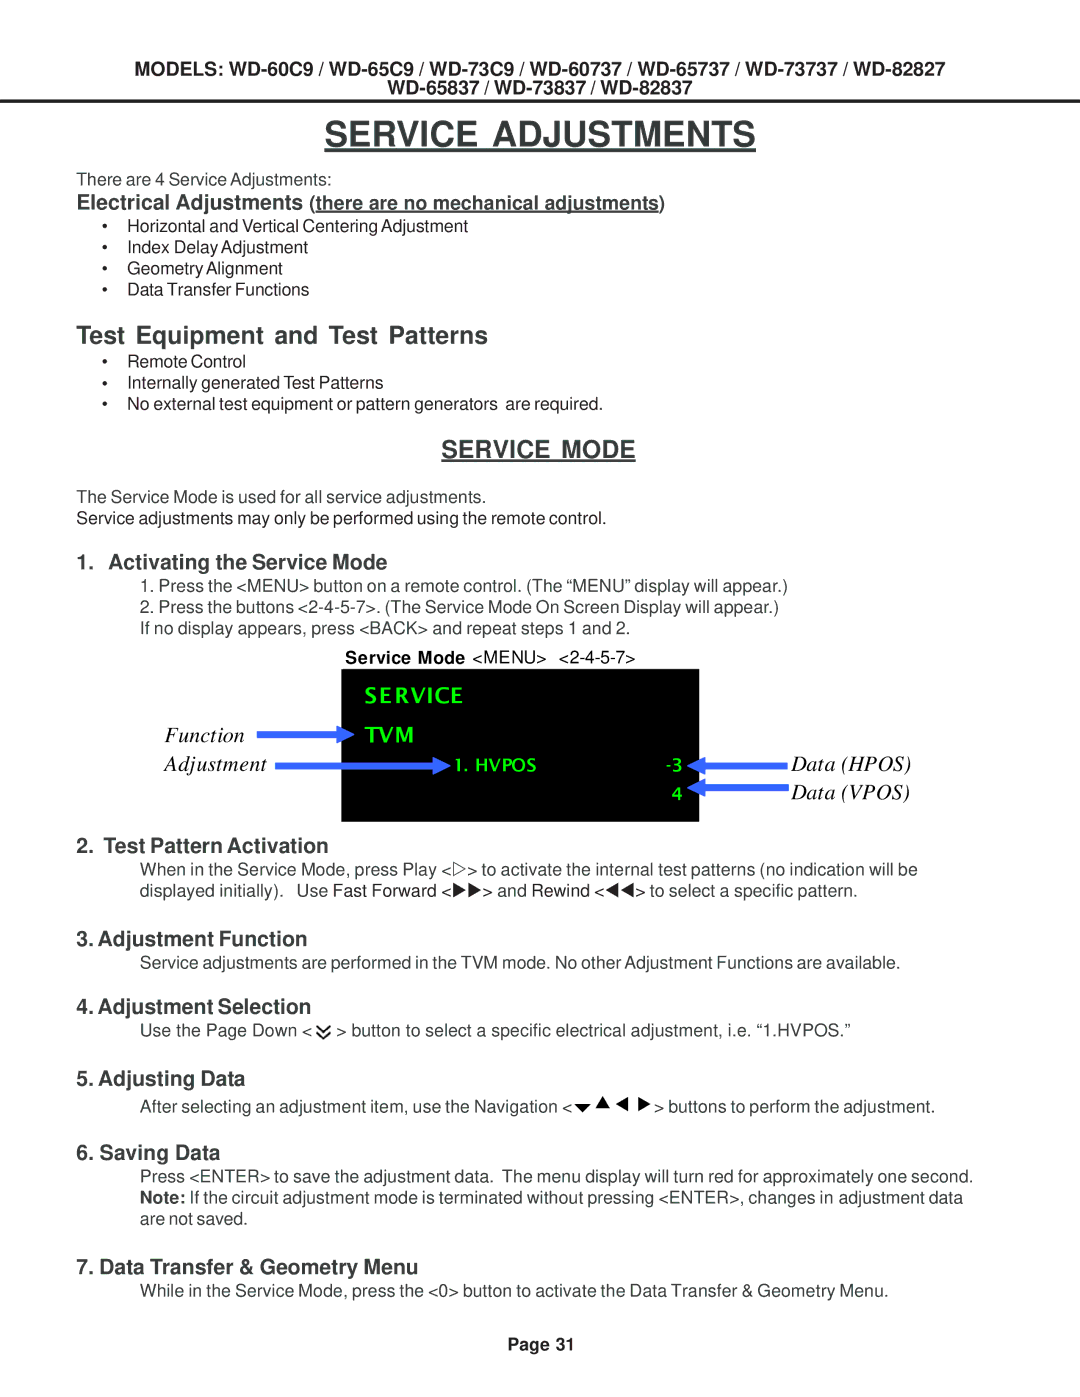
Service Mode <MENU>
Function ![]()
Adjustment
2. Test Pattern Activation
SERVICE
TVM
1. HVPOS |
4 ![]()
Data (HPOS) Data (VPOS)
When in the Service Mode, press Play <Z> to activate the internal test patterns (no indication will be displayed initially). Use Fast Forward <XX> and Rewind <WW> to select a specific pattern.
3. Adjustment Function
Service adjustments are performed in the TVM mode. No other Adjustment Functions are available.
4. Adjustment Selection
Use the Page Down < ![]() > button to select a specific electrical adjustment, i.e. “1.HVPOS.”
> button to select a specific electrical adjustment, i.e. “1.HVPOS.”
5. Adjusting Data
After selecting an adjustment item, use the Navigation <bcef> buttons to perform the adjustment.
6. Saving Data
Press <ENTER> to save the adjustment data. The menu display will turn red for approximately one second. Note: If the circuit adjustment mode is terminated without pressing <ENTER>, changes in adjustment data are not saved.
7. Data Transfer & Geometry Menu
While in the Service Mode, press the <0> button to activate the Data Transfer & Geometry Menu.
Page 31