MODELS:
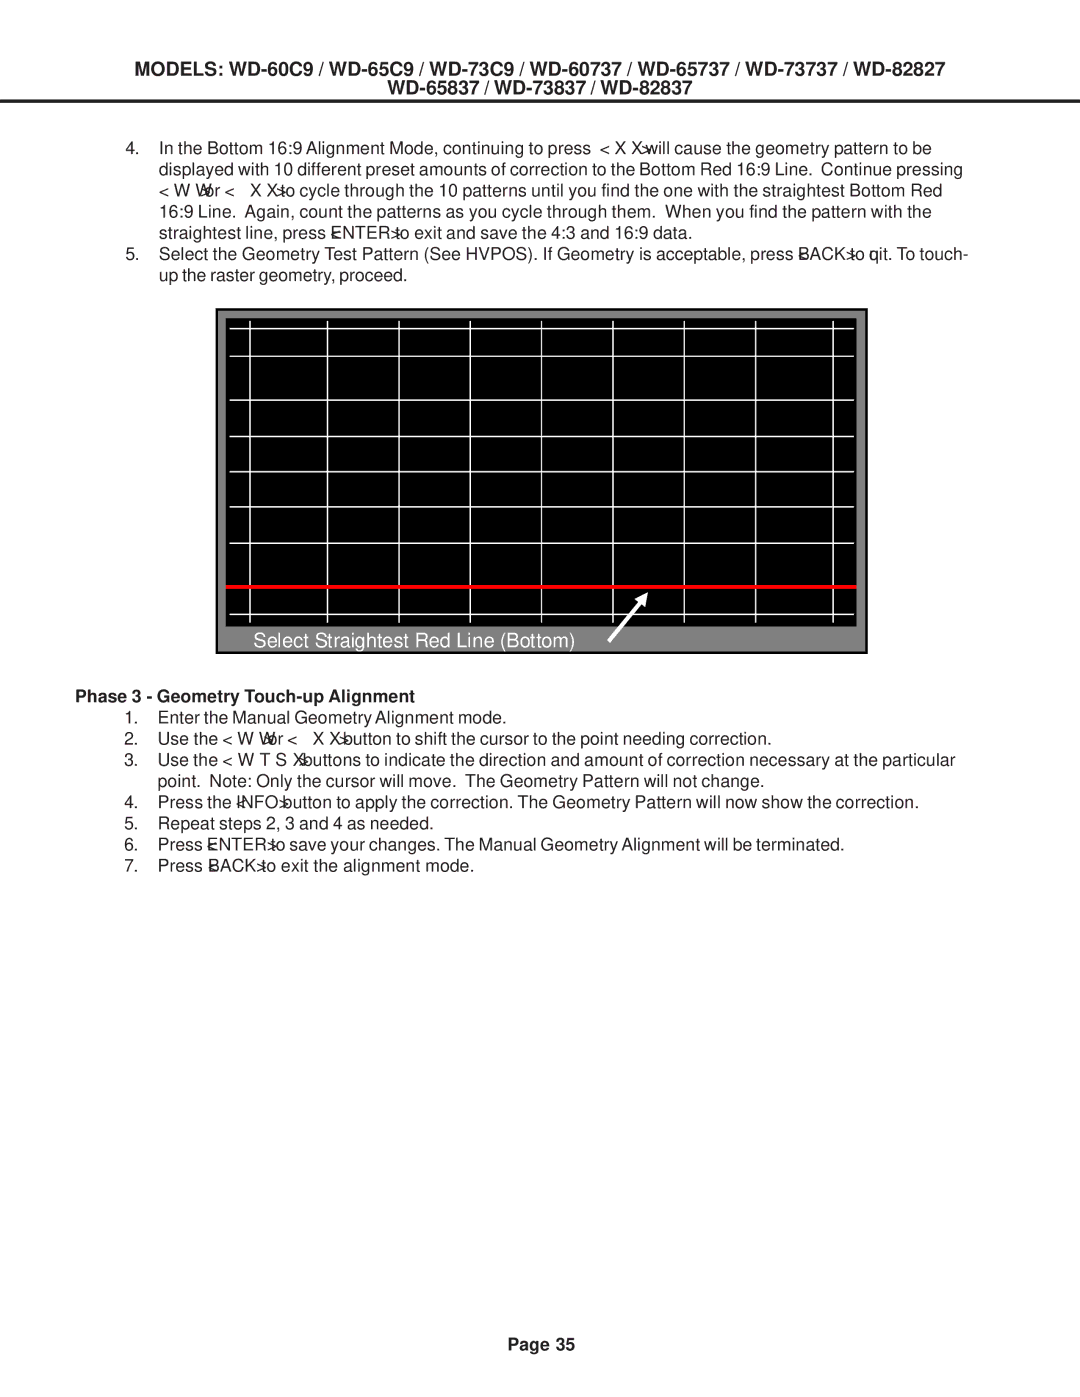
4.In the Bottom 16:9 Alignment Mode, continuing to press <XX> will cause the geometry pattern to be displayed with 10 different preset amounts of correction to the Bottom Red 16:9 Line. Continue pressing <WW> or <XX> to cycle through the 10 patterns until you find the one with the straightest Bottom Red 16:9 Line. Again, count the patterns as you cycle through them. When you find the pattern with the straightest line, press <ENTER> to exit and save the 4:3 and 16:9 data.
5.Select the Geometry Test Pattern (See HVPOS). If Geometry is acceptable, press <BACK> to quit. To touch- up the raster geometry, proceed.
4:3 MODE
Select Straightest Red Line (Bottom)
Phase 3 - Geometry Touch-up Alignment
1.Enter the Manual Geometry Alignment mode.
2.Use the <WW> or <XX> button to shift the cursor to the point needing correction.
3.Use the <WTSX> buttons to indicate the direction and amount of correction necessary at the particular point. Note: Only the cursor will move. The Geometry Pattern will not change.
4.Press the <INFO> button to apply the correction. The Geometry Pattern will now show the correction.
5.Repeat steps 2, 3 and 4 as needed.
6.Press <ENTER> to save your changes. The Manual Geometry Alignment will be terminated.
7.Press <BACK> to exit the alignment mode.
Page 35