5. USING
Adjusting Horizontal/Vertical Position, Clock and Phase [Position/Clock]
You can adjust the image manually for position and stability; “Horizontal”, “Vertical”, “Clock” and “Phase”.
[Horizontal/Vertical]
Adjusts the image location horizontally and vertically.
[Clock] (available for RGB signal only)
Use this item to fine tune the computer image or to remove any vertical banding that might appear. This function adjusts the clock frequencies that eliminate the horizontal banding in the image. This adjustment may be necessary when you connect your computer for the first time.
[Phase] (available for RGB signal only)
Use this item to adjust the clock phase or to reduce video noise, dot interference or cross talk. (This is evident when part of your image appears to be shimmering.)
Use “Phase” only after the “Clock” is complete.
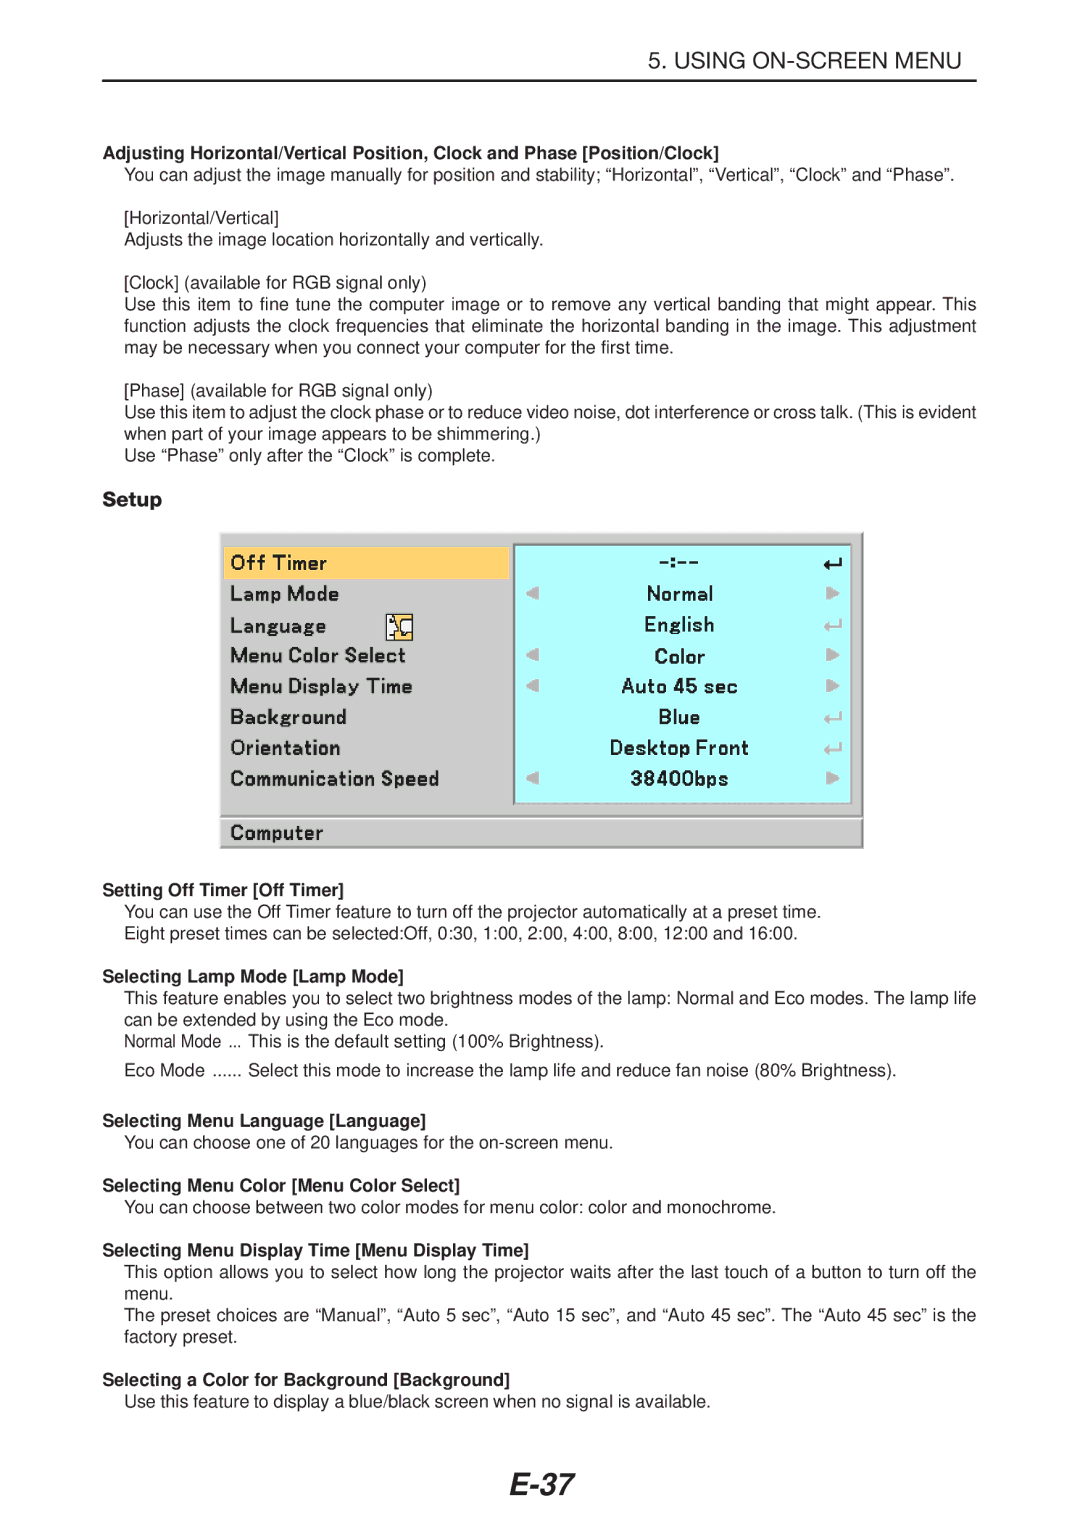
Setup
Setting Off Timer [Off Timer]
You can use the Off Timer feature to turn off the projector automatically at a preset time. Eight preset times can be selected:Off, 0:30, 1:00, 2:00, 4:00, 8:00, 12:00 and 16:00.
Selecting Lamp Mode [Lamp Mode]
This feature enables you to select two brightness modes of the lamp: Normal and Eco modes. The lamp life can be extended by using the Eco mode.
Normal Mode ... This is the default setting (100% Brightness).
Eco Mode | Select this mode to increase the lamp life and reduce fan noise (80% Brightness). |
Selecting Menu Language [Language]
You can choose one of 20 languages for the
Selecting Menu Color [Menu Color Select]
You can choose between two color modes for menu color: color and monochrome.
Selecting Menu Display Time [Menu Display Time]
This option allows you to select how long the projector waits after the last touch of a button to turn off the menu.
The preset choices are “Manual”, “Auto 5 sec”, “Auto 15 sec”, and “Auto 45 sec”. The “Auto 45 sec” is the factory preset.
Selecting a Color for Background [Background]
Use this feature to display a blue/black screen when no signal is available.