SECTION IV
RESIDENTIAL
MINIMUM CLEARANCE TO COMBUSTIBLE MATERIAL
PREPARING THE STOVE FOR INSTALLATION
1. Inspect the unit for any obvious physical damage.
NOTE: Plug the power cord into a 115V AC outlet to test the fan and motor. Set switch to “Manual” and rheostat to “High” position to ensure motor operates properly. Route the cord to prevent damage to the cord insulation from heat and sharp objects. Keep the cord out of the way of traffic to prevent damage caused by tripping, etc.
2.Check the primary air draft control to ensure that it slides freely.
3.Remove any items from within the firebox. Spread the drop cloth on the floor behind the heater. Next, tilt the heater so that the back is on the drop cloth.
4.If leg kit is to be used follow steps
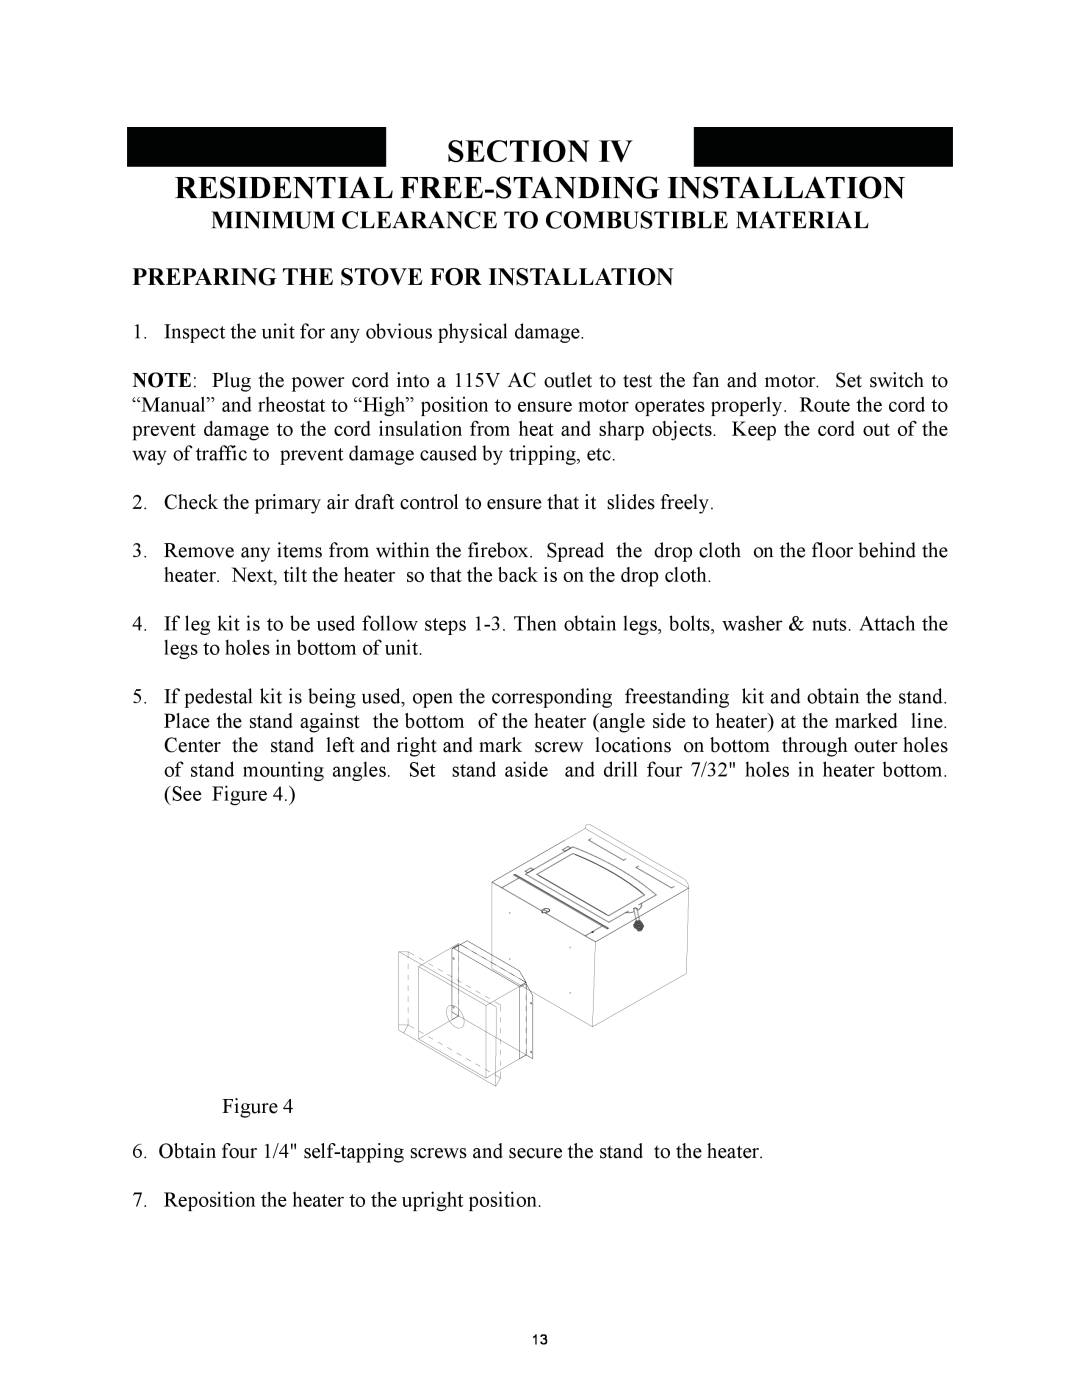
5.If pedestal kit is being used, open the corresponding freestanding kit and obtain the stand. Place the stand against the bottom of the heater (angle side to heater) at the marked line. Center the stand left and right and mark screw locations on bottom through outer holes of stand mounting angles. Set stand aside and drill four 7/32" holes in heater bottom. (See Figure 4.)
Figure 4
6.Obtain four 1/4"
7.Reposition the heater to the upright position.
13