1
2
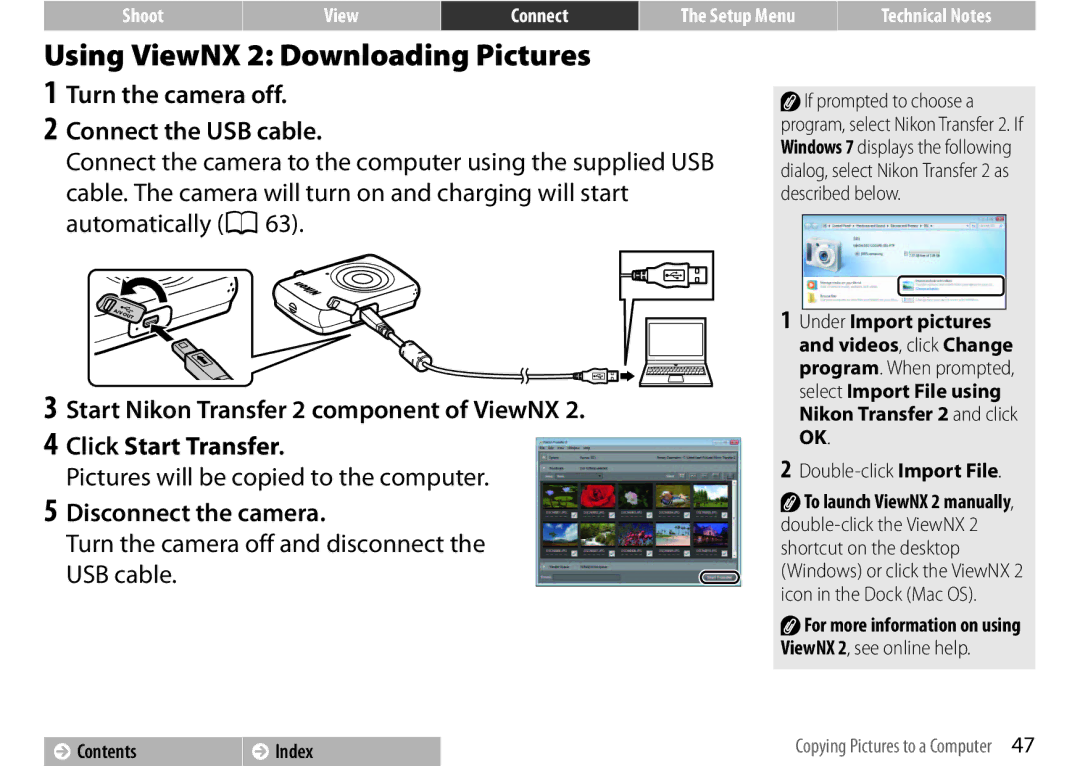
Connect the camera to the computer using the supplied USB cable. The camera will turn on and charging will start automatically (A 63).
3 Start Nikon Transfer 2 component of ViewNX 2.
4 Click Start Transfer.
Pictures will be copied to the computer.
5 Disconnect the camera.
Turn the camera off and disconnect the USB cable.
Using ViewNX 2: Downloading Pictures
Turn the camera off. Connect the USB cable.
Shoot
View
Connect
The Setup Menu | Technical Notes |
![]() If prompted to choose a program, select Nikon Transfer 2. If Windows 7 displays the following dialog, select Nikon Transfer 2 as described below.
If prompted to choose a program, select Nikon Transfer 2. If Windows 7 displays the following dialog, select Nikon Transfer 2 as described below.
1Under Import pictures and videos, click Change
program. When prompted, select Import File using Nikon Transfer 2 and click OK.
2Double-click Import File.
 To launch ViewNX 2 manually,
![]() For more information on using
For more information on using
ViewNX 2, see online help.
Contents | Index | Copying Pictures to a Computer 47 |
|
|
|
