SettingTime/Date (Time&Date)
1
Setting Time/Date

![]() 3
3
3 Press the OK button to complete the setup screen. The clock will start from the set date and time. Press the OK button according to the time signal.
........................................................................................................
Notes
•If you press the OK button during the setup operation, the recorder will save the items that were set to that point.
•After setup, a message will sound saying that If the guidance is not required, select “Off”, and the screen goes into “Voice Guide” setup (☞P87). If you don't want the guidance feature, select “Off”.
Changing the Time/Date
Press the STOP button while the recorder has stopped recording to check “Time & Date” and “Remain”. If the “Time & Date” is not correct, set it using the procedure below.
1 |
2 |
3 |
18 |
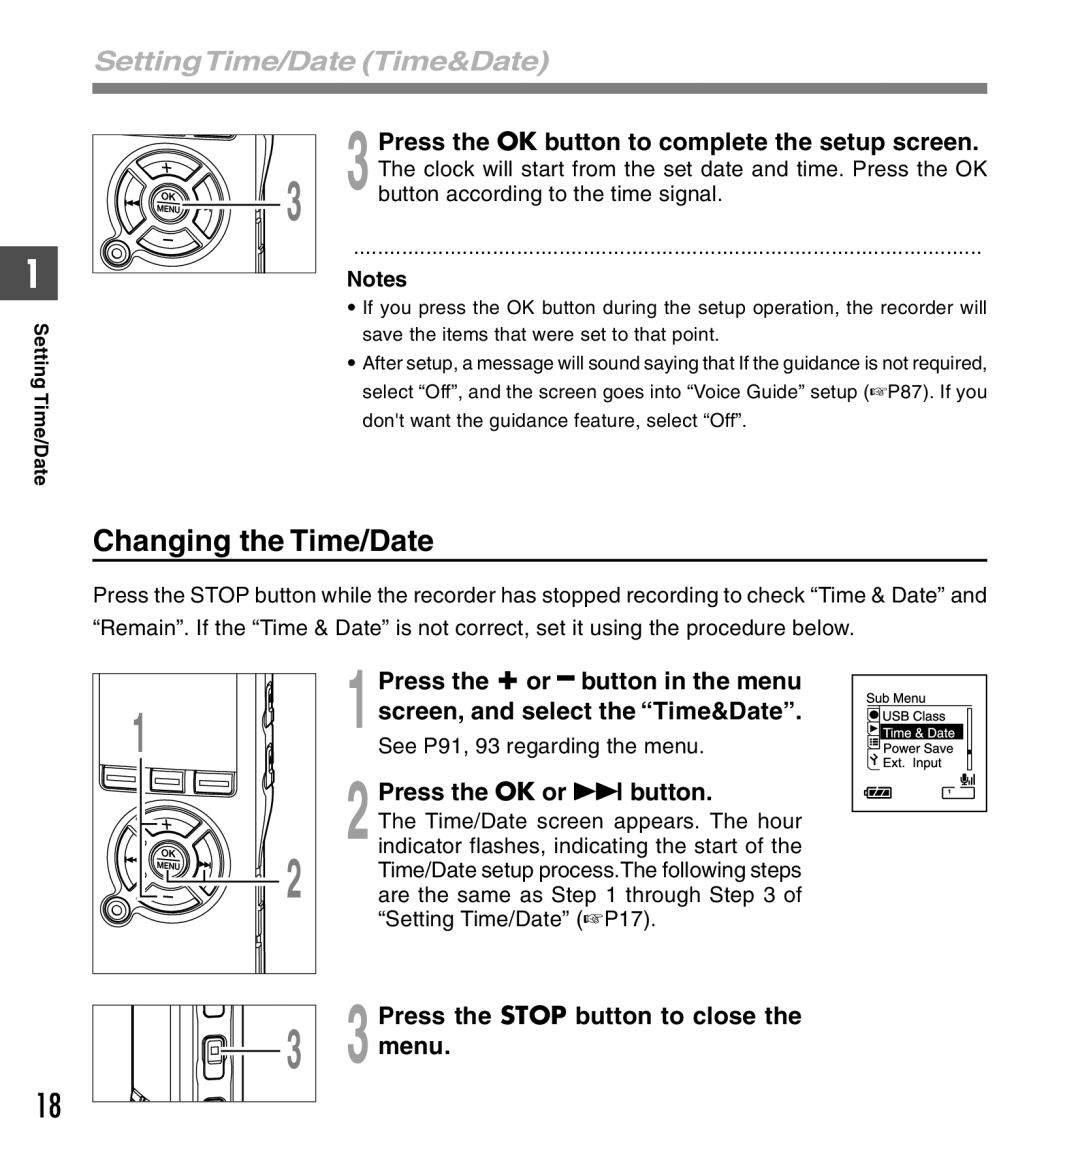
1 Press the + or – button in the menu screen, and select the “Time&Date”.
See P91, 93 regarding the menu.
2 Press the OK or 9 button.
The Time/Date screen appears. The hour indicator flashes, indicating the start of the Time/Date setup process.The following steps are the same as Step 1 through Step 3 of “Setting Time/Date” (☞P17).
