40 80
Digital Photo Printer
For customers in USA
For customers in North and South America
For customers in Canada
For customers in Europe
Contents
Safety precautions
Introduction Preparation
If the power cord is damaged, unplug it
Do not install the printer in the following places
Safety precautions Do not damage the power cord
Do not disassemble or modify the printer
Do not allow liquids near the printer
Plug the printer directly into an outlet
Connect the power cord correctly/safely
Unplug the printer for servicing
Protect against moisture condensation
Care and storage
Operate the printer at least once every six months
Carry the printer with both hands
Direct Print
What this printer can do
Paper tray
Checking the accessories
Front
Identifying the parts
Identifying the parts
Paper tray
Remove the left side cover of the printer
Connecting the power supply and turning on/off the printer
Preparation Introduction
Connecting the power supply and turning on/off the printer
Press the Power button
Turning off the printer
Attach the side cover
About the print pack
Loading the ink ribbon cartridge
Remove the left side cover
Insert the ink ribbon cartridge all the way
Removing the ink ribbon cartridge
Loading the ink ribbon cartridge
Storage considerations
Removing the paper tray from the printer
Loading paper
Printing on 4 × 6 paper
Loading paper into the paper tray
Loading paper
Close the cover of the paper tray
Printing on 3.5 × 5 paper
Be careful not to trap paper between the cover and tray
Inserting the paper tray into the printer
Printing pictures from a digital camera
Connecting a digital camera to the printer
About PictBridge compatible digital cameras
Plug in and turn on the printer
Control print operations using the digital camera
Using the digital camera to control the print operation
Open the paper output tray of the printer
Printing pictures from a digital camera
English
Connecting a computer to the printer
Installing the printer driver during initial setup
Printing pictures from a computer
Supported operating systems Windows 2000/XP
Printing pictures from a computer
Turn on the printer
Printing
See page 29. Printer settings
Turn off the printer after printing completes
Following items can be selected on the Paper tab
Printer settings
Following items can be selected on the Graphics tab
For Your Reference
If an indicator is lit or blinking
Until you hear a clicking
Troubleshooting
If paper is jammed, see page 32. If paper is jammed
If paper is jammed
For Your Reference Troubleshooting
If the ink ribbon cartridge is removed during printing
If the ink ribbon runs out during printing
If paper runs out during printing
Disposing of used ink ribbon cartridge
Print pack ink ribbon cartridge and paper
About the print pack ink ribbon cartridge and paper
Storage Considerations
If you experience problems
Storing prints
Printer
Specifications
AC adapter
Service and maintenance
Dpof Digital Print Order Format
Definition of terms
PictBridge
Pour les utilisateurs en Europe
Français
Branchement de l’alimentation et mise en marche/arrêt de
Sommaire
Impression des photos depuis un appareil numérique
Consignes de sécurité
Consignes de sécurité
Avertissement
Ne pas endommager le cordon d’alimentation
Ne pas installer l’imprimante dans les endroits suivants
Ne pas démonter ni modifier l’imprimante
Ne laissez aucun liquide pénétrer dans l’imprimante
Branchez l’imprimante directement à une prise
Français
Protection contre la condensation
Entretien et rangement
Portez l’imprimante avec les deux mains
Transportez l’imprimante avec prudence
Remarque
Possibilités de cette imprimante
Bac d’alimentation Bac d’adaptation
Contrôle des accessoires
Introduction
Identification des composants
Identification des composants
Bac d’alimentation
Retirez le cache latéral gauche de l’imprimante
Le voyant Power s’allume et l’imprimante se met en marche
Appuyez sur le bouton Power
Le voyant Power s’éteint lorsque l’imprimante s’arrête
Arrêt de l’imprimante
Retirez le cache latéral gauche
Propos du kit d’impression
Insérez la cartouche de ruban encreur à fond
Enlever la cartouche de ruban encreur
Chargement de la cartouche de ruban encreur
Voir page 68 Si des voyants sont allumés et clignotent
Conditions de stockage
Retrait du bac d’alimentation de l’imprimante
Chargement du papier
Impression sur du format 100 mm × 148 mm
Chargement du papier dans le bac d’alimentation
Chargement du papier
Fermez le capot du bac d’alimentation
Impression sur du format 89 mm × 127 mm
Insertion du bac d’alimentation dans l’imprimante
Branchez et allumez l’imprimante
Raccordement d’un appareil photo numérique à l’imprimante
Ouvrez le bac de sortie du papier de l’imprimante
Commande de l’impression depuis l’appareil photo numérique
Impression des photos depuis un appareil numérique
Select OK OK
Systèmes d’exploitation pris en charge Windows 2000/XP
Raccordement d’un ordinateur à l’imprimante
Enregistrement d’un utilisateur
Impression des photos à partir d’un ordinateur
Allumez l’imprimante
Arrêtez l’imprimante lorsque l’impression est terminée
Impression
Voir à la page 67. Paramètres d’impression
Paramètres d’impression
Lorsque la communication est établie, le voyant s’éteint
Si des voyants sont allumés et clignotent
Pour votre information
En cas de difficultés
En cas de difficultés
En cas de bourrage du papier
Prudence
Si le ruban encreur vient à épuisement pendant l’impression
Si le papier vient à épuisement pendant l’impression
Mise au rebut d’une cartouche de ruban encreur usagée
Achat de kits d’impression Pour les utilisateurs en Europe
Kit d’impression cartouche de ruban encreur et papier
’ouvrez pas le kit d’impression avant son utilisation
Stockage des tirages
Conditions de stockage
Si vous rencontrez des problèmes
Imprimante
Spécifications
Spécifications Adaptateur secteur
Service après-vente et entretien
Définitions
Memo
Deutsch
Inhalt
Sicherheitshinweise
Die folgenden Symbole kennzeichnen Vorsichtshinweise
Einleitung
Sicherheitshinweise
Achtung
Den Drucker nicht zerlegen oder umbauen
Bei Gewitter immer den Netzstecker ziehen
Geneigte Flächen oder instabile Unterlagen
Das Netzkabel niemals mit nassen Händen anfassen
Den Drucker direkt an eine Steckdose anschließen
Für Wartungsarbeiten den Netzstecker ziehen
Den Drucker niemals auf einer instabilen Fläche aufstellen
Den Netzstecker bei längerem Nichtgebrauch ziehen
Vor Kondensationsniederschlag schützen
Pflege und Aufbewahrung
Den Drucker stets mit beiden Händen tragen
Beim Anheben oder Tragen des Druckers beide Hände verwenden
Vorsicht
Was dieser Drucker leistet
Papierfach Formatwechselfach Für 89 mm × 127 mm
Überprüfen der Zubehörteile
Vorderseite
Bezeichnung der Teile
Bezeichnung der Teile
Papierfach
Vorbereitung
Vorbereitung
Ausschalten des Druckers
Die POWER-Taste drücken
Die Seitenabdeckung wieder anbringen
Informationen zum Print-Pack
Einlegen der Farbbandkassette
Die Seitenabdeckung abnehmen
Die Farbbandkassette vollständig einschieben
Entnehmen der Farbbandkassette
Einlegen der Farbbandkassette
Hinweise zur Aufbewahrung
Entnehmen des Papierfachs aus dem Drucker
Einlegen von Druckpapier
Bedrucken von 100 mm × 148 mm-Fotopapier
Einlegen von Druckpapier in das Papierfach
Einlegen von Druckpapier
Die Papierfachabdeckung schließen
Bedrucken von 89 mm × 127 mm-Fotopapier
Einsetzen des Papierfachs in den Drucker
100
Die Papierfachöffnung durch Ziehen in Ihre Richtung öffnen
Das Papierfach vollständig einschieben
Informationen zu PictBridge-kompatiblen Digitalkameras
101
Anschließen einer Digitalkamera an den Drucker
Schließen Sie den Drucker an und schalten Sie ihn ein
Papierausgabefach des Druckers öffnen
102
Steuern Sie die Druckfunktionen mithilfe der Digitalkamera
Ausdrucken von Bildern der Digitalkamera
103
104
Bilder von einem Computer aus drucken
Anschließen des Druckers an einen Computer
Die linke Seitenabdeckung abnehmen
Den Drucker einschalten
105
Bilder von einem Computer aus drucken
Drucken
106
Siehe Seite 107. „Druckereinstellungen
Druckereinstellungen
107
Zu Ihrer Information
108
109
Fehlersuche
Wenn ein Papierstau aufgetreten ist
110
Zu Ihrer Information Fehlersuche
111
Wenn der Papiervorrat während des Druckens erschöpft ist
112
Wenn das Farbband während des Druckens verbraucht ist
Entsorgung gebrauchter Farbbandkassetten
Print-Pack Farbbandkassette und Druckpapier
113
Öffnen Sie das Print-Pack erst dann, wenn Sie es benötigen
114
Bei Auftreten von Problemen
Hinweise zur Aufbewahrung
Aufbewahrung von Ausdrucken
115
Technische Daten
Drucker
Zu Ihrer Information Technische Daten Netzteil
116
117
Kundendienst und Wartung
118
Erklärung der Fachbegriffe
119
Español
120
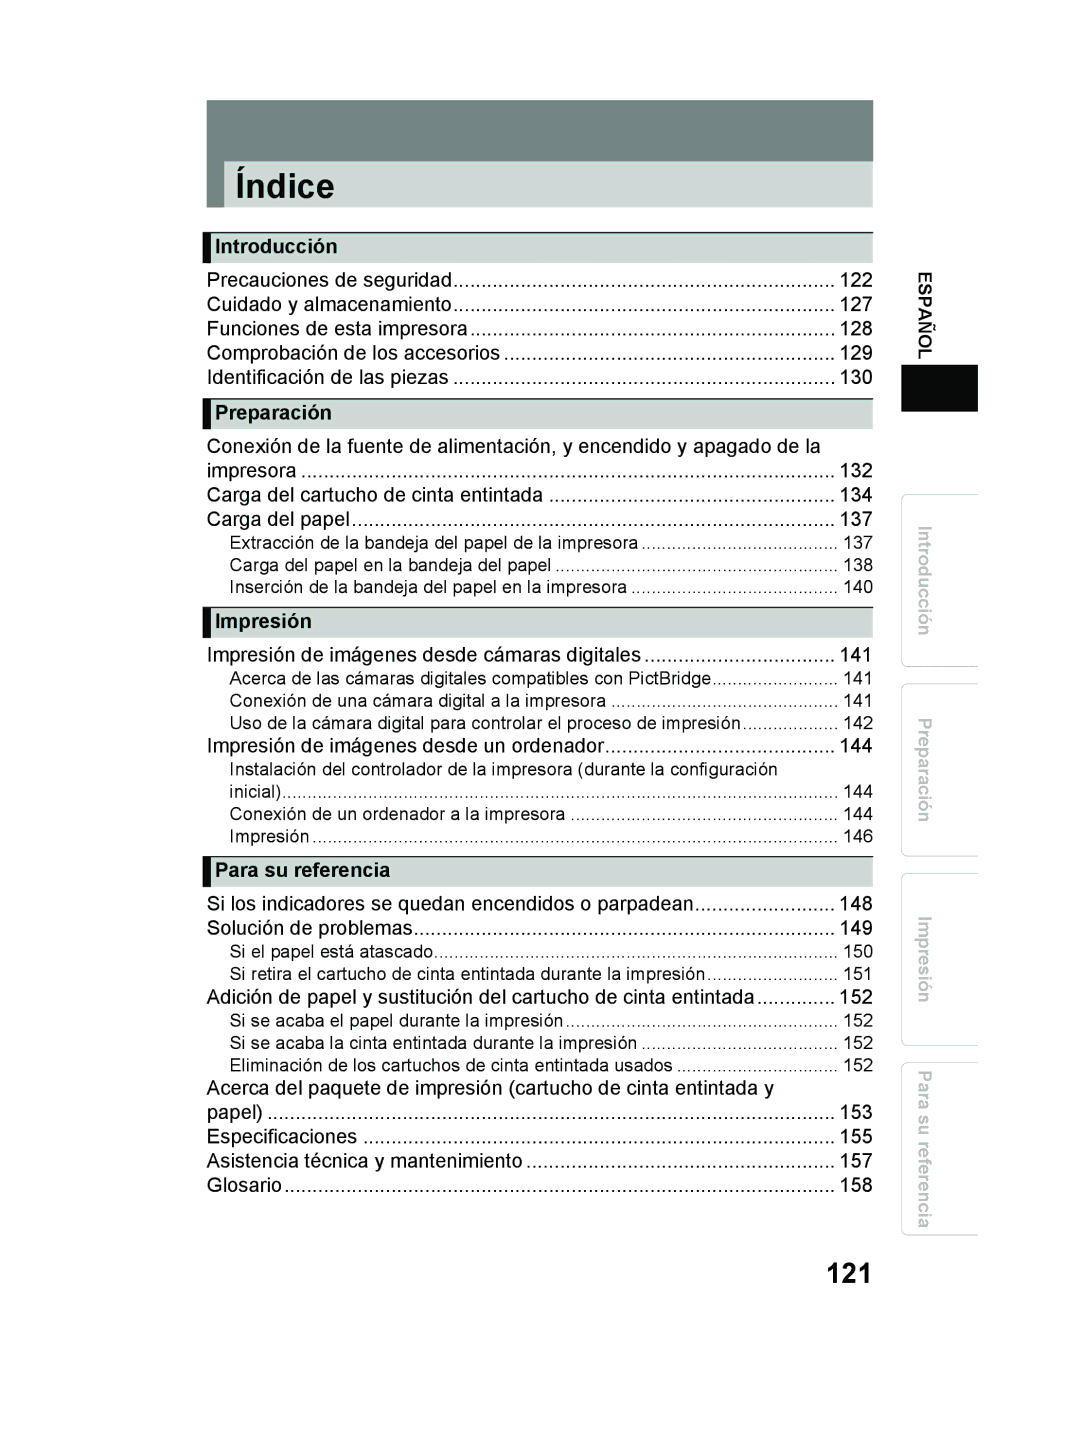
121
Índice
122
Precauciones de seguridad
Precauciones de seguridad
123
Si el cable de alimentación está dañado, desenchúfelo
Introducción Preparación
124
Conecte el cable de alimentación de forma correcta y segura
125
No coloque la impresora en superficies inestables
126
Desenchufe la impresora cuando vaya a repararla
127
Cuidado y almacenamiento
128
Funciones de esta impresora
Nota
129
Comprobación de los accesorios
Bandeja del papel Bandeja de conversión Para 89 mm × 127 mm
130
Identificación de las piezas
Identificación de las piezas
131
Retire la cubierta lateral izquierda de la impresora
132
Preparación Introducción
Se iluminará el indicador Power y se encenderá la impresora
Presione el botón Power
133
Apagado de la impresora
134
Carga del cartucho de cinta entintada
Acerca del paquete de impresión
Retire la cubierta lateral izquierda
Extracción del cartucho de cinta entintada
135
Inserte hasta el fondo el cartucho de cinta entintada
Carga del cartucho de cinta entintada
Consejos para el almacenamiento
136
137
Carga del papel
Extracción de la bandeja del papel de la impresora
Carga del papel en la bandeja del papel
138
Impresión en papel de 100 mm × 148 mm
Carga del papel
Impresión en papel de 89 mm × 127 mm
139
Cierre la tapa de la bandeja del papel
Inserción de la bandeja del papel en la impresora
140
141
Impresión de imágenes desde cámaras digitales
Acerca de las cámaras digitales compatibles con PictBridge
Conexión de una cámara digital a la impresora
Abra la bandeja de salida del papel de la impresora
142
Impresión de imágenes desde cámaras digitales
143
144
Impresión de imágenes desde un ordenador
Conexión de un ordenador a la impresora
Sistemas operativos compatibles Windows 2000/XP
Encienda la impresora
145
Impresión de imágenes desde un ordenador
Impresión
146
Cuando finalice la impresión, apague la impresora
147
Parámetros de configuración de la impresora
Para su referencia Impresión
148
Cuando logra establecerse la comunicación, se apaga la luz
149
Solución de problemas
Impresión Para su referencia
150
Para su referencia Impresión Solución de problemas
Si el papel está atascado
Precauciones
151
Si se acaba la cinta entintada durante la impresión
152
Eliminación de los cartuchos de cinta entintada usados
Paquete de impresión cartucho de cinta entintada y papel
153
154
Si detecta problemas
Consejos para el almacenamiento
Almacenamiento de las impresiones
155
Especificaciones
Impresora
Para
156
157
Asistencia técnica y mantenimiento
158
Glosario
159
160
161
162
163
European Technical Customer Support
Technical Support USA