User’s Manual
3.5Record Schedule / Quality Setting
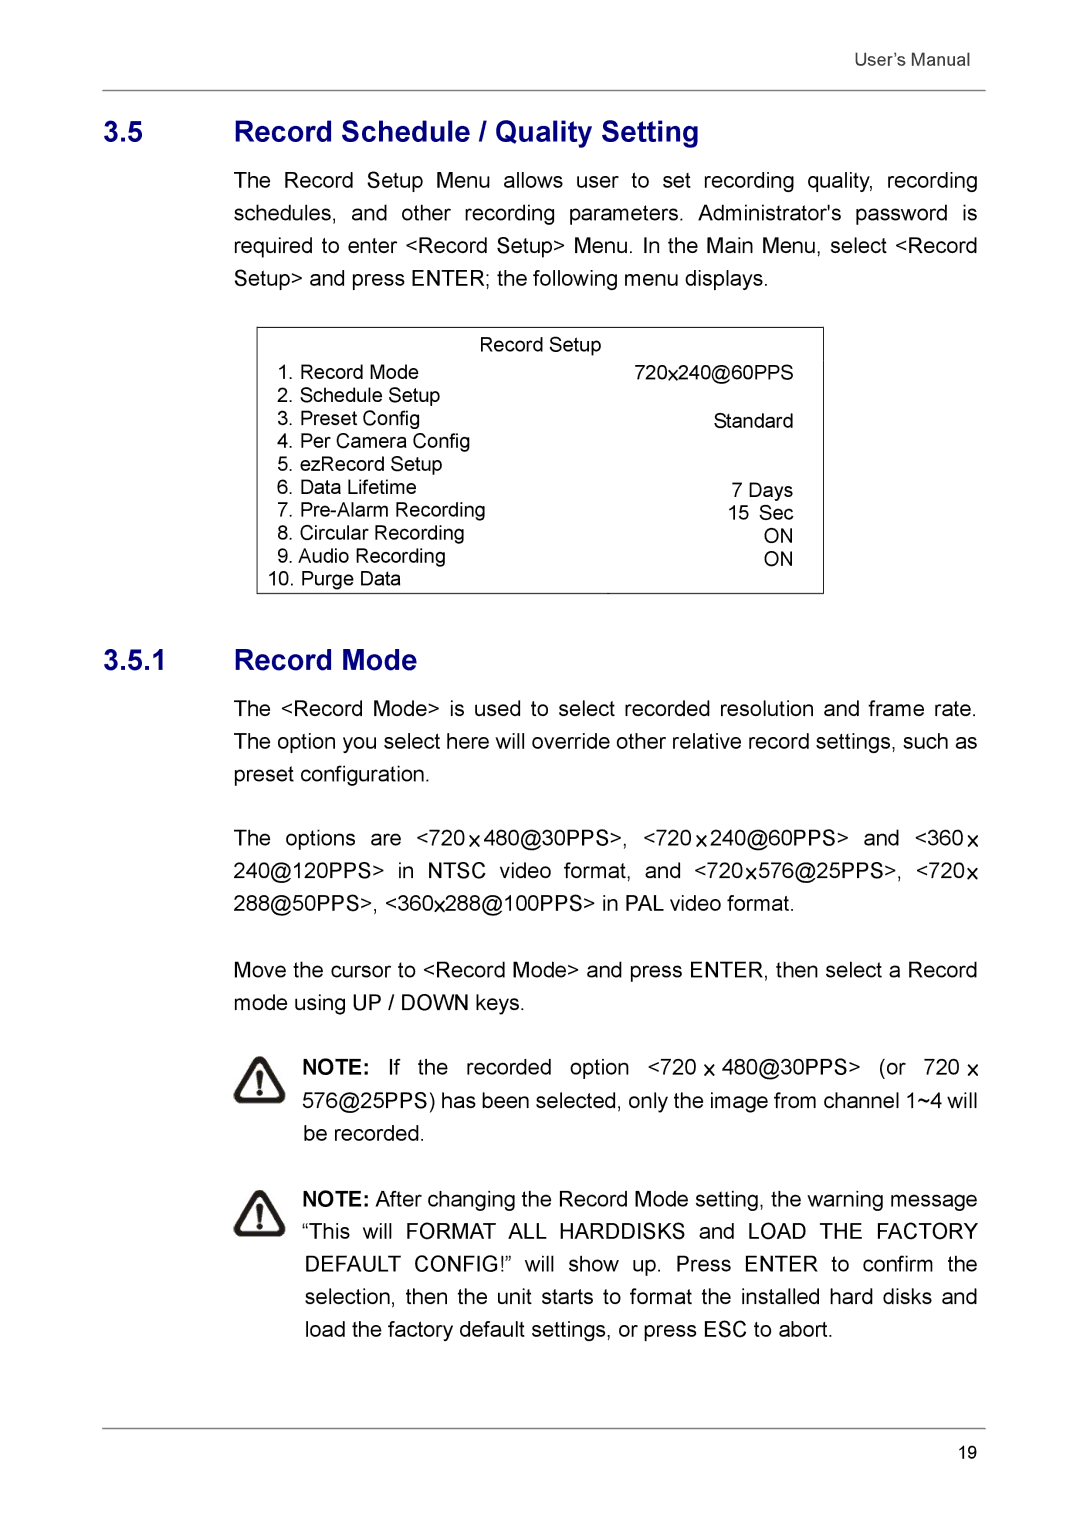
The Record Setup Menu allows user to set recording quality, recording schedules, and other recording parameters. Administrator's password is required to enter <Record Setup> Menu. In the Main Menu, select <Record Setup> and press ENTER; the following menu displays.
| Record Setup |
|
1. Record Mode | 720×240@60PPS | |
2. | Schedule Setup |
|
3. | Preset Config | Standard |
4. | Per Camera Config |
|
5. ezRecord Setup |
| |
6. | Data Lifetime | 7 Days |
7. | 15 Sec | |
8. | Circular Recording | ON |
9. Audio Recording | ON | |
10. Purge Data |
| |
|
|
|
3.5.1Record Mode
The <Record Mode> is used to select recorded resolution and frame rate. The option you select here will override other relative record settings, such as preset configuration.
The options are <720 × 480@30PPS>, <720 × 240@60PPS> and <360 × 240@120PPS> in NTSC video format, and <720×576@25PPS>, <720× 288@50PPS>, <360×288@100PPS> in PAL video format.
Move the cursor to <Record Mode> and press ENTER, then select a Record mode using UP / DOWN keys.
NOTE: If the recorded option <720 × 480@30PPS> (or 720 × 576@25PPS) has been selected, only the image from channel 1~4 will be recorded.
NOTE: After changing the Record Mode setting, the warning message “This will FORMAT ALL HARDDISKS and LOAD THE FACTORY DEFAULT CONFIG!” will show up. Press ENTER to confirm the selection, then the unit starts to format the installed hard disks and load the factory default settings, or press ESC to abort.
19