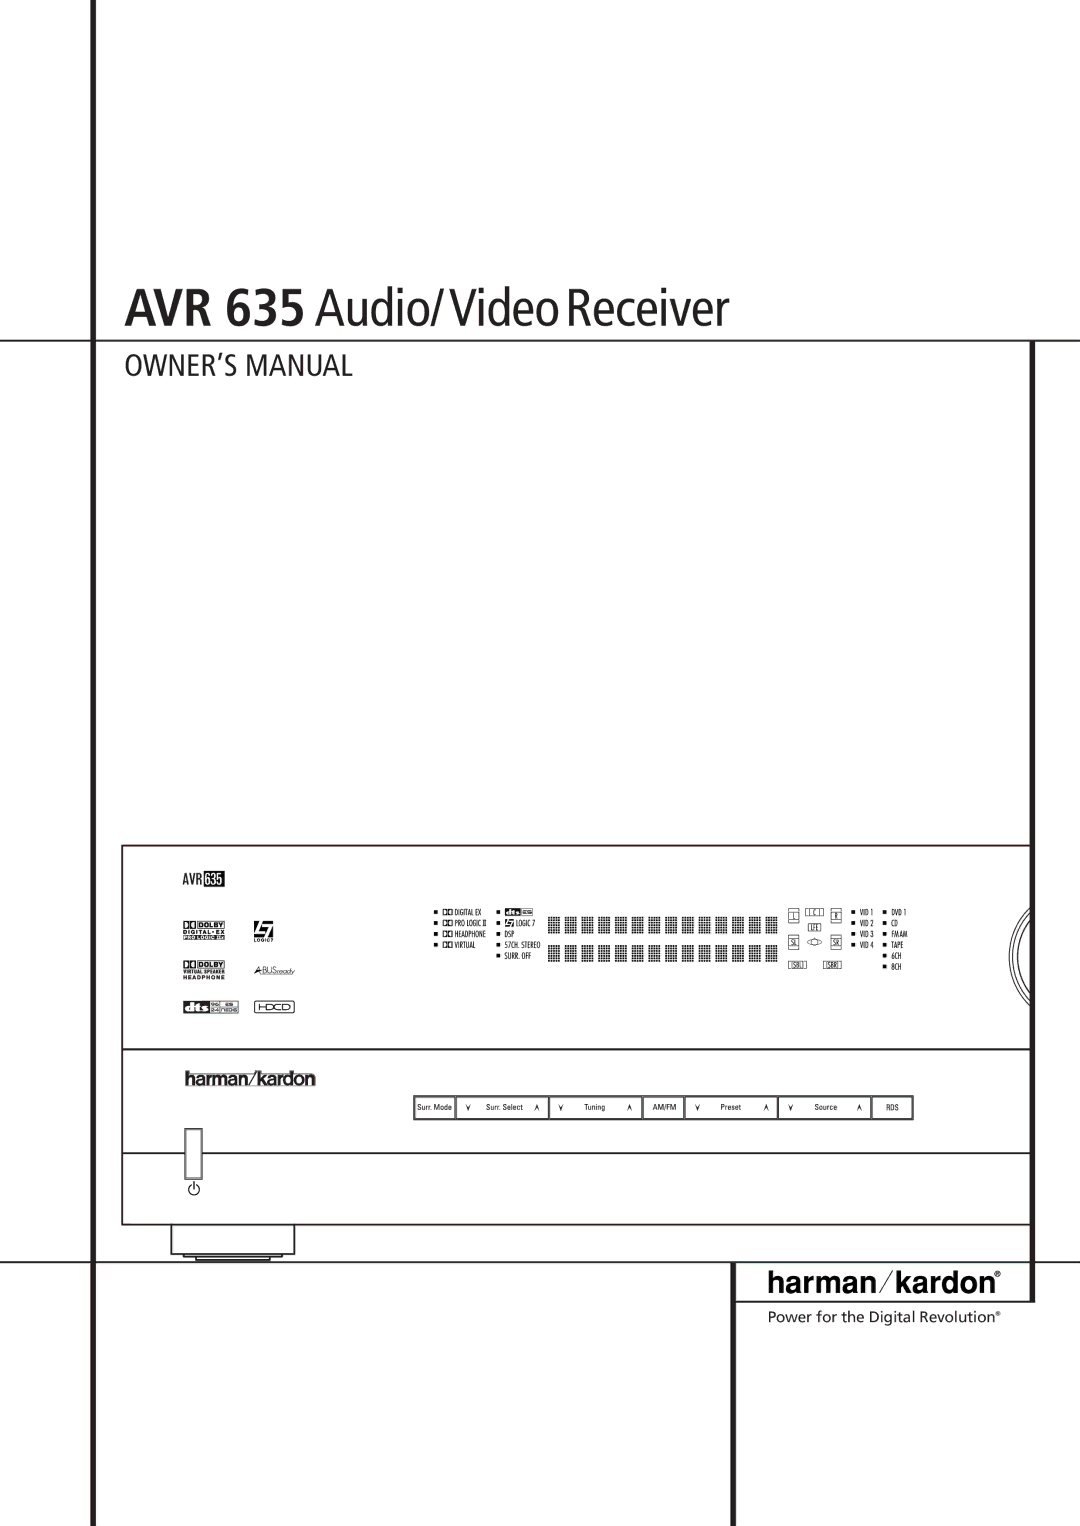
AVR 635 specifications
The Pacific Digital AVR 635 is an advanced A/V receiver that epitomizes high-fidelity audio and video performance, making it an ideal choice for home theater enthusiasts and audiophiles alike. Known for its robust build quality and cutting-edge features, the AVR 635 offers a remarkable audiovisual experience that caters to a variety of entertainment needs.One of the standout features of the AVR 635 is its multi-channel audio capabilities. Supporting up to seven channels, the receiver provides rich, immersive sound that enhances movies, music, and gaming experiences. With an impressive output of 100 watts per channel, users can enjoy clear and dynamic sound at a range of volume levels. The receiver also supports advanced audio formats such as Dolby TrueHD and DTS-HD Master Audio, ensuring high-definition audio playback that matches modern video quality.
In addition to powerful audio, the AVR 635 is equipped with sophisticated video processing technologies. The receiver supports upscaling from standard definition to high definition, revitalizing older content for contemporary viewing. It features multiple HDMI inputs, allowing users to connect various gaming consoles, Blu-ray players, and streaming devices with ease. The HDMI version supports 4K video pass-through, ensuring compatibility with the latest television technologies.
Another notable characteristic of the AVR 635 is its user-friendly interface. The on-screen display provides intuitive navigation through setup options and source selections, making it accessible for both novices and seasoned users. The receiver also includes a comprehensive remote control that enables quick adjustments and switching between inputs without hassle.
The AVR 635 boasts network connectivity features, allowing users to access streaming services and online music libraries. With built-in Wi-Fi and Ethernet options, the receiver can connect to home networks effortlessly. This enables streaming from platforms such as Spotify and Pandora, enriching the listening experience even further.
Moreover, the AVR 635 supports room calibration technologies, optimizing sound performance based on the unique acoustics of the environment. This feature ensures that sound reproduction is balanced and tailored, allowing every listener to enjoy the same quality regardless of their seating position.
Overall, the Pacific Digital AVR 635 combines innovative technology, powerful performance, and user-centric features, making it a top choice for anyone looking to enhance their home entertainment system. Whether for watching the latest blockbuster or enjoying a concert, the AVR 635 delivers excellence in every aspect of audio-visual reproduction.