Menu contents
MAIN menu 1 of 2 (main menu)
MIC/AUDIO
Item | Setting | Remarks | |
options | |||
|
| ||
|
|
| |
FRONT MIC | ON | ON: Phantom power is supplied to the | |
POWER | OFF | front microphone. | |
|
| OFF:Phantom power is not supplied to the | |
|
| front microphone. | |
|
|
| |
FRONT MIC | For selecting the camera mic input level. | ||
|
| ||
|
| ||
|
|
| |
REAR MIC CH1 | For setting the input mic level for the rear | ||
| jack AUDIO CH1 input. | ||
|
| ||
|
|
| |
REAR MIC CH2 | For setting the input mic level for the rear | ||
| jack AUDIO CH2 input. | ||
|
| ||
|
|
| |
MIC LOWCUT CH1 | ON | ON: The | |
| OFF | CH1 mic input. | |
|
| OFF:The | |
|
| CH1 mic input. | |
|
|
| |
MIC LOWCUT CH2 | ON | ON: The | |
| OFF | CH2 mic input. | |
|
| OFF:The | |
|
| CH2 mic input. | |
|
|
| |
LINE CH1 | +4dB | For selecting the rear jack AUDIO CH1 line | |
| 0dB | input level. | |
|
| ||
|
|
| |
LINE CH2 | +4dB | For selecting the rear jack AUDIO CH2 line | |
| 0dB | input level. | |
|
| ||
|
|
|
LENS SHADING
Item | Setting |
| Remarks |
options |
| ||
|
|
| |
|
|
| |
LENS SELECT | A | For selecting the type of lens mounted on | |
| B | the unit. | |
| C | A: | S18 a 6.7BERM4 |
| USER |
| S18 a 6.7BRM4 |
|
|
| S19 a 6.5BERM4 |
|
|
| S19 a 6.5BRM4 |
|
|
| YH18 a 6.7IRS |
|
|
| YH12 a 4.8IRS |
|
| B: | YH18 a 6.7KRS/KP |
|
|
| YH14 a 7.3KRS |
|
|
| YH12 a 4.8KRS |
|
|
| S14 a 7.5BRM4 |
|
|
| S17 a 6.6BRM4 |
|
| C: | S14 a 7.3BRM |
|
| USER:Lens other than A, B or C | |
|
|
| |
SHADING (USER) |
| For performing shading compensation for | |
|
| the USER lens. | |
|
|
|
|
MAIN menu 2 of 2 (main menu)
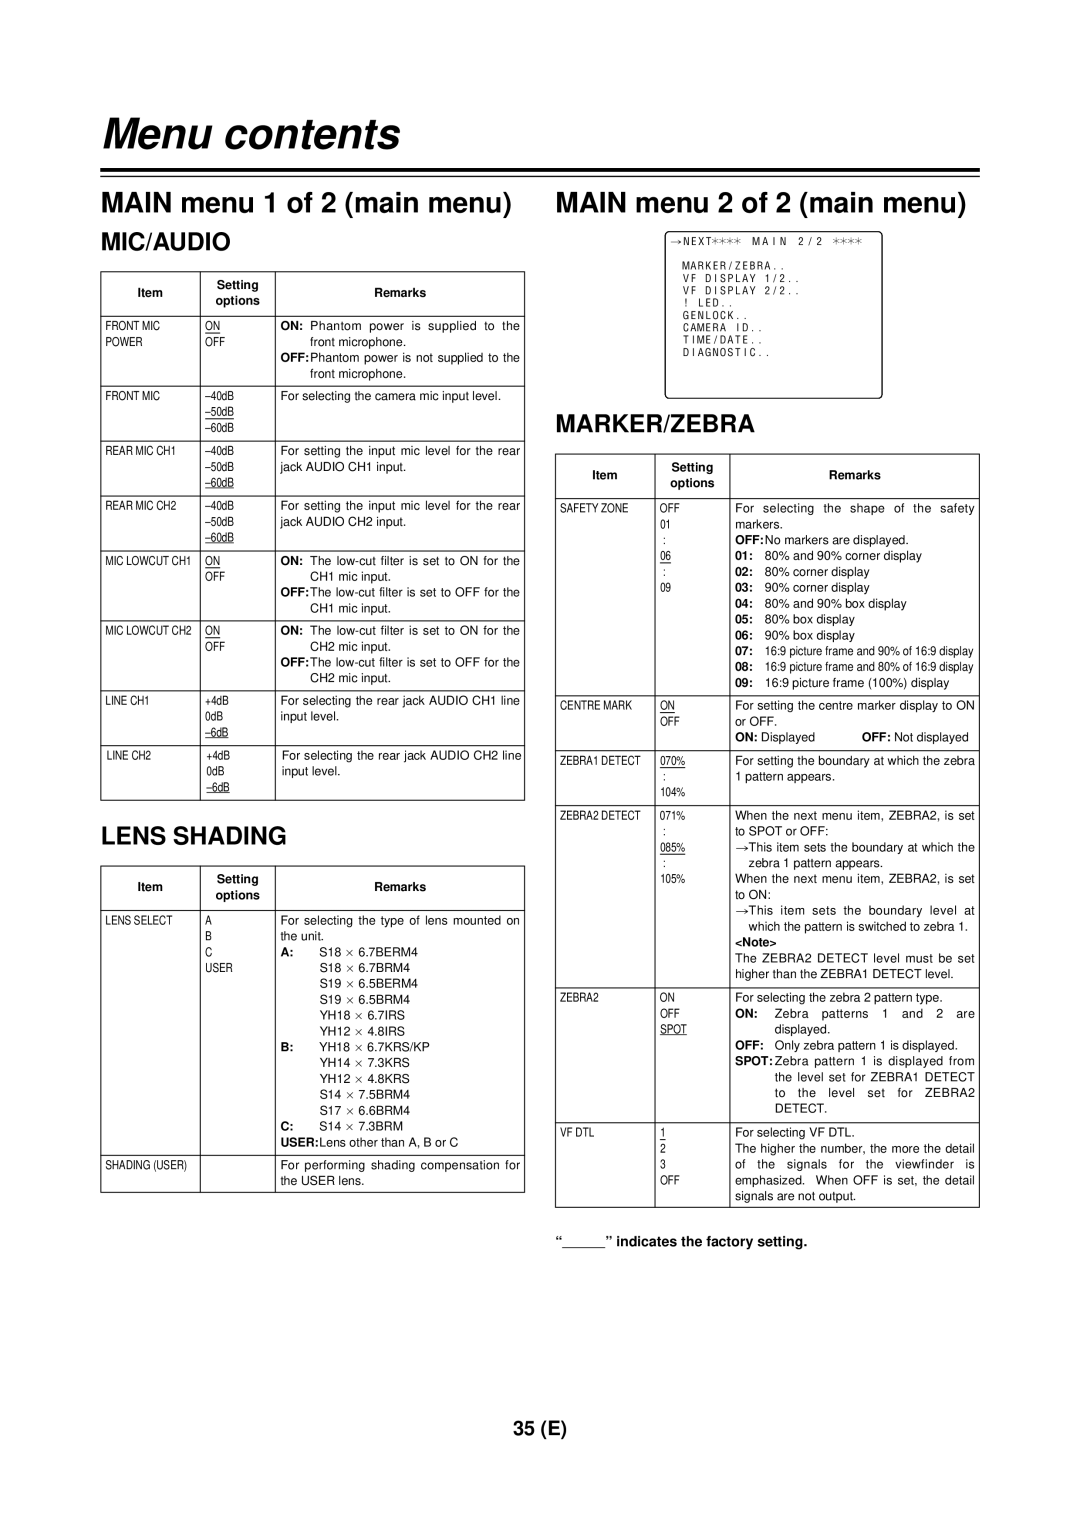
#NEXT¢¢¢¢ MAIN 2/2 ¢¢¢¢
MARKER/ZEBRA..
VF DISPLAY 1/2..
VF DISPLAY 2/2..
!LED..
GENLOCK.. CAMERA ID.. TIME/DATE..
DIAGNOSTIC..
MARKER/ZEBRA
Item | Setting |
|
| Remarks |
options |
|
| ||
|
|
|
| |
|
|
| ||
SAFETY ZONE | OFF | For selecting the shape of the safety | ||
| 01 | markers. |
| |
| : | OFF:No markers are displayed. | ||
| 06 | 01: 80% and 90% corner display | ||
| : | 02: | 80% corner display | |
| 09 | 03: | 90% corner display | |
|
| 04: 80% and 90% box display | ||
|
| 05: | 80% box display | |
|
| 06: | 90% box display | |
|
| 07: 16:9 picture frame and 90% of 16:9 display | ||
|
| 08: 16:9 picture frame and 80% of 16:9 display | ||
|
| 09: 16:9 picture frame (100%) display | ||
|
|
| ||
CENTRE MARK | ON | For setting the centre marker display to ON | ||
| OFF | or OFF. |
| |
|
| ON: Displayed | OFF: Not displayed | |
|
|
| ||
ZEBRA1 DETECT | 070% | For setting the boundary at which the zebra | ||
| : | 1 pattern appears. | ||
| 104% |
|
|
|
|
|
| ||
ZEBRA2 DETECT | 071% | When the next menu item, ZEBRA2, is set | ||
| : | to SPOT or OFF: | ||
| 085% | >This item sets the boundary at which the | ||
| : | zebra 1 pattern appears. | ||
| 105% | When the next menu item, ZEBRA2, is set | ||
|
| to ON: |
| |
|
| >This item sets the boundary level at | ||
|
| which the pattern is switched to zebra 1. | ||
|
| <Note> |
| |
|
| The ZEBRA2 DETECT level must be set | ||
|
| higher than the ZEBRA1 DETECT level. | ||
|
|
| ||
ZEBRA2 | ON | For selecting the zebra 2 pattern type. | ||
| OFF | ON: | Zebra patterns 1 and 2 are | |
| SPOT |
| displayed. | |
|
| OFF: Only zebra pattern 1 is displayed. | ||
|
| SPOT: Zebra pattern 1 is displayed from | ||
|
|
| the level set for ZEBRA1 DETECT | |
|
|
| to the level set for ZEBRA2 | |
|
|
| DETECT. | |
|
|
| ||
VF DTL | 1 | For selecting VF DTL. | ||
| 2 | The higher the number, the more the detail | ||
| 3 | of the signals for the viewfinder is | ||
| OFF | emphasized. | When OFF is set, the detail | |
|
| signals are not output. | ||
|
|
|
|
|
“” indicates the factory setting.
35 (E)