Normal recording
Recording methods
2
POWER
ONu OFF
1
Scene-to-scene continuity
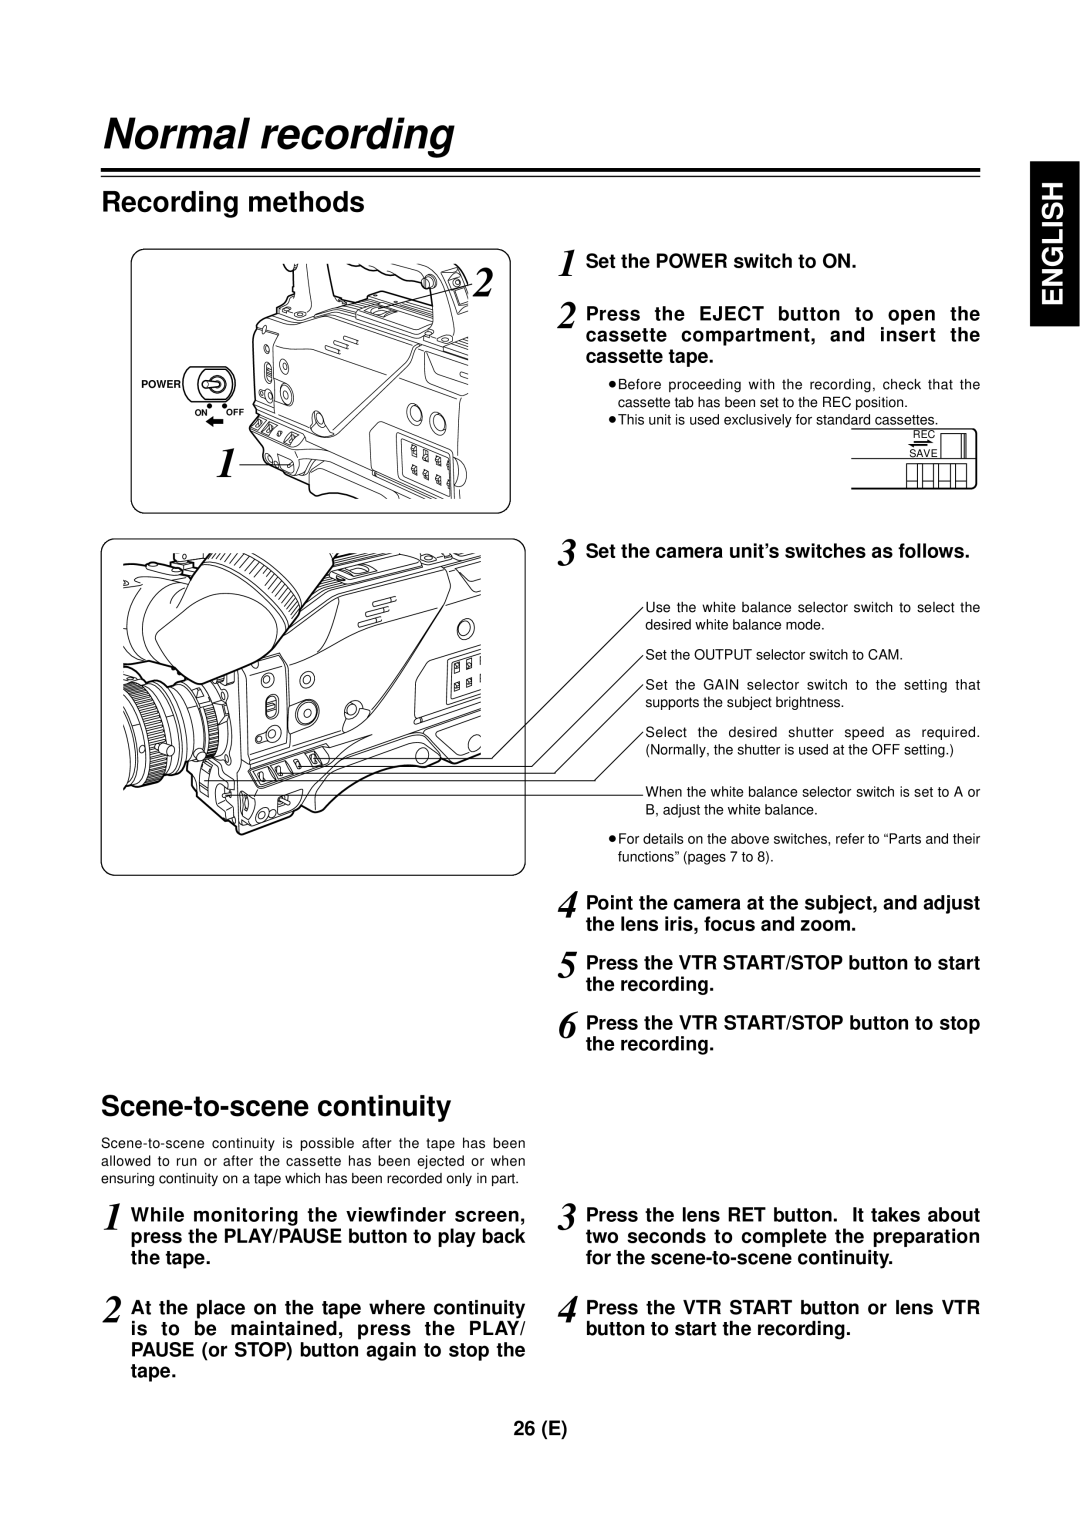
1 Set the POWER switch to ON.
2 Press the EJECT button to open the cassette compartment, and insert the cassette tape.
≥Before proceeding with the recording, check that the cassette tab has been set to the REC position.
≥This unit is used exclusively for standard cassettes.
REC
SAVE
3 Set the camera unit’s switches as follows.
Use the white balance selector switch to select the desired white balance mode.
Set the OUTPUT selector switch to CAM.
Set the GAIN selector switch to the setting that supports the subject brightness.
Select the desired shutter speed as required. (Normally, the shutter is used at the OFF setting.)
When the white balance selector switch is set to A or B, adjust the white balance.
≥For details on the above switches, refer to “Parts and their functions” (pages 7 to 8).
4 Point the camera at the subject, and adjust the lens iris, focus and zoom.
5 Press the VTR START/STOP button to start the recording.
6 Press the VTR START/STOP button to stop the recording.
ENGLISH
1 While monitoring the viewfinder screen, press the PLAY/PAUSE button to play back the tape.
2 At the place on the tape where continuity is to be maintained, press the PLAY/ PAUSE (or STOP) button again to stop the tape.
3 Press the lens RET button. It takes about two seconds to complete the preparation for the
4 Press the VTR START button or lens VTR button to start the recording.
26 (E)