Digital HD Video Cassette Recorder
Operating Instructions
ANY 13 AMP Socket
For your safety
How to replace the fuse
Operating precaution
Contents
Features
General and Features
Channel high-sound-quality digital audio
Menu-driven setup
Time codes
Multi-functional interfaces
Front panel
Controls and their functions
Front Panel Top Section
Front Panel Centre Section
TAPE/EE switch Stop mode
TC/CTL switch
TC/UB switch
INT/EXT switch
Remote lamp
REMOTE/LOCAL switch
SHTL/SLOW switch
Jog mode
A IN/SET/OUT a OUT buttons
Preroll button
Auto Edit button
PREVIEW/REVIEW buttons
SCH lamp
Counter display area
Cassette inserted display lamp
Dvcpro format 25 Mbps/50 Mbps cassette play display lamp
` Metre FULL/FINE selector switch
Headphones jack
Volume control
Monitor Select switches
Indicated on the Warning screen are the warning
Front Panel Bottom Section
SET button
Diag button
Fuse holder
Connector area
Power mains socket
Signal GND terminal
CUE OUT connector
Time Code in connector
Time Code OUT connector
CUE in connector
Digital Audio IN/OUT connector
? SD REF in connectors and 75-ohm termination switch
HD REF OUT connector
SD REF OUT connector
Registration method
Operations using the front panel bottom controls
Items which can be registered
Press it
When registering setup menu items
When registering VTR statuses
Example of the menu displayed for registering VTR statuses
Prog Menu 1 to 4 buttons
Cancel button
Are reset to the factory settings
Cancel button This is for cancelling the reset operation
Registered menu item displays
Operations using the front panel top controls
VTR status displays
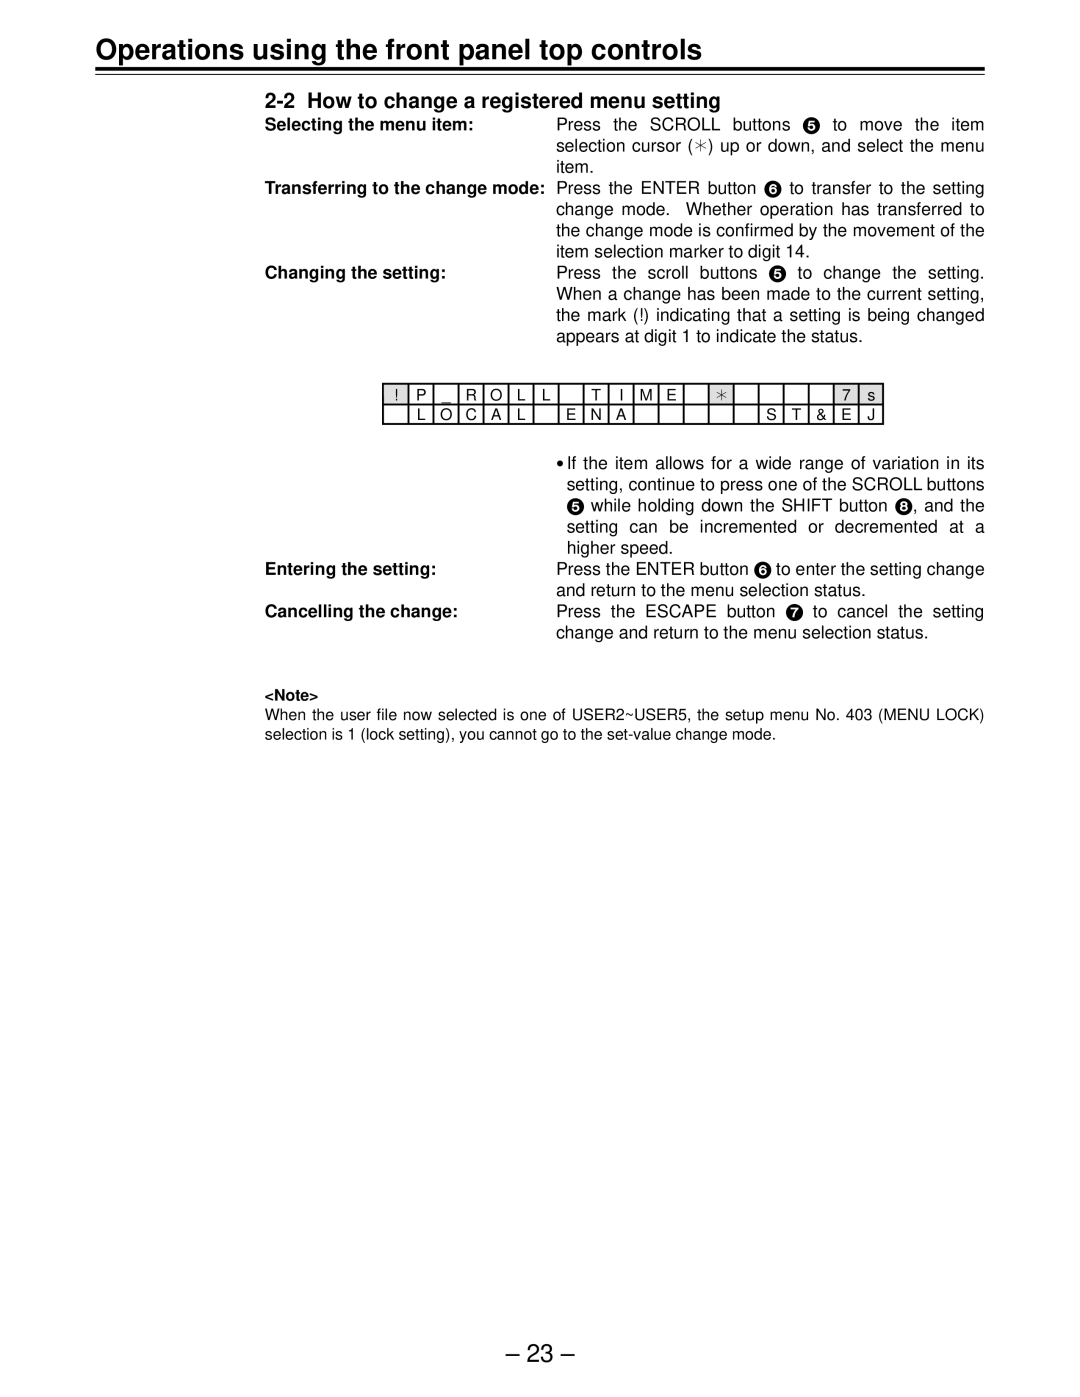
Cancelling the change
How to change a registered menu setting
Entering the setting
Menu item
VTR status item table
Name of registration
Description of display
Composite Video OUT3
Set the Control switch on the front panel to Local
Connections
Tapes
Cassette
Switching on the power/inserting the cassette
Lights and the tape stops travelling
STOP/STAND by mode
Still Timer Setting
Level controls Pushed in unity value
1Selecting video/audio input signals
2Adjusting the audio level
Recording
Playback
Jog/shuttle
Jog mode Shuttle mode
For insert editing
Select the editing mode
Manual editing
Select the editing channel
Preroll
Deck to deck
Automatic editing
Set the Power switch to on
Switch settings and adjustments
When the unit is used as the recorder
When the unit is used as the player
Selecting the editing mode
Negative duration function
Entering the edit points
Match frame processing function
Calculating the duration
Checking the edit points
Modifying the edit points
1Resetting both the edit in and OUT points
2Resetting either the edit in or OUT point
Preview
Auto tag editing
Executing automatic editing
Postroll
Retry function
Review
Modifying the edit points
Audio split editing
Entering the edit points
Deleting the edit points
Operations
Displaying the audio split edit points
Cueing up the tape to the edit points
Duration display
Expansion mode selection status
Expansion mode execution using the MODE/SEL button
Expansion mode selection status
Normal mode
Registering the cue points
Selecting the Multi CUE mode
Multi CUE function
Editing channels
Operations
Mode display
Search display Display mode selection mark
Description of displays
¢ 1 on
Search point and registration point operations
Search point operations
Example of LED display
# CUE 7 # CUE
Operations on the same selected page page Mode = Manu
Registering cue points
# CUE
¢¢ appears as the registration pointer display
Search operations
When registering cue points using numbers
Resetting the registration points individually
Deleting registered points
IC Card
IC Card mode selection
IC Card function
Outline
Displayed during the period of execution
Description of Display
Execute status Display
F O M a
Description of Operation
3 4
File selection
Variable memory function
Variable memory playback operation procedure
Variable memory mode selection
Variable memory function
Variable memory editing operation procedure
Description of Menu
Error LOG function
Error LOG mode selection
Setup menu No.015 Auto Step
Time code display
Operation mode display
Description of Operations
Are displayed
SETUP-MENU Init SET YESPLAY/NOSTOP
Setup default settings
Changing the settings
Search dial should be used in jog mode if at all possible
Each user file contains the following items
Setup menus
Changing the file
System User
Press the Menu button
Setting and releasing the lock mode
Except No. A00 Load and No. A01 Save
Settings can be locked
Loading a user file
Turn the search dial and move the cursor
Saving a user file
Automatic loading of user file when the power is turned on
System menu
Setting Description
Video output signal adjustments
Control matrix of the adjustments is shown below
SDI SYS
SYS H
SYS SC
VO SYS
Menu
+ The audio output phase is delayed from the video output
0100
0200 100
Basic
User menu
DMY
Display
YMD
MDY
Manual Dvcam
Format in tape playback
SYS Format
Manual
Sdref
OUT REF
Input
Hdref
Operation
Memory stop function
Lamp
FRZ Mode
SOF&EJ
REC INH
Mode
Rota Mode
Interface
Port
Local 50P
Master
IN/OUT
Edit
Setting
Edit
JOG FWD
JOG REV
Postroll
Rplcec
RPLCE4
CH1+CH2
Tape Protect
Time Code
Vaux video auxiliary data area
SBC sub code data area
Video
Video OUT
ENH
HD SDI OUT
SD SDI OUT Video OUT
AUT O
ADD22L
ADD21L
ADD20L
Line
Audio
AES
Digi
CH8
CH5
CH6
CH7
MIX L
CH1 CUE
Fade
AUD
Linear
Moni SEL
Moni CH
AUTO11
MON Auto
AUD VR
REC PT
Menu
Alone. In addition,
Time code/user bit
Time code
User bit
Recording internal/external time codes
Setting the internal time code
Setting the external time code TC switch
Reproducing the time code/user bit
Place the unit in the stop mode Set the TC/CTL button to TC
Display position
Operation mode
Superimpose screen
Characters displayed
Monitor output channel
Recording track Recording signal
Audio recording channel and monitor output selection
Audio recording channel
Rack-mounting adapters
Rack mounting
Condensation
Video head cleaning
Maintenance
This display the VTR information
Error messages
Diag menu
Displaying the Diag menu
Priority Monitor display
Displaying the Hours Meter information
Item No Description
Priority Display Description
Eject
Table of Auto OFF Error messages
Counter display Monitor display
Stop
Is detected or if an abnormal current flowing to
For
If the supply reel motor should rotate at an abnormally
If an abnormal torque applied to the supply reel motor
Introduction
Hardware specifications
External interface specifications
RS-232C interface
Communication parametres
Software specifications
Outline of send procedure from controller
Protocol
ACK
Error code table
When the communication has terminated abnormally Nack
Return format VTR
Operation Message
Command table
Commands relating to operation control Notes
Supplementary notes
OFF Standby STX OBN ETX
STX OSR ETX
Reverse
Standby STX OBF ETX
Operation
Commands relating to inquiries Notes
Send command
CLS
Microsoft QuickBASIC sample programme
Signal Pin No
Connector signals
Pin No. Signal
Pin No Signal
Pin No
Signal
RS-232C Remote 25-pin D-SUB crossover cable supported
Impedance SW
Printed circuit board
F1 board
Audio Input This sets the CH1 audio input
YES
Specifications
Video input connector
Video Output Connector
Cue Track
Audio Input Connector
Audio Output Connector
Digital Audio
Hagenauer Str , 65203 Wiesbaden-Biebrich Deutschland Tel
Panasonic Broadcast Europe
Panasonic Broadcast Europe GmbH