HC-X800
Thank you for choosing Panasonic
Following Applies only in the U.S.A. and Canada
Core when connecting to computer or peripheral devices
Following Applies only in the U.S.A
FCC Note
Following Applies only in Canada
Concerning the battery
AC adaptor
Batteries
Following Applies only in Latin American Countries
A./CANADA Consumers Attention
Product Identification Marking
Product Location
For USA-California only
Important Safety Instructions
USE & Location
Precautions
Care
Indemnity about recorded content
About the recording format for recording motion pictures
Handling of built-in memory HC-X900M
Avchd 3D
Cards that you can use with This unit
SD Memory Card, Sdhc Memory Card and Sdxc Memory Card
Contents
Basic
Preparation
Puerto Rico
Accessories
CD-ROM
Inserting the battery
Charging the battery
Access lamp Access a
Quick Guide
Selecting a mode
Turning the unit on and off with the power button
Turning the unit on/off
Turning the unit on and off with the LCD monitor/viewfinder
How to use the touch screen
Language selection
Selecting a media to record
Recording motion pictures
Change the mode to Touch the play mode select icon a
Motion picture/Still picture Playback
Touch the scene or the still picture to be played back
Operation icon
Names and Functions of Main Parts
LCD monitor Touch screen l
Lens cover
AF assist lamp l Recording lamp l
Mode l Recording start/stop button l
SD card cover l Tripod receptacle
This unit
Shoulder strap fixture Grip belt
Power supply and the noise will stop
Mode switch l Viewfinder l
Headphone terminal l
DC input terminal DC in l
Power supply
Inserting/removing the battery
≥ Press the power button to turn off the unit. l
Insert the battery until it clicks and locks
Connecting to the AC outlet
Charging the battery
DC input terminal ≥ Insert the plugs as far as they will go
Charging and recording time
Charging/Recording time
Continuous
Minimum
IFrame
Battery capacity indication
VW-VBN260 optional
Recording to a card
Cards that you can use with this unit
512 MB/1 GB/2 GB
GB/6 GB/8 GB/12 GB/16 GB/24 GB/32 GB
Access lamp Access a
Check that the access lamp has gone off
Inserting/removing an SD card
Press the C Part of the SD Card cover Close the SD
Turning the unit on/off
To turn off the unit
Turning the unit on and off with the LCD monitor/viewfinder
To turn on the unit
Operate the mode switch to change the mode to , or
Selecting a mode
Change the mode to recording or playback
How to use the touch screen
Preparation of the LCD monitor/ Viewfinder HC-X900M
Touch
Slide while touching
Recording Mode
About the Touch Menu
About the operation icons
Touch left side/ right side of on the Touch Menu
Setting date and time
Menu Setup # Clock SET
To display the Touch Menu
Select the menu. l
Before recording
Basic camera positioning
Basic motion picture recording
Attaching/Removing the lens hood
Selecting a media to record HC-X900M
Change the mode to or . Select the menu. l
Touch the media to record motion pictures or still pictures
Screen indications in the Motion Picture Recording Mode
Recording motion pictures
0h00m00s
When motion picture is recorded in Avchd 3D format
When motion picture is recorded in Avchd Progressive format
When motion picture is recorded in Avchd format
When motion picture is recorded in iFrame format
Press the button fully
Recording still pictures
Focus indication
Recording still pictures in Motion Picture Recording Mode
About the focusing area
¬ Change the mode to
About the screen indications in Still Picture Recording
Mode Effect
Intelligent Auto Mode
Intelligent auto/Manual button
Automatic White Balance
Intelligent Auto Mode
Auto Focus
Change the mode to Touch the play mode select icon A. l
≥ It will switch to the screen displaying
Motion picture/Still picture playback
Touch the scene or the still picture to be Played back
Speaker/Headphone volume adjustment
Change the thumbnail display
Screen
Scene or still picture being played back is
Motion picture compatibility
Still picture compatibility
Using the menu screen
Using the quick menu
Using the Setup Menu
Select the menu
Display
Clock SET
Date Format
ZOOM/REC Display
S. Lock Display ON/OFF
DATE/TIMEDATE/D/T/OFF
Quick Power on
EXT. Display
Economy Batt
Economy AC
Close the LCD monitor and retract the viewfinder
≥ Change the mode to or Set Quick Start to on
Open the LCD monitor or extend the viewfinder
Remote Control
REC Lamp
Alert Sound
Select Operation Icons
Power LCD
LCD SET
EVF SET
AV Multi
Hdmi Resolution
Number Reset
TV Aspect
3D Output
Format Card
Format Media
Card Status
Touch Format Media Touch SD Card or Built-inMemory
Demo Mode
Media Status
S. Demo
Language
Using with the remote control HC-X900M
Replace a button-type battery
Menu Setup # Remote Control # on
Power on/off button
Remote control usable range
Operation of direction buttons/OK button
Press a direction button
≥ Selected item will become yellow
Using the zoom
Ring zoom HC-X900M
Zoom ratio during the Still Picture Recording Mode
Still Picture Recording Mode
Image Stabilizer Function
Optical image stabilizer button
1080/60p recording
Changing Image Stabilizer Mode
1080/60p button
Recording with the Touch function
Touch function icons
Touch Zoom
Touch
AF/AE tracking
About target frame
Touch the object and lock the target
Start recording
Menu Setup # O.I.S. Lock Display # desired setting
Optical Image Stabilizer Lock
To make the display of disappear
Touch Shutter
Operation icons
Recording functions of operation icons
Fade*1 Intelligent Contrast Control*1
Menu Record Setup # Fade Color #
Fade
Intelligent Contrast Control
PRE-REC
Icon changes each time it is touched
Smile Shot
On # Face RECOG. # OFF
Built-in flash
To adjust the brightness of the flash
Red-eye Reduction
Self-timer
This is for recording still pictures using the timer
Intelligent Exposure
Backlight Compensation
Headphone volume adjustment
Adjust the volume of the headphone while recording
Guidelines
Displaying Guidelines at playback
Scene Mode
Recording functions of menus
Zoom Mode
REC Mode
Menu Record Setup # REC Mode # desired setting
≥ Recordable time using the battery l
Time Lapse REC
Menu Record Setup # Digital Cinema # on
Menu Record Setup # Relay REC # on
Digital Cinema
Relay REC
Face Recog
Registering a face for Face Recognition
Align the person’s face with the guide
Touch REC or press the button fully
Touch the desired item to enter the setting
Changing the information of a registered person
Touch Enter to end registration
Select the menu
Canceling a registered person
Touch the person to cancel
Name Display
Face Framing
Auto Slow Shtr 2D
Auto Slow Shtr 3D
AGS
Prioritized face framing
Wind Noise Canceler
Menu Record Setup # Shooting Guide # on
Menu Record Setup # Wind Noise Canceler # on
Digital Cinema Color
MIC Setup
Menu Record Setup # MIC Setup # desired setting
Menu Record Setup # Zoom MIC # on
Zoom MIC
MIC Level
Touch / to adjust
Auto
Picture Adjust
Bass Setting
Touch the desired setting items
Luminance
Zebra
Histogram
Picture size and Maximum zoom ratio
Picture Size
Example of the display
Picture size in Motion Picture Recording Mode
Menu Picture # Aspect Ratio # desired setting
Aspect Ratio
Picture size Aspect ratio
HI-SPEED Burst
Press the button
Touch Record or Delete
Touch REC ALL or Select
You can add a shutter sound when recording still pictures
Menu Picture # Shtr Sound # desired setting
AF Assist Lamp
Shtr Sound
To switch to Manual Mode
Press the iA/MANUAL button to switch to Manual Mode
Manual recording
≥ MNL appears on the screen
Touch WB Touch / to select White Balance Mode
Auto White Balance adjustment
Sunny mode Outdoors under a clear sky
White Balance
Touch Shtr or Iris Touch / to adjust settings
Manual shutter speed/iris adjustment
To set the White Balance manually
Manual shutter speed adjustment
Manual iris/gain adjustment
≥ Press the iA/MANUAL button to switch to Manual Mode. l
Recording with Manual Focus
Adjust the focus by touching MF / MF
Menu Record Setup # MF Assist # on
Touch Focus Touch MF to change to Manual Focus
≥ MF appears on the screen
Setup # 3D CONV. Lens Setup
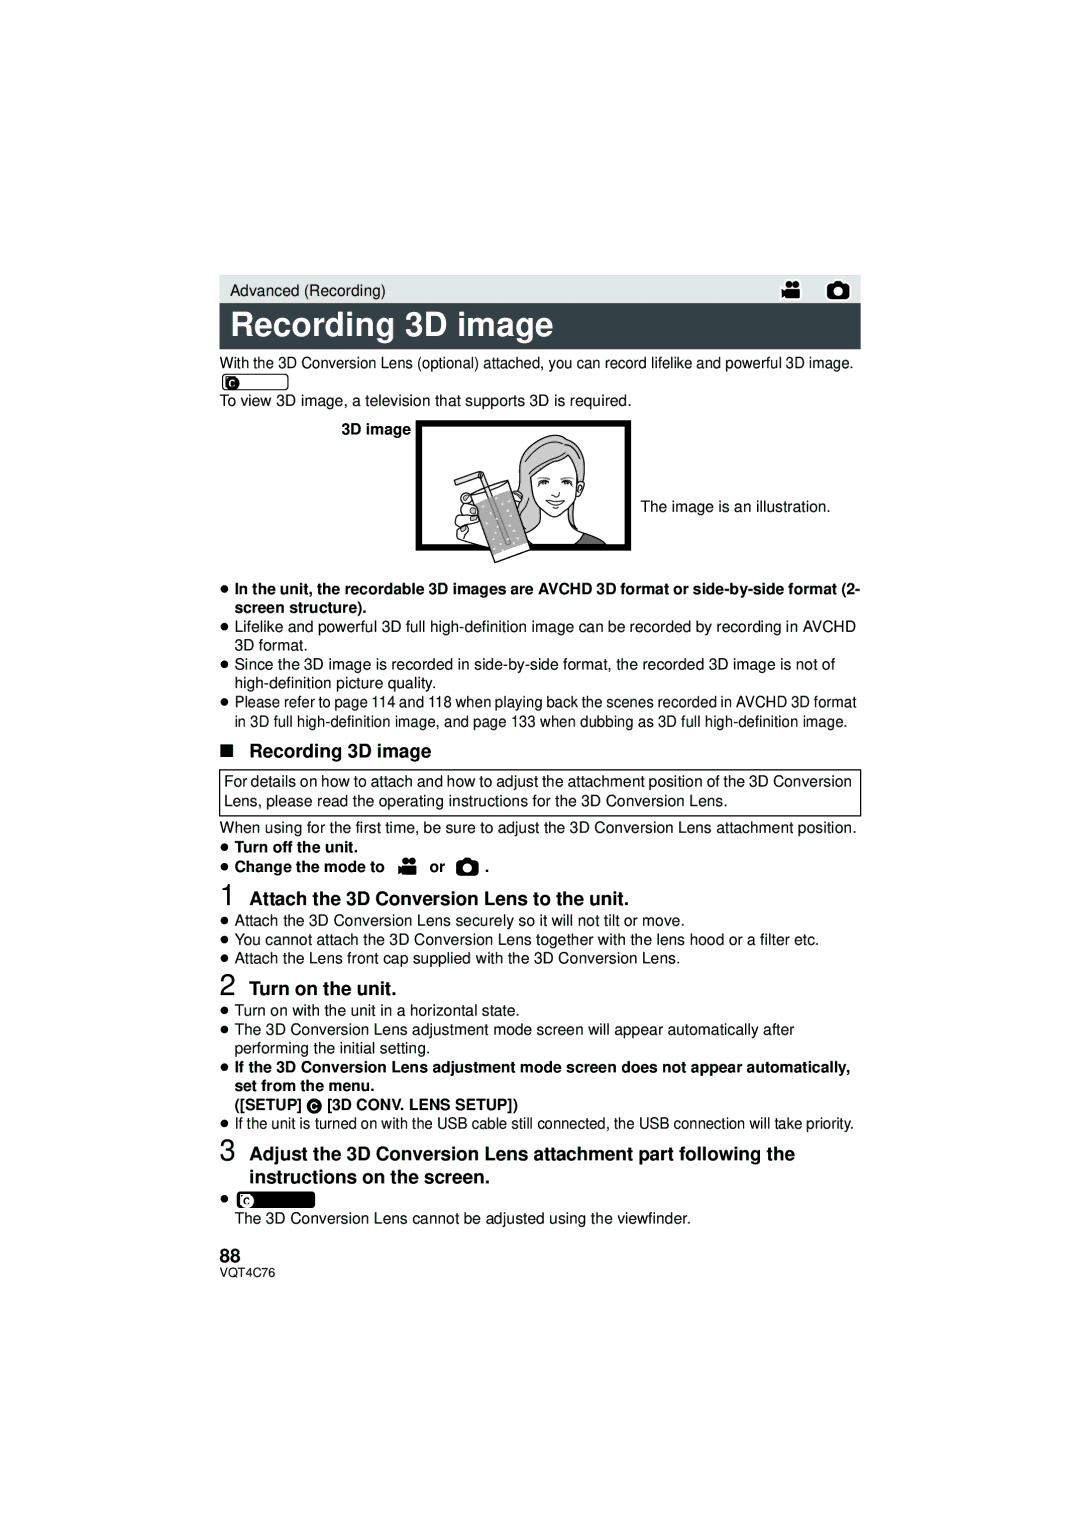
Recording 3D image
Recording 3D image
Attach the 3D Conversion Lens to the unit
Touch Exit to end the adjustment
To switch the image during the recording to 2D 3D display
Press the recording start/stop button to start recording. l
Press the button to record still pictures. l
Functions that cannot be used during 3D recording
Functions not available during 3D recording
Playback Operations
Motion picture playback using operation icon
Playback display Operating steps
Creating still picture from motion picture
Highlight & Time Frame Index
Touch the desired search condition
Playback Playback display Operating steps Operation
Repeat Playback
Resuming the previous playback
Touch / to set the time
Touch the thumbnail to be played back
Zooming out from the zoomed still picture
Zooming in on a still picture during playback Playback zoom
You can zoom in by touching a still picture during playback
Various playback functions
Playing back motion pictures/still pictures by date
Touch the date select icon. l Touch the playback date
Touch the scene or the still picture to be
Highlight Playback
Touch . l
Touch the desired effects
Touch on the thumbnail view
Setting up the custom effect
Playing back with the settings changed
Touch Custom Touch Effect Setup or Music Select
Touch the desired effect
Scene setting
Checking the favorite scenes
Playback time setting
Priority settings
Playing back the favorite scenes
Saving the Highlight Playback
Setting up the title
100
Touch SET to select the item to change
Touch 3D no Effect or 2D
Touch the interval of playback for the slide show
Touch the desired effect
Deleting scenes/still pictures
Deleting part of a scene Avchd
Touch Delete
103
Menu Edit Scene # Section Delete
Dividing a scene Avchd
Dividing a scene to partially delete iFrame/MP4
Touch YES
105
Menu Edit Scene # SPLIT&DELETE
Menu Video Setup # Delete Personal Info
Deleting personal information
Protecting scenes/still pictures
Touch the scene/still picture to be protected
When the confirmation message appears, touch YES
Relay scene combining HC-X900M
Insert the SD card that was used for Relay Recording
107
High-definition images When connecting to Hdmi terminal
Watching Video/Pictures on your TV
Connect this unit to a TV
108
Change the mode to to play back
Select the video input on the TV
109
≥ Example Select the Hdmi channel with a Hdmi mini cable
Connecting with a Hdmi mini cable
To display the on-screen information on the TV
110
Simple
Connecting with the AV multi cable
Menu Setup # AV Multi # desired setting
Menu Setup # Component OUT # desired setting
Listening in 5.1 channel sound Avchd HC-X900M
Playback using Viera Link
What is the Viera Link Hdavi Control?
Menu Setup # Viera Link # on
≥ If you are not using Viera Link, set to OFF
Operate with the remote control for the TV
Automatic input switching
Other linked operations
113
3D image playback HC-X900M
Viewing with 3D compatible TV
Touch the 2D/3D display icon / / . l
Touch 2D/3D or 3D
Menu Setup # 3D Output # Hdmi
115
Viewing on the LCD monitor
Converting and playing back 2D 3D images as 3D 2D
Touch 3D
117
Play back the scenes or still pictures Touch
Adjusting 3D effect of the 3D image
Touch / to adjust setting
3D image playback HC-X800
118
Play back scenes or still pictures recorded in 3D
119
Touch / to adjust settings
Menu Video Setup or PICT. Setup # Conv D to 3D # on
Converting and playing back 2D images as 3D
120
Change the mode to
Copying between SD card and Built-in
Check the used space of the copy destination
121
Touch Exit when the copy complete message is displayed
Touch desired items following the screen display
Approximate time for copying
122
Connecting a DVD burner to copy to/ play back a disc
Preparing for copying/playing back
123
DVD-R DVD-RAM DVD-RW DVD-R DL +RW +R DL
Insert the disc in the DVD burner
Touch the desired item
124
Burn Disc
About recording formats when copying motion pictures
Copying to discs
Touch Start
125
Important Notice
Approximate time for copying to a disc
126
DVD-RAM/DVD-RW/DVD-R/+RW/+R
≥ When playing back on a TV, connect this unit to the TV. l
Playing back the copied disc
127
USB Connection Cable supplied with DVD burner
Managing the copied disc
Check before dubbing
Dubbing with a Blu-ray disc recorder, video devices, etc
129
To dub using equipment with an SD card slot
To dub using equipment with a USB terminal
130
You can dub by directly inserting an SD card
Touch Recorder on the screen of this unit
Touch the media you wish to dub
131
About the screen indication of the unit
132
You can dub by connecting an AV multi cable
≥ Images are dubbed in standard quality
3D image storage
Copying unaltered as 3D images
Copying after conversion to 2D images
133
Menu Video Setup # 2D/3D Display # 2D
Menu Setup # 3D Playback # 2D
Dubbing in standard picture quality
Copying scenes recorded in 3D
135
≥ Scenes recorded in 3D are not supported by iMovie’11
What you can do with a PC
HD Writer AE
Smart Wizard
136
137
About Conversion Assist Function
Formatting discs
End User License Agreement
138
Operating environment
Operating environment for HD Writer AE
139
CPU
140
To use the HD Writer AE
141
Installation
Connecting to a PC
Connect this unit to the AC adaptor
Connect this unit to a PC
Touch PC on the screen of this unit
To disconnect USB cable safely
About the PC display
Copying your still pictures to your PC
144
Example folder structure of an SD card
Starting HD Writer AE
If using Mac
145
Double-click Camsd displayed on the desktop
Operating environment
146
Indications
Recording indications
147
1h30m
148
OPEN/F2.0
Confirmatory indications when a DVD burner is connected
Playback indications
Indication of connection to other devices
Confirmatory indications
Messages
About recovery
150
It is not a malfunction in following cases
Troubleshooting
151
Error Occurred
152
Please Turn Unit
OFF, then Turn on
153
154
≥ Remote Control of the Setup is OFF. l
Remote control does
155
Recognized
When carrying the unit, do not drop or bump it
Cleaning
About this unit
156
About the battery
When you are not going to use the unit for an extended time
When disposing of or giving away this unit, note that
Be sure to detach the battery after use
About the AC adaptor
About status indicator during charging
158
About 3D About 3D recording
About 3D viewing
159
≥ Viewing for extended periods may cause eye-fatigue
About the SD card
When disposing of or giving away the SD card, note that
160 LCD monitor/viewfinder
About personal information
About condensation
Causes of condensation
161
About copyright
Carefully observe copyright Laws
Licenses
162
Recording modes/approximate recordable time
163
Approximate number of recordable pictures
164
165
Picture size 1920 k1080 Aspect ratio 169
Specifications
166
167
168
USB
3D Conversion Lens optional
169
Accessory No Description
Optional accessories
170
171
Attaching the optional accessories on the shoe adaptor
Attaching the conversion lens/ filter kit
Attaching the lens cap of the Filter Kit VW-LF49N optional
172
Accessory Order Form For USA and Puerto Rico Customers
173
Limited Warranty Coverage For USA and Puerto Rico Only
Carry-In or Mail-In Service
Limited Warranty Limits And Exclusions
174
175
As of January
176
Panasonic Product Limited Warranty
Camcorder Products One 1 year, parts and labour
177
Also you may contact us directly by our Contact Center
Panama Colombia
Ecuador Panasonic Costa Rica PANA737 El Salvador Guatemala
Numerics
178
Motion picture Custom effect
179
USA and Puerto Rico Luminance
Testigo de acceso Access a
Spanish Quick Use Guide/Guía española para el uso rápido
Insertar la batería
Carga de la batería
Selección del modo
Encender/apagar el dispositivo
181
Cómo usar la pantalla táctil
Selección del idioma
182 Seleccionar un medio para grabar
Grabación de películas
Reproducción de película Fotografía
183
≥ Toque Entrar
Hacia abajo mientras la toca
Panasonic Canada Inc