Operating Instructions
Compact Plain Paper Fax and Copier
For your future Reference
Energy Star
Trademarks
Copyright
Safety instructions
Important safety instructions
Never install telephone wiring during a Lightning storm
Wet locations Never touch uninsulated telephone wires or
Table of Contents
Table of Contents
Accessories
Included accessories
Part No. PFJA1030Z
Part No. PFJXE0805Z or
Accessory information
Model No Specifications/Usage
Finding the Controls
Location of controls
Display
One-touch keys
Overview
Front view
Rear view
Installation
Ink film
Open the front cover by pulling up the center part
Open the back cover
Turn the gear of blue core in the direction of the arrow
Paper tray
To use legal size paper
To use A4 size paper
Document tray Handset
Attach the document tray into the slots on
Recording paper
To add paper
Connections and Setup
Connecting to a telephone line jack and power outlet
Using surge protectors
Selecting the way to use your fax machine
Telephone wiring image House or office
Your situation Connections
You wish to use the fax machine and your
Answering machine in the same room
How to set up
How to receive calls
If the answering machine is turned off
With the fax machine
Case 2 One line used for fax only
How to set up How to receive calls
Fax machine will receive it automatically
Telephone wiring image in house or office
TEL Mode
Telephone wiring image in house or office Connections
Your situation
FAX TEL
Voice mail
Connections and Setup
Single telephone line Phone number Fax Computer machine
EXT. in USE
Help Button
Help function
Volume
Adjusting volume
Ringer volume
Handset receiver volume
Setting the date and time
Initial Programming
Date and time, your logo and fax number
Setting your logo
Example Bill
To change capital or lower-case letters
To delete a character
To select characters using + or Display order of characters
To select characters with the dial keypad
Keys Characters
Setting your fax number
Example +234
To delete a number
Automatic Dialing
Storing names and telephone numbers into one-touch dial
Storing names and telephone numbers into navigator directory
Editing a stored entry
Press Menu Example
To cancel erasing, press Stop Press SET
Erasing a stored entry
Press + or -displayed Example Until the desired entry is
Stored name and number are erased
Using one-touch dial
Using the directory
Press Monitor or lift the handset
Press the desired station key
Caller ID service from your phone company
To confirm caller information using Caller ID list
Caller ID
How Caller ID is displayed
Viewing and calling back using caller information
Press Caller ID
To stop viewing
To edit the telephone number for calling back
To cancel erasing, press STOP, then
Erasing caller information
Erasing all caller information
Erasing specific caller information
For navigator directory
To select the resolution
Sending Faxes
Sending a fax manually
To redial the last number Press REDIAL/PAUSE
Press FAX/START Sending from memory Quick scan feature
To transmit more than 10 pages at a time
Convenient way to send a fax
To stop transmission
Document weight
Documents you can send
Minimum size Maximum size
Effective scanning area
Sending a fax using one-touch dial and navigator directory
Using stations
Using navigator directory
Fax auto redial
Broadcast transmission
Programming entries into the broadcast memory
Press Broadcast
Program entries
Adding a new entry into the broadcast memory
Press + or -until the following is displayed
Station Example
Example Nikki
Erasing a stored entry in the broadcast memory
Example BOB
To cancel the broadcast setting
To send the same document to more than one party only once
Activating TEL mode
Receiving Faxes
Receiving a fax manually
To stop receiving
Activating FAX only mode How to receive calls
Receiving a fax automatically
Fax documents
Using two or more phone numbers in a single telephone line
Activating the Distinctive Ring feature
Distinctive Ring
Press #, then
Ring pattern Settings
If you use three or more phone numbers
Programming the ring pattern assigned for fax
Quick scan feature
Copying
To stop copying
Convenient way of copying
To collate multiple copies
Press + or -repeatedly until the following is displayed
Example Making 2 copies of a 4-page original document
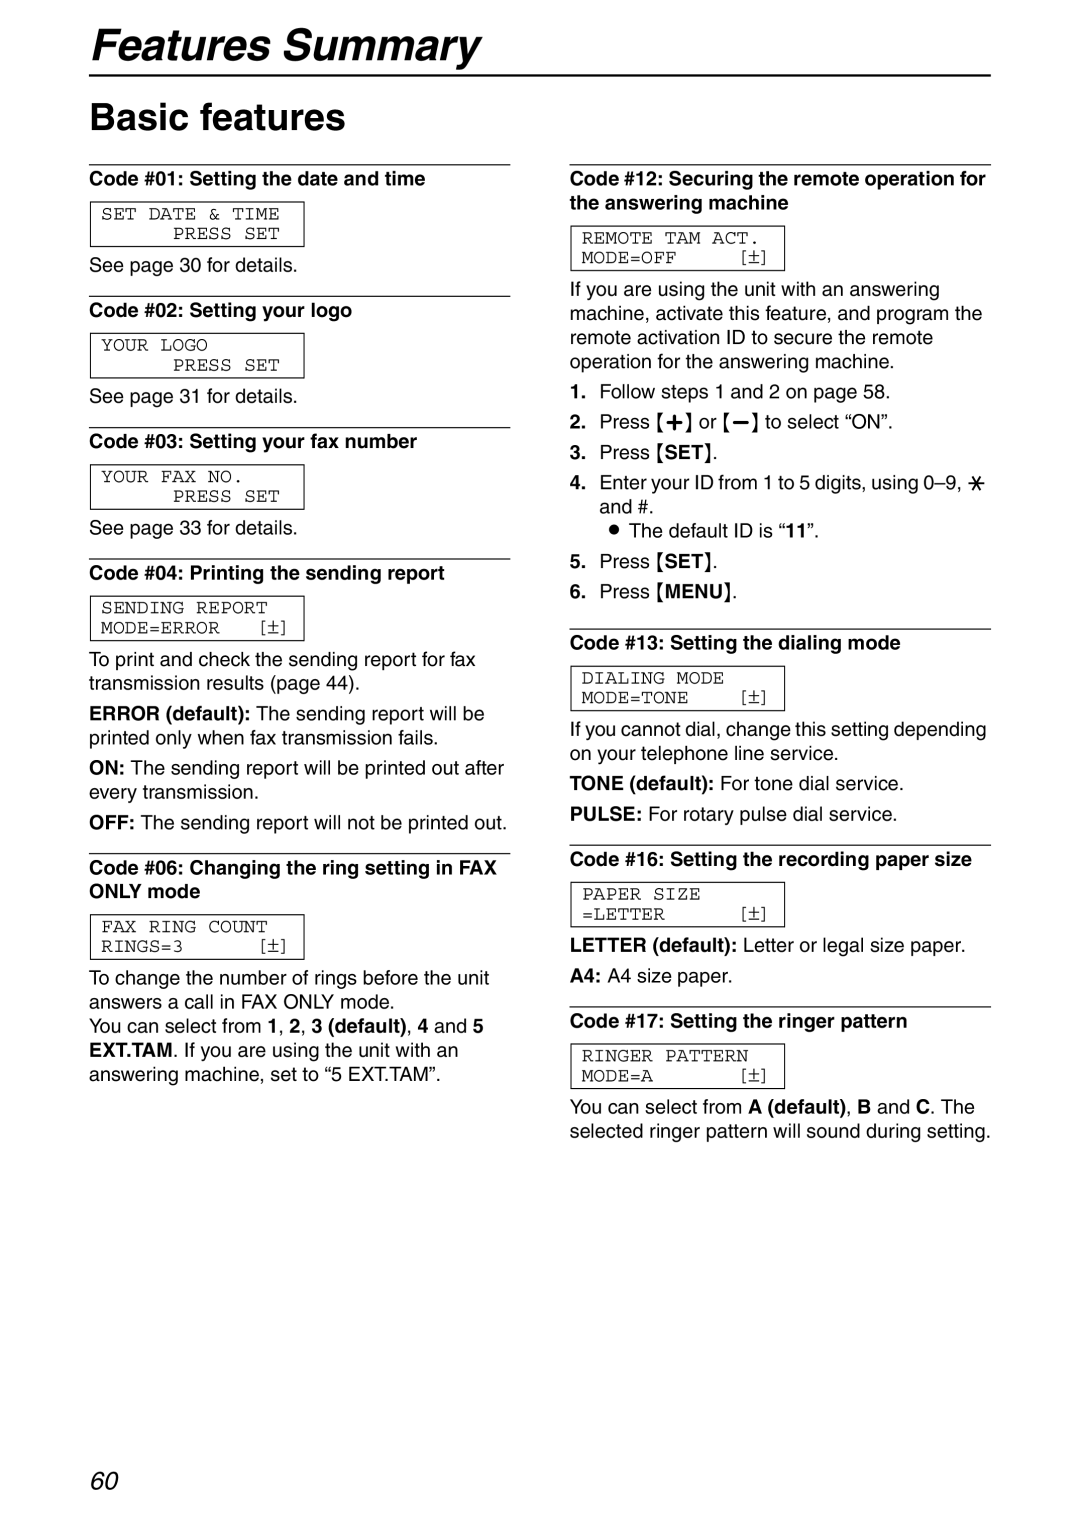
Features Summary
Programming method for basic features
To cancel programming
Programming
Programming method for advanced features
Basic features
Advanced features
Code #40 Setting the silent detection
Code #44 Setting the memory reception alert
Code #46 Setting the friendly reception
Code #36 Receiving oversized documents
Code #76 Setting the connecting tone
Connecting Tone MODE=ON ±
Error Messages
Communication Error Code 40-42, 46-72, FF
Communication Error Code 43
ERROR-NOT Your Unit Code 54, 59
Display
Press SET to clear the message
Back cover is open. Close it
Remaining film is low. Prepare a new film
Transmission error occurred. Try again
Recording paper jam occurred. Clear the jammed paper
Frequently Asked Questions
When a function does not work, check here
General
Fax sending
Receiving mode
Fax receiving
Using an answering machine
If a power failure occurs
Copying
Replacement
Remove the stoppers and tags from the new ink film
Dotted area Back cover Front cover Display
When the recording paper has jammed in the unit
Jams
Recording paper jam
Remove the jammed recording paper
Around the blue core
When the recording paper was not fed into the unit properly
Document jams sending
Close the front cover securely
Cleaning
Do not use paper products, such as paper towels or tissues
Connect the power cord and the telephone line cord
Document feeder
Thermal head
Correct
Printed Reports
Reference lists and reports
Caller IQ Feature
OpenLCR service for the Caller IQ feature
To turn the Caller IQ feature
From on to OFF
To turn the Caller IQ feature from OFF to on
Updating the rate table downloading the rate table
Set the Caller IQ feature to on by referring to
During download
Or sending/receiving a document
Automatic download
Specifications
Technical data about this product
Paper specifications
Recording paper size
FCC and Other Information
FCC and Other Information
FCC and Other Information
Limited Warranty
Panasonic Facsimile Product Limited Warranty
FAX categories Parts Labor
Thermal Transfer Facsimile
Warranty
For product service
Customer Services
Customer Services directory
Basic features
Advanced features
Index
Program index
Ring setting
Navigator directory
One-touch dial
Reports
Panasonic FAX Advantage Program
PFQX1701ZA CC0502TW0