One-Touch Insert/Audio Dubbing
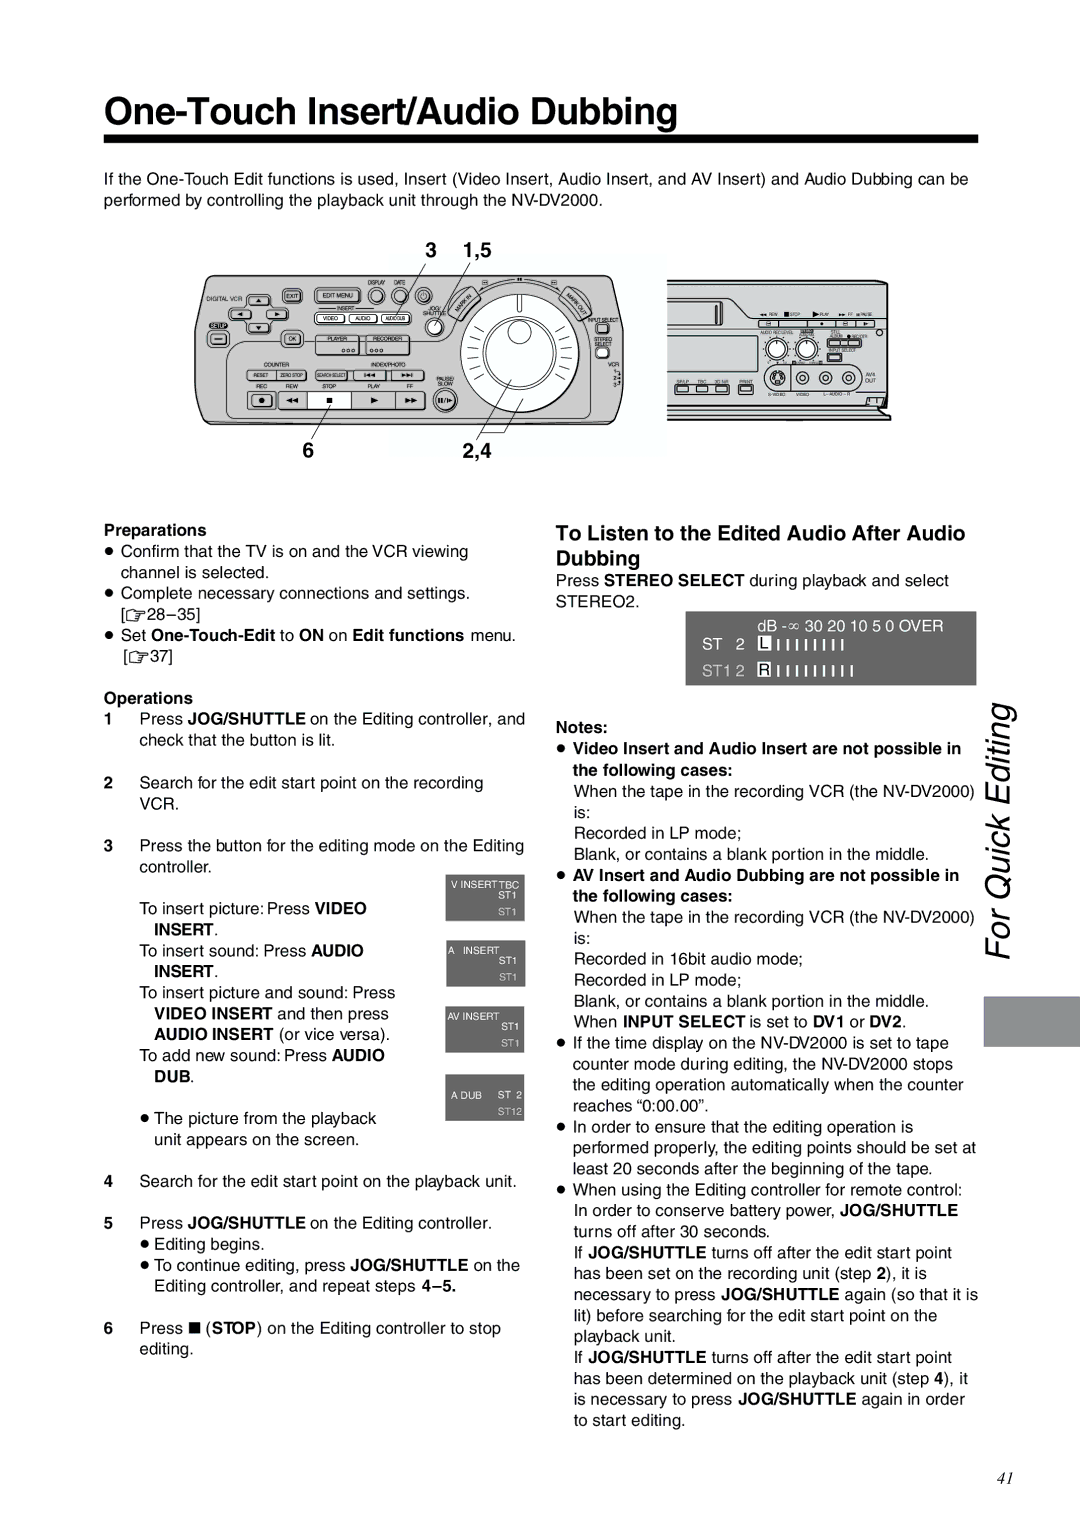
If the
3 1,5
DIGITAL VCR
| STEREO | AUDIO |
|
|
|
|
| REW |
| STOP | PLAY | FF PAUSE | |
< EJECT | SERECT | OUT |
|
|
|
|
|
| |||||
EDIT | 8mm CONTROL |
|
|
|
|
| AUDIO REC LEVEL | STEREO1 | STILL |
| |||
|
|
|
|
| AUDIO MIX | ALBUM | ¥REC/OTR | ||||||
¥ DV IN/OUT DV SELECT |
|
|
|
|
|
|
|
|
|
|
| ||
1 |
|
|
|
|
|
|
|
|
|
|
|
|
|
2 |
|
|
|
|
|
|
|
|
|
|
| INPUT SELECT | |
|
|
|
|
|
|
|
|
|
|
|
|
| |
|
|
|
|
|
|
|
| 0 | 10 |
| 0 STEREO1 STEREO2 10 |
| |
AV4 |
| RECORDER | EDIT CONTROL | 8mm |
|
|
|
|
|
|
|
| AV4 |
| PLAYER | PASSIVE DV EDIT | CONTROL MIXING EDIT | SP/LP | TBC 3D NR |
|
|
|
|
| OUT | ||
|
|
|
|
|
|
| |||||||
|
| PRINTER/ |
|
|
|
|
|
| VIDEO | L– AUDIO – R | |||
|
| D.STILL PICTURE |
|
|
|
|
|
|
|
|
|
|
|
62,4
Preparations
¡Confirm that the TV is on and the VCR viewing channel is selected.
¡Complete necessary connections and settings.
¡Set
Operations
1Press JOG/SHUTTLE on the Editing controller, and check that the button is lit.
2Search for the edit start point on the recording VCR.
3Press the button for the editing mode on the Editing controller.
To Listen to the Edited Audio After Audio Dubbing
Press STEREO SELECT during playback and select STEREO2.
ST 2 | dB | |||
L | l l l l l l l l |
| ||
ST1 2 |
| l l l l l l l l | l | |
R | ||||
|
|
|
|
|
Notes: | Editing | |
¡ Video Insert and Audio Insert are not possible in | ||
the following cases: | ||
When the tape in the recording VCR (the | ||
is: | ||
Quick | ||
Recorded in LP mode; | ||
Blank, or contains a blank portion in the middle. | ||
¡ AV Insert and Audio Dubbing are not possible in |
To insert picture: Press VIDEO INSERT.
To insert sound: Press AUDIO INSERT.
To insert picture and sound: Press VIDEO INSERT and then press AUDIO INSERT (or vice versa).
To add new sound: Press AUDIO DUB.
≥The picture from the playback unit appears on the screen.
VINSERT TBC ST1
ST1
AINSERT ST1
ST1
AV INSERT
ST1
ST1
A DUB ST 2
ST12
the following cases: | For | |
When the tape in the recording VCR (the | ||
is: | ||
Recorded in 16bit audio mode; | ||
| ||
Recorded in LP mode; |
| |
Blank, or contains a blank portion in the middle. |
| |
| ||
When INPUT SELECT is set to DV1 or DV2. |
| |
¡ If the time display on the |
| |
| ||
counter mode during editing, the |
| |
the editing operation automatically when the counter |
| |
reaches “0:00.00”. |
| |
¡ In order to ensure that the editing operation is |
| |
performed properly, the editing points should be set at |
| |
least 20 seconds after the beginning of the tape. |
|
4Search for the edit start point on the playback unit.
5Press JOG/SHUTTLE on the Editing controller.
≥Editing begins.
≥To continue editing, press JOG/SHUTTLE on the Editing controller, and repeat steps
6Press ∫ (STOP) on the Editing controller to stop editing.
¡ When using the Editing controller for remote control: |
In order to conserve battery power, JOG/SHUTTLE |
turns off after 30 seconds. |
If JOG/SHUTTLE turns off after the edit start point |
has been set on the recording unit (step 2), it is |
necessary to press JOG/SHUTTLE again (so that it is |
lit) before searching for the edit start point on the |
playback unit. |
If JOG/SHUTTLE turns off after the edit start point |
has been determined on the playback unit (step 4), it |
is necessary to press JOG/SHUTTLE again in order |
to start editing. |
41
