To continue setting programmes:
1Press EDIT MENU.
2Press PLAYER.
3Using 21 (CURSOR), select the programme number.
The programme number changes each time these buttons are pressed.
Up to 10 programmes can be set.
4Repeat steps
Notes:
≥ Programme Editing can be performed using either the |
tape counter or Time code display. |
≥ If you attempt to switch to the tape counter display in |
order to perform editing after setting the editing points |
using the Time code display, the Erase all |
programmes screen is displayed. |
(The Erase all programmes screen is also displayed |
when you change from the tape counter display to the |
Time code display.) |
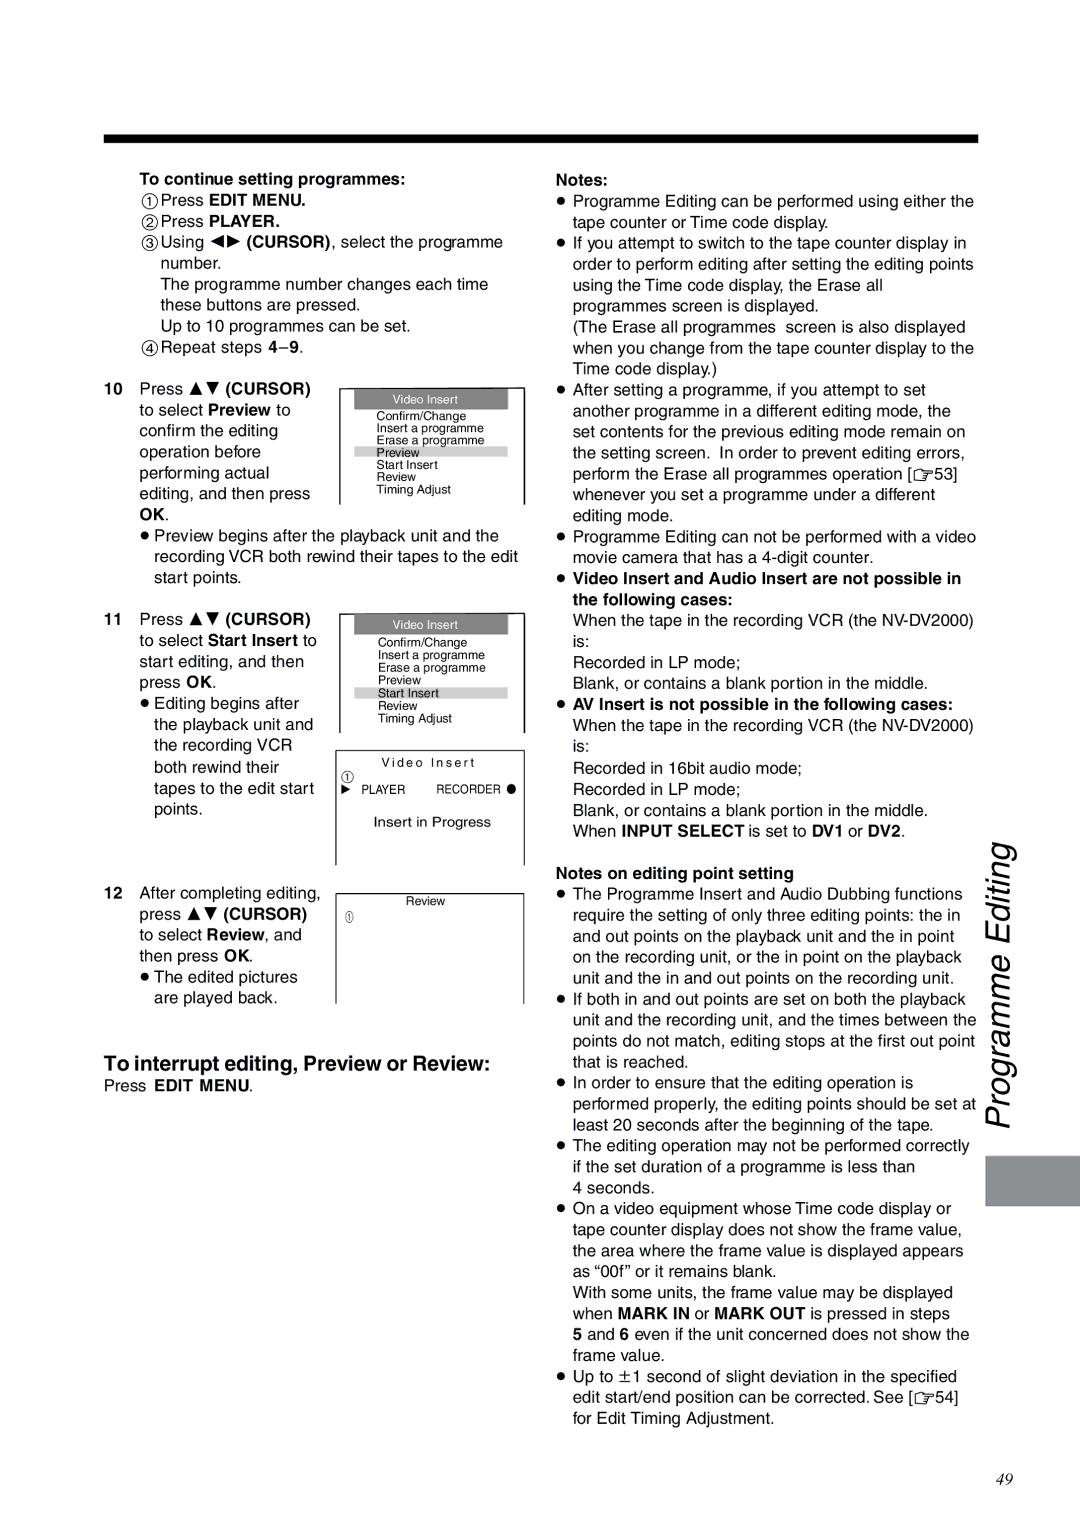
10Press 34 (CURSOR) to select Preview to confirm the editing operation before performing actual editing, and then press OK.
Video Insert
Confirm/Change Insert a programme Erase a programme Preview
Start Insert Review Timing Adjust
≥ After setting a programme, if you attempt to set |
another programme in a different editing mode, the |
set contents for the previous editing mode remain on |
the setting screen. In order to prevent editing errors, |
perform the Erase all programmes operation [R53] |
whenever you set a programme under a different |
editing mode. |
≥Preview begins after the playback unit and the recording VCR both rewind their tapes to the edit start points.
≥ Programme Editing can not be performed with a video |
movie camera that has a |
≥ Video Insert and Audio Insert are not possible in |
the following cases: |
11Press 34 (CURSOR) to select Start Insert to start editing, and then press OK.
≥Editing begins after the playback unit and the recording VCR both rewind their tapes to the edit start points.
Video Insert
Confirm/Change
Insert a programme
Erase a programme
Preview
Start Insert
Review
Timing Adjust
V i d e o I n s e r t
1
1 PLAYER RECORDER ¥
Insert in Progress
When the tape in the recording VCR (the |
is: |
Recorded in LP mode; |
Blank, or contains a blank portion in the middle. |
≥ AV Insert is not possible in the following cases: |
When the tape in the recording VCR (the |
is: |
Recorded in 16bit audio mode; |
Recorded in LP mode; |
Blank, or contains a blank portion in the middle. |
When INPUT SELECT is set to DV1 or DV2. |
Notes on editing point setting
12 After completing editing, | Review | |
press 34 (CURSOR) | ||
1 | ||
to select Review, and |
| |
then press OK. |
|
≥The edited pictures are played back.
To interrupt editing, Preview or Review:
Press EDIT MENU.
≥The Programme Insert and Audio Dubbing functions require the setting of only three editing points: the in and out points on the playback unit and the in point on the recording unit, or the in point on the playback unit and the in and out points on the recording unit.
≥If both in and out points are set on both the playback unit and the recording unit, and the times between the points do not match, editing stops at the first out point that is reached.
≥In order to ensure that the editing operation is performed properly, the editing points should be set at least 20 seconds after the beginning of the tape.
≥The editing operation may not be performed correctly if the set duration of a programme is less than
4 seconds.
≥On a video equipment whose Time code display or tape counter display does not show the frame value, the area where the frame value is displayed appears as “00f” or it remains blank.
With some units, the frame value may be displayed when MARK IN or MARK OUT is pressed in steps
5 and 6 even if the unit concerned does not show the frame value.
≥Up to n1 second of slight deviation in the specified edit start/end position can be corrected. See [R54] for Edit Timing Adjustment.
Programme Editing
49