Adjusting the picture to the desired setting
You can adjust the picture settings for any of the input signal sources selected according to the procedure on page 18. The items which can be adjusted vary depending on the type of input signal. The adjustment procedure below describes the
Adjustment procedure <for the COLOR setting>
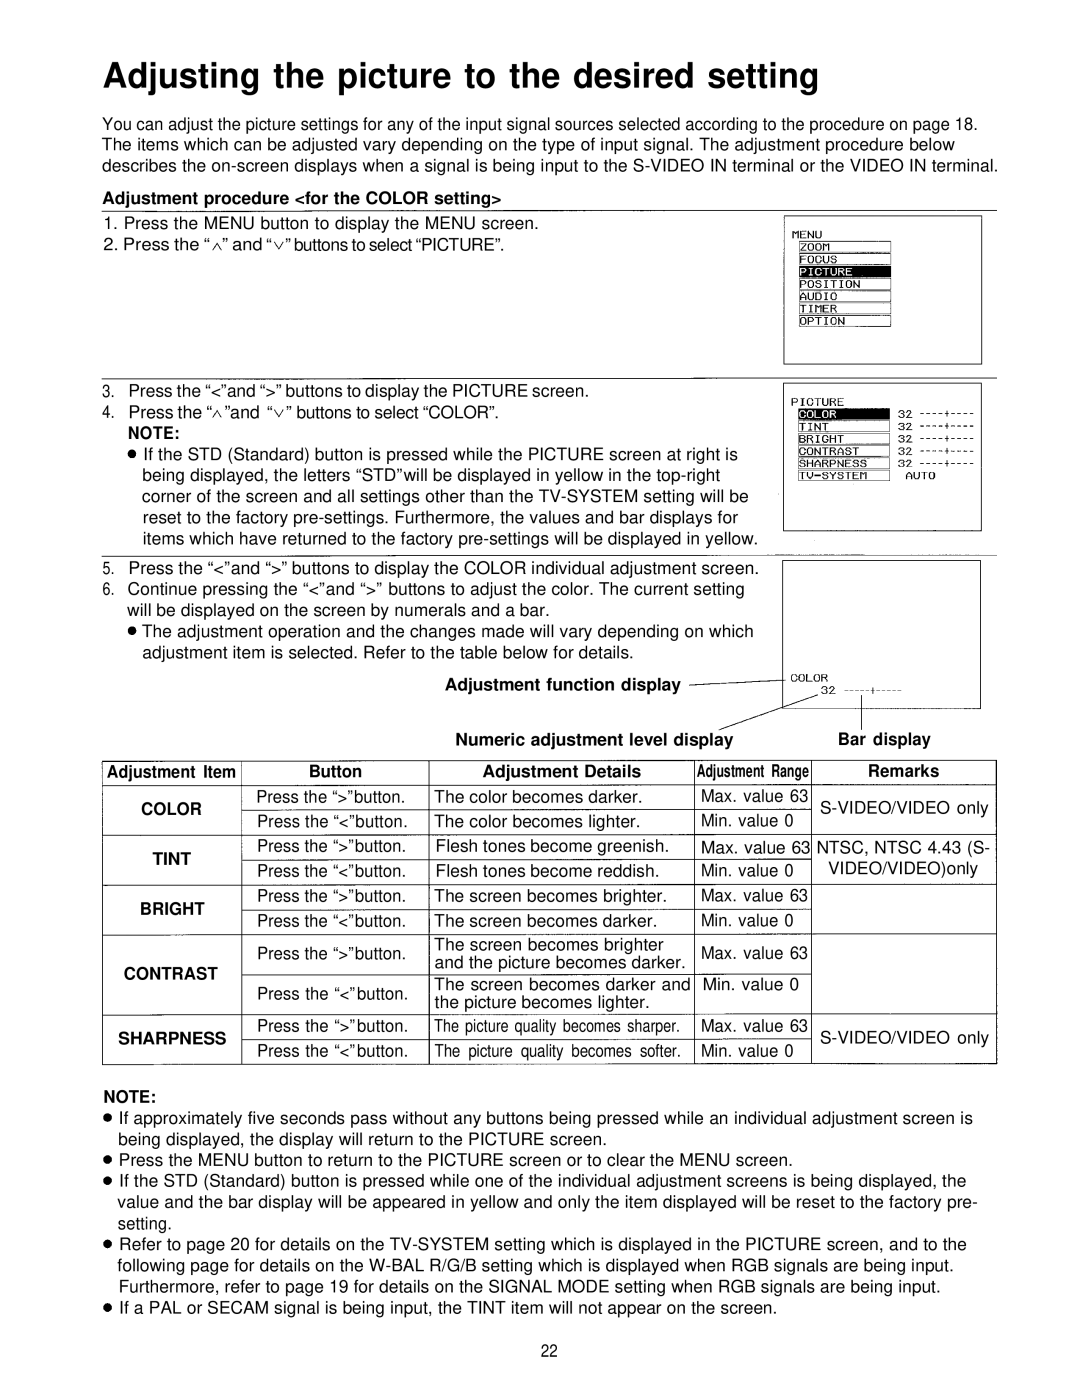
1.Press the MENU button to display the MENU screen.
2.Press the “ ” and “ ” buttons to select “PICTURE”.
3.Press the “<” and “>” buttons to display the PICTURE screen.
4.Press the “ ” and “ ” buttons to select “COLOR”.
NOTE:
If the STD (Standard) button is pressed while the PICTURE screen at right is being displayed, the letters “STD” will be displayed in yellow in the
5.Press the “<” and “>” buttons to display the COLOR individual adjustment screen.
6.Continue pressing the “<” and “>” buttons to adjust the color. The current setting will be displayed on the screen by numerals and a bar.
The adjustment operation and the changes made will vary depending on which adjustment item is selected. Refer to the table below for details.
Adjustment function display
Adjustment Item | Button |
Numeric adjustment level display | Bar display | |
Adjustment Details | Adjustment Range | Remarks |
Press the “>” button. |
COLOR |
Press the “<” button. |
Press the “>” button. |
TINT |
Press the “<” button. |
Press the “>” button. |
BRIGHT |
Press the “<” button. |
Press the “>” button. |
CONTRAST |
Press the “<” button. |
Press the “>” button. |
SHARPNESS |
Press the “<” button. |
NOTE: |
The color becomes darker. The color becomes lighter. Flesh tones become greenish. Flesh tones become reddish. The screen becomes brighter. The screen becomes darker.
The screen becomes brighter and the picture becomes darker.
The screen becomes darker and the picture becomes lighter.
The picture quality becomes sharper. The picture quality becomes softer.
Max. value 63
Max. value 63 NTSC, NTSC 4.43 (S-
Min. value 0 VIDEO/VIDEO)only Max. value 63
Min. value 0
Max. value 63
Min. value 0
Max. value 63
If approximately five seconds pass without any buttons being pressed while an individual adjustment screen is being displayed, the display will return to the PICTURE screen.
Press the MENU button to return to the PICTURE screen or to clear the MENU screen.
If the STD (Standard) button is pressed while one of the individual adjustment screens is being displayed, the value and the bar display will be appeared in yellow and only the item displayed will be reset to the factory pre- setting.
Refer to page 20 for details on the
If a PAL or SECAM signal is being input, the TINT item will not appear on the screen.
22