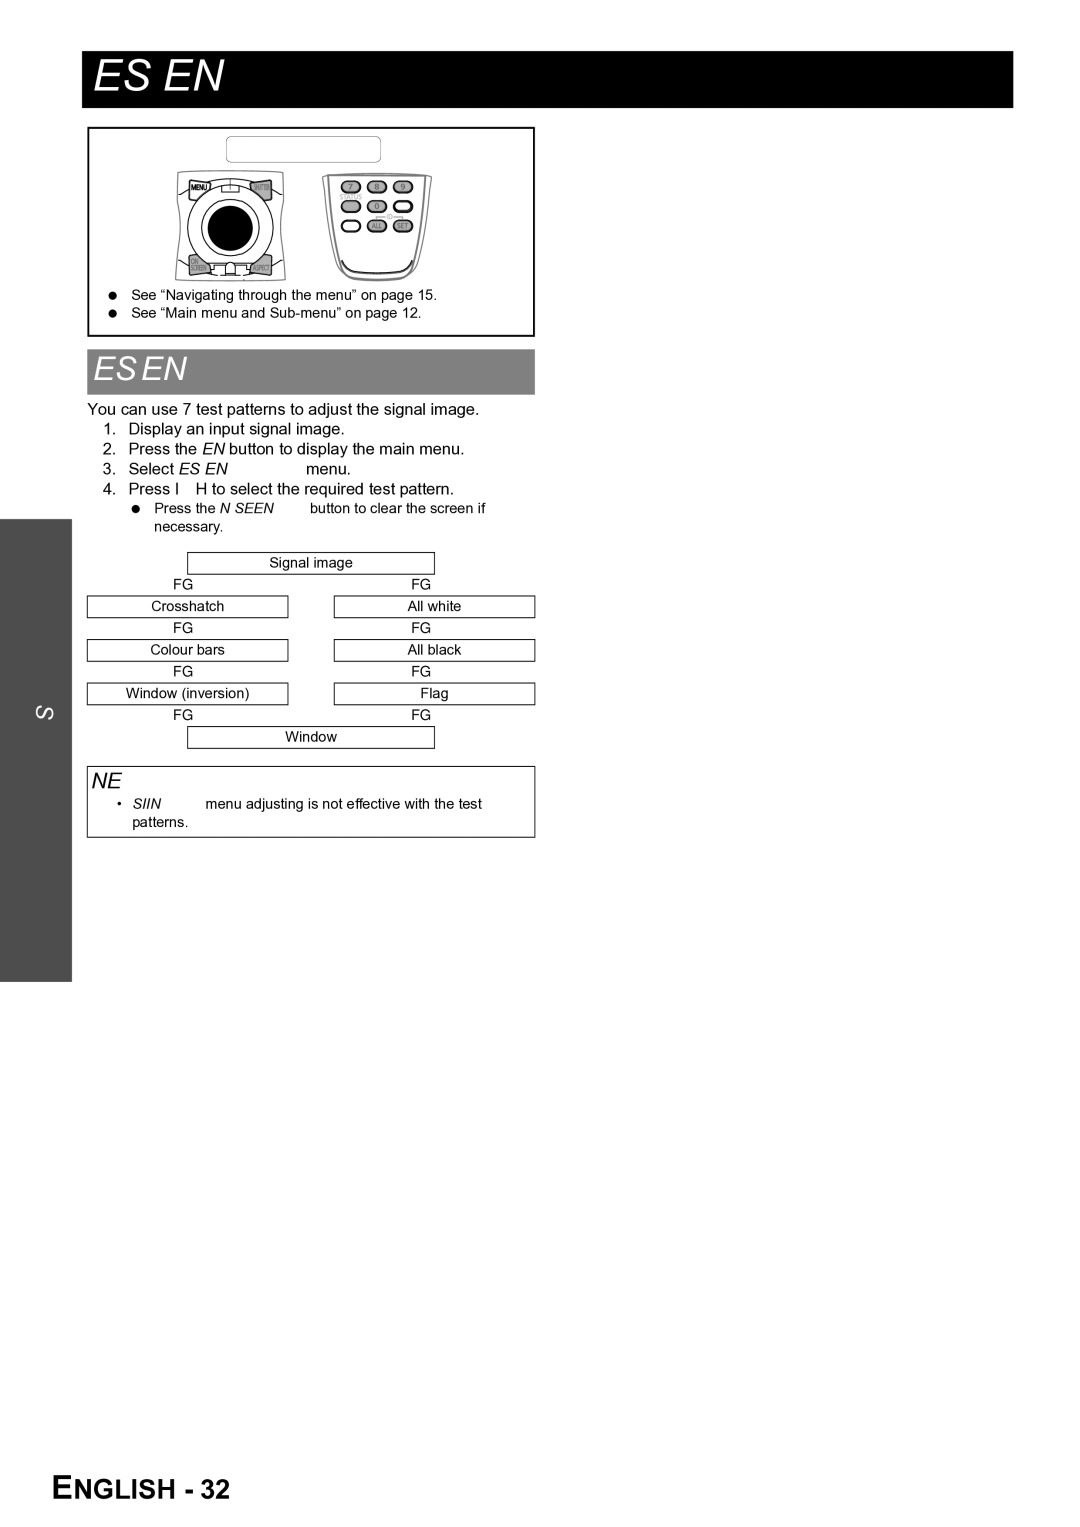
Main
E
Getting Started Settings Appendix
Index .......................................................................... 50
Contents
Setting up.....................................................................3
Connections ..............................................................10
Menu Navigation .......................................................12
PICTURE menu..........................................................16
Setting up
Screen
Screen size and throw distance
Projected image Shown as 16:10
JProjection distance by projection lens
QPT-DZ6710/PT-DZ6700
16:9 (Unit: m)
16:10 (Unit: m)
QPT-DW6300
16:10 (Unit: m)
16:9 (Unit: m)
QPT-D6000/PT-D5000
16:10 (Unit: m)
16:9 (Unit: m)
JCalculation formulas for projection distance by lens types
PT-DZ6710/PT-DZ6700
PT-DW6300
PT-D6000/PT-D5000
E
Geometric adjustment
E
Front leg adjusters and throwing angle
Heated air comes out of the air exhaust port. Do not touch the air exhaust port directly.
E
Connections
Before connection to the projector
Pin assignments and signal names
JS-VIDEO IN JRGB2 IN
JDVI-D IN
E
Connecting example: Computers
Connecting example: AV equipment
E
Menu Navigation
DISPLAY LANGUAGE
POSITION
PICTURE
ADVANCED MENU
DISPLAY OPTION
PROJECTOR SETUP
TEST PATTERN SIGNAL LIST page 33
SECURITY NETWORK
E
JDisplaying the main menu
See INITIALIZE on page 31 to reset the settings.
4. Press the MENU button to return to the previous menu.
Press the MENU button to display the main menu.
PICTURE menu
QAdjusting more detailed white balance
PICTURE MODE
CONTRAST
BRIGHTNESS
E
WHITE GAIN
SYSTEM DAYLIGHT VIEW
SHARPNESS
NOISE REDUCTION
POSITION menu
JAspect ratio options
QDEFAULT
QVID AUTO
QS1 AUTO
E
JMenu items displaying pattern depends on signals
QWhen ASPECT setting is DEFAULT
QWhen ASPECT setting is THROUGH
QWhen ASPECT setting is others
QGEOMETRY:KEYSTONE
Select KEYSTONE and press the ENTER button to display the options.
QGEOMETRY:CURVED
Select CURVED and press the ENTER button to display the options.
E
KEYSTONE
E
ADVANCED MENU
QSetting range
DIGITAL CINEMA REALITY
BLANKING
INPUT RESOLUTION
E
QAdjusting EDGE BLENDING
QAdjusting with colour markers
QSelecting gamma level
EDGE BLENDING
E
QAdjusting brightness around borderline of the image area
RASTER POSITION
E
DISPLAY OPTION menu
You can switch the contrast mode for operating environment.
JSCREEN FORMAT
JSCREEN POSITION
You can change the displaying position of the projecting area. Press I H to adjust the value.
E
You can prevent the display of waning messages.
JDVI EDID
You can switch the EDID setting and signal level for variable DVI signals.
JDVI SIGNAL LEVEL
E
BACK COLOR
STARTUP LOGO
FREEZE SIDE BY SIDE
E
PROJECTOR SETUP menu
PROJECTOR ID
INSTALLATION
HIGH ALTITUDE MODE
COOLING CONDITION
E
You can select the electrical consumption while in standby mode.
This sets the communication parameters at the serial terminals.
You can customise the REMOTE 2 IN terminal function.
LAMP SELECT
E
You can see the status of the projector about the following items.
STATUS
FILTER COUNTER RESET
NO SIGNAL SHUT-OFF
E
DATE AND TIME
SERVICE PASSWORD
LOAD ALL USERS DATA
SAVE ALL USERS DATA
TEST PATTERN
TEST PATTERN
SIGNAL LIST
JSIGNAL LIST and SUB MEMORY LIST
JManaging the list and the registered data
QRegistering a signal to the list
QDisplaying the signal list and the status
SIGNAL LIST
JManaging the sub memory list
QRegistering the current settings to the list
QDisplaying the sub memory list and restoring the settings
QDeleting a sub memory data
SECURITY menu
JEntering the SECURITY menu
QAfter you change the password
SECURITY PASSWORD
SECURITY PASSWORD CHANGE
E
JCONTROL PANEL
JREMOTE CONTROLLER
MENU LOCK
MENU LOCK PASSWORD
NETWORK menu
NETWORK STATUS
You can display the current network status of the projector. Press the ENTER button to display.
NETWORK SETUP
NETWORK CONTROL
Technical Information
Network connection
LAN terminal
E
JProjector Control Window
JChange password
QAdministrator mode
Accessing with the web browser
JProjector Control
QBasic control
Click the Basic control tab on the top.
QDetail control
JDetailed set up
QNetwork config
Click the Adjust clock tag on the top.
QAdjust clock
QPing test
QE-mail set up
Click the E-mail set up tag on the top. When all options are filled, click Submit.
Error report sample
E-mail report sample
JSTATUS
QProjector status
Click (Detail)
Click the Projector status tab on the top.
Error information
E
JControl commands
JPJLink security authorization
PJLinkTMprotocol
E
See RS-232C on page 29.
JConnection
QSingle projector
QMultiple projectors
JBasic format
JCable specifications
(When connected to a computer)
JControl commands
E
Projector set up in a meeting room Control panel located in a different room
JPin assignments and control
REMOTE 2 IN terminal
E
(PT-DZ6710/PT-DZ6700/PT-DW6300 only)
Restoring the MENU LOCK PASSWORD to default
QSide by Side function signal combination table
QMovie signals
Page
Index
Index