NETWORK CONNECTION
NOTE: Consult your network administrator before installing the CM9700MDD-EVS to avoid possible network conflicts.
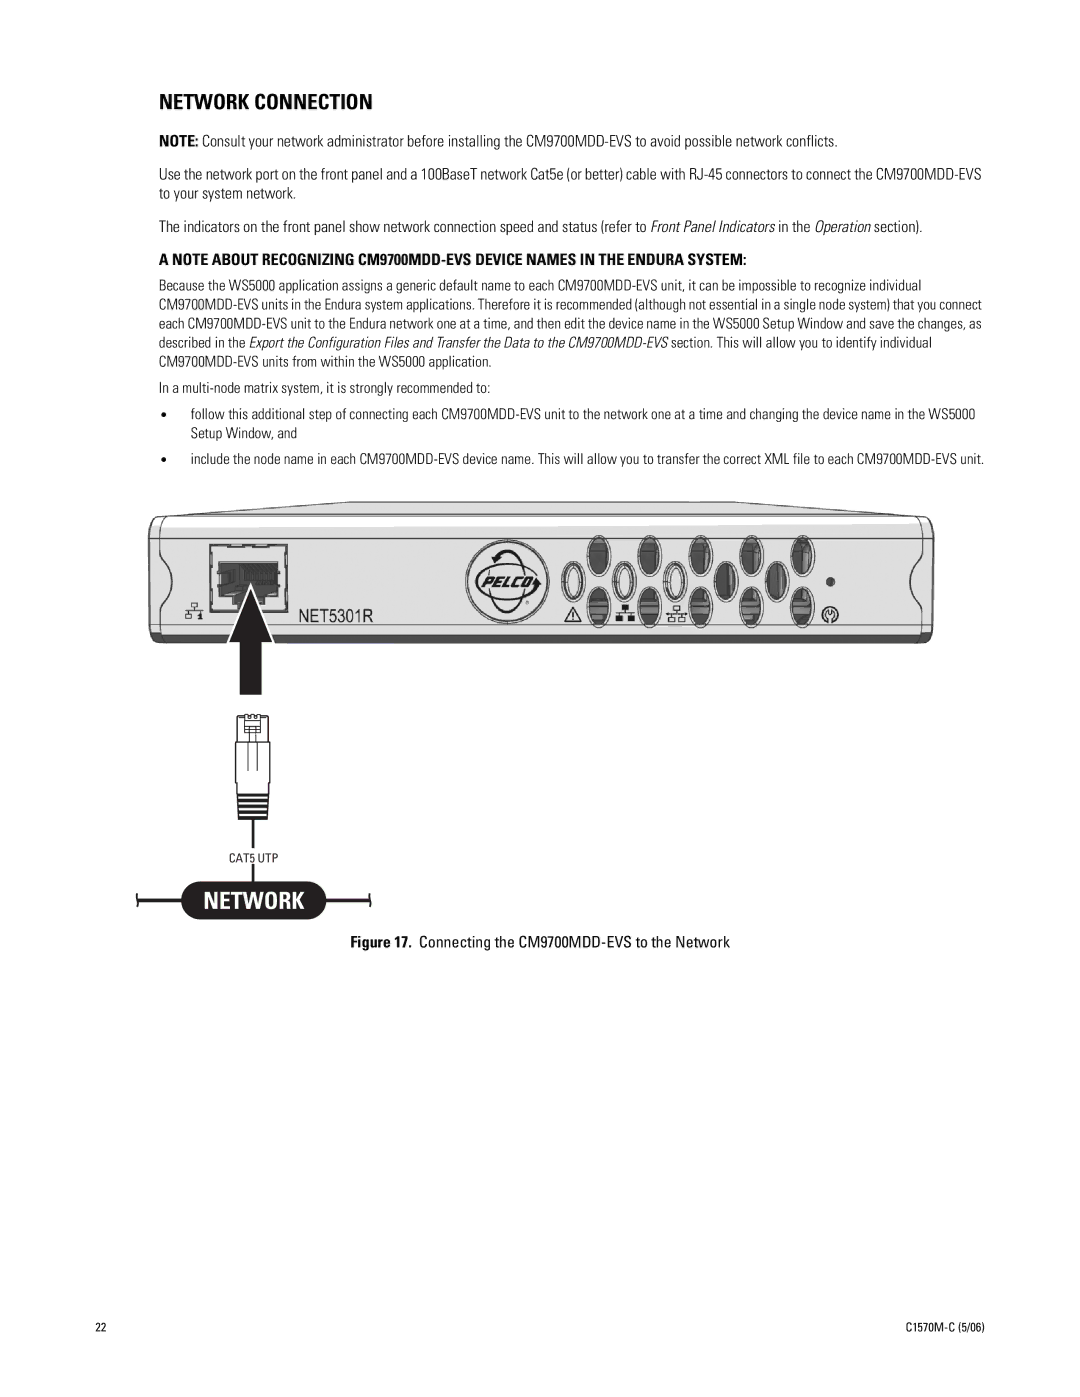
Use the network port on the front panel and a 100BaseT network Cat5e (or better) cable with RJ-45 connectors to connect the CM9700MDD-EVS to your system network.
The indicators on the front panel show network connection speed and status (refer to Front Panel Indicators in the Operation section).
A NOTE ABOUT RECOGNIZING CM9700MDD-EVS DEVICE NAMES IN THE ENDURA SYSTEM:
Because the WS5000 application assigns a generic default name to each CM9700MDD-EVS unit, it can be impossible to recognize individual CM9700MDD-EVS units in the Endura system applications. Therefore it is recommended (although not essential in a single node system) that you connect each CM9700MDD-EVS unit to the Endura network one at a time, and then edit the device name in the WS5000 Setup Window and save the changes, as described in the Export the Configuration Files and Transfer the Data to the CM9700MDD-EVSsection. This will allow you to identify individual CM9700MDD-EVS units from within the WS5000 application.
In a multi-node matrix system, it is strongly recommended to:
•follow this additional step of connecting each CM9700MDD-EVS unit to the network one at a time and changing the device name in the WS5000 Setup Window, and
•include the node name in each CM9700MDD-EVS device name. This will allow you to transfer the correct XML file to each CM9700MDD-EVS unit.
CAT5 UTP
NETWORK
Figure 17. Connecting the CM9700MDD-EVS to the Network