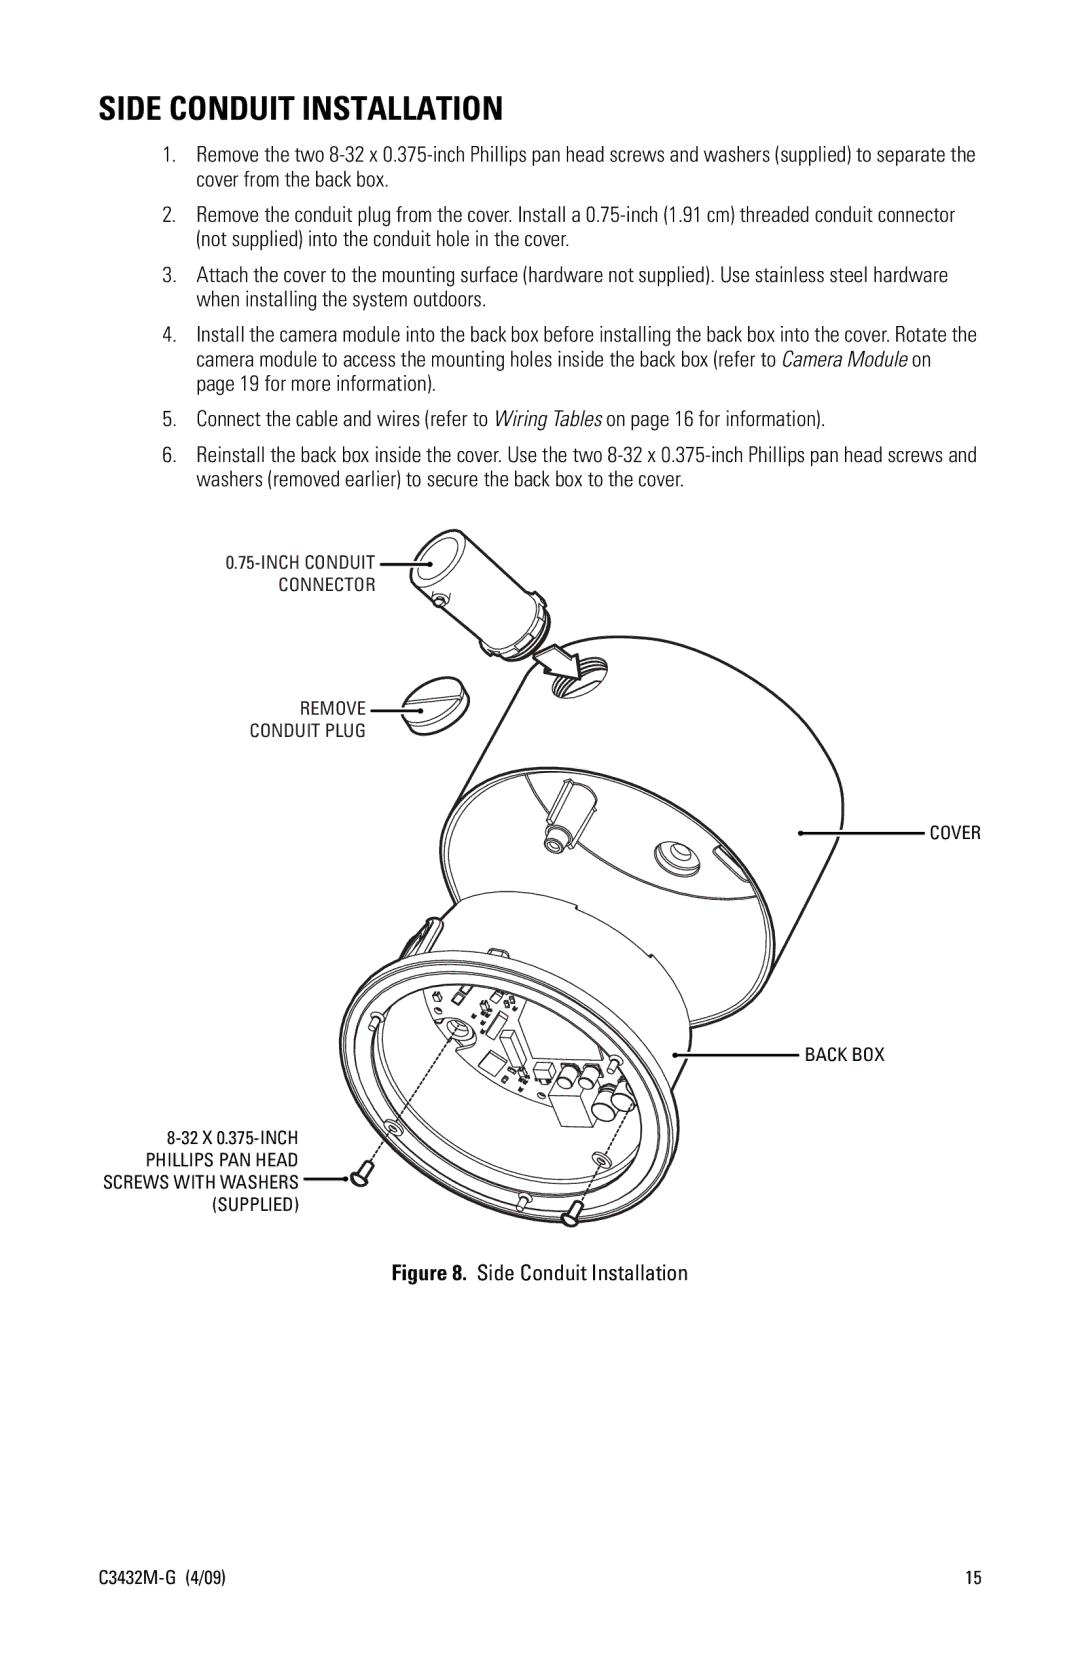
SIDE CONDUIT INSTALLATION
1.Remove the two
2.Remove the conduit plug from the cover. Install a
3.Attach the cover to the mounting surface (hardware not supplied). Use stainless steel hardware when installing the system outdoors.
4.Install the camera module into the back box before installing the back box into the cover. Rotate the camera module to access the mounting holes inside the back box (refer to Camera Module on page 19 for more information).
5.Connect the cable and wires (refer to Wiring Tables on page 16 for information).
6.Reinstall the back box inside the cover. Use the two
![]()
CONNECTOR
REMOVE ![]()
CONDUIT PLUG
COVER
BACK BOX
![]()
![]() (SUPPLIED)
(SUPPLIED)
Figure 8. Side Conduit Installation
15 |