7 Settings
Setting the Alarm
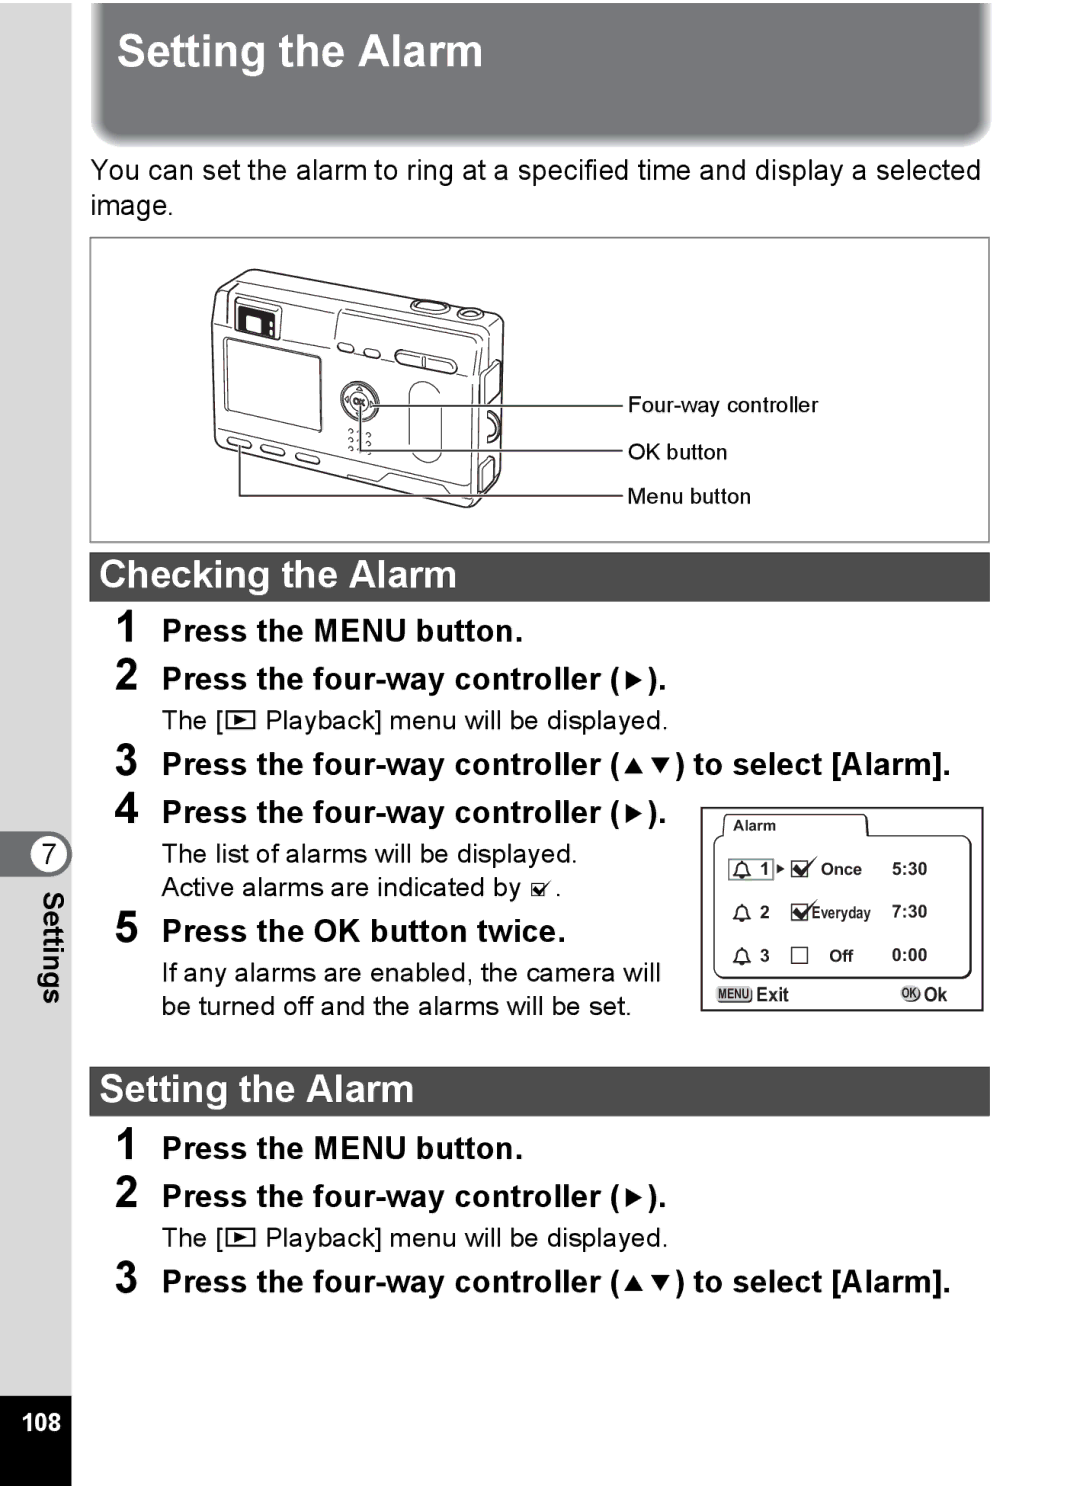
You can set the alarm to ring at a specified time and display a selected image.
OK button
Menu button
Checking the Alarm
1 Press the MENU button.
2 Press the four-way controller (5).
The [Q Playback] menu will be displayed.
3 | Press the | ||||
4 | Press the | Alarm |
|
| |
| The list of alarms will be displayed. | 1 | Once | 5:30 | |
| Active alarms are indicated by O. | ||||
5 |
|
|
| ||
Press the OK button twice. | 2 | Everyday | 7:30 | ||
3 | Off | 0:00 | |||
| If any alarms are enabled, the camera will | ||||
| MENU Exit |
| OK Ok | ||
| be turned off and the alarms will be set. |
| |||
|
|
|
| ||
Setting the Alarm
1 Press the MENU button.
2 Press the four-way controller (5).
The [Q Playback] menu will be displayed.
3 Press the four-way controller (23) to select [Alarm].
108