Using Tools: Record
![]() Before you start...
Before you start...
•Choose a recordable disc with enough space.
Check the disc types supported by the DVD recorder you are using.
![]() Discs Types Supported (p.4)
Discs Types Supported (p.4)
•Complete the channel scanning process for your TV.
![]() Setting TV Channels (p.15)
Setting TV Channels (p.15)
..........................................................................................
1.On the Tools menu, press to select ‘Record’, then press OK.
EasyAccess_EasyGuider_03_01
2.Press to select the signal source on which the program you would like to record is being broadcast or played, then press OK.
Using Tools: Timer Recordg
Normal Timer Recording
![]() Before you start...
Before you start...
•Refer to ‘Using Tools: Record’.
..........................................................................................
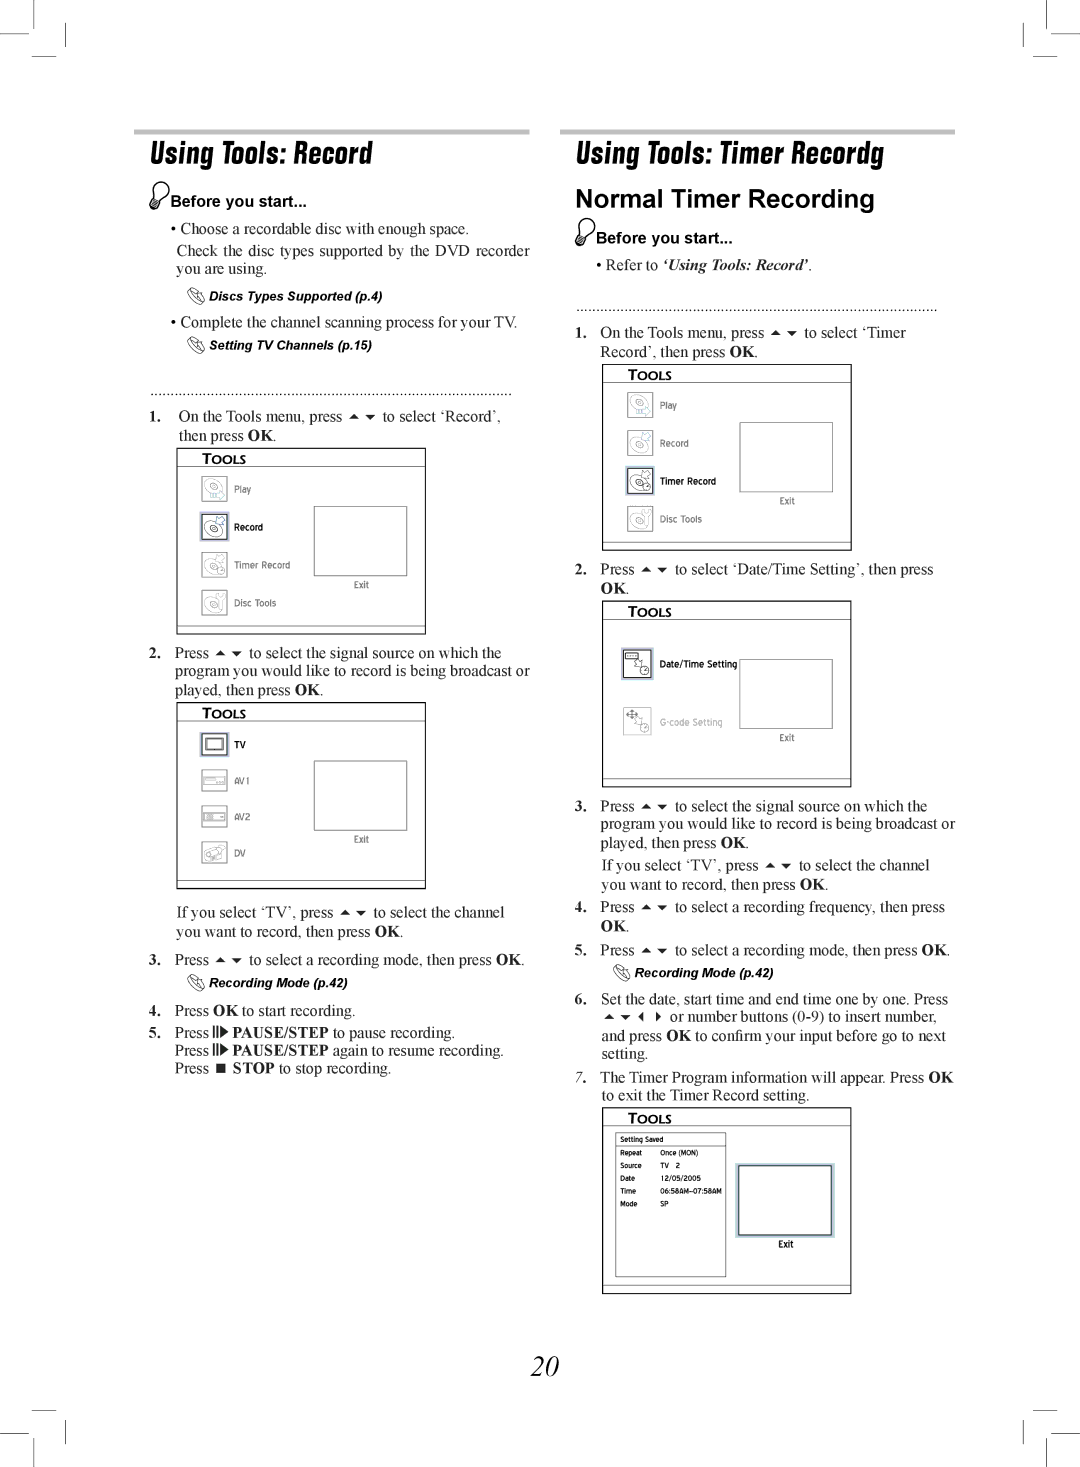
1.On the Tools menu, press to select ‘Timer Record’, then press OK.
EasyAccess_EasyGuider_04_01
2.Press to select ‘Date/Time Setting’, then press OK.
EasyAccess_EasyGuider_04_02
If you select ‘TV’, press to select the channel you want to record, then press OK.
3.Press to select a recording mode, then press OK.
![]() Recording Mode (p.42)
Recording Mode (p.42)
4.Press OK to start recording.
5.Press PAUSE/STEP to pause recording.
Press PAUSE/STEP again to resume recording. Press STOP to stop recording.
3.Press to select the signal source on which the program you would like to record is being broadcast or played, then press OK.
If you select ‘TV’, press to select the channel you want to record, then press OK.
4.Press to select a recording frequency, then press OK.
5.Press to select a recording mode, then press OK.
![]() Recording Mode (p.42)
Recording Mode (p.42)
6.Set the date, start time and end time one by one. Press or number buttons
7. The Timer Program information will appear. Press OK to exit the Timer Record setting.
EasyAccess_ |
20