MAIN MENU
| RECORDING FUNCTIONS |
|
ÂÅ RECORD SETTINGS | Å | |
É | AUDIO ONLY |
|
|
| |
AUDIO DUBBING
TO EXIT
PRESS MENU
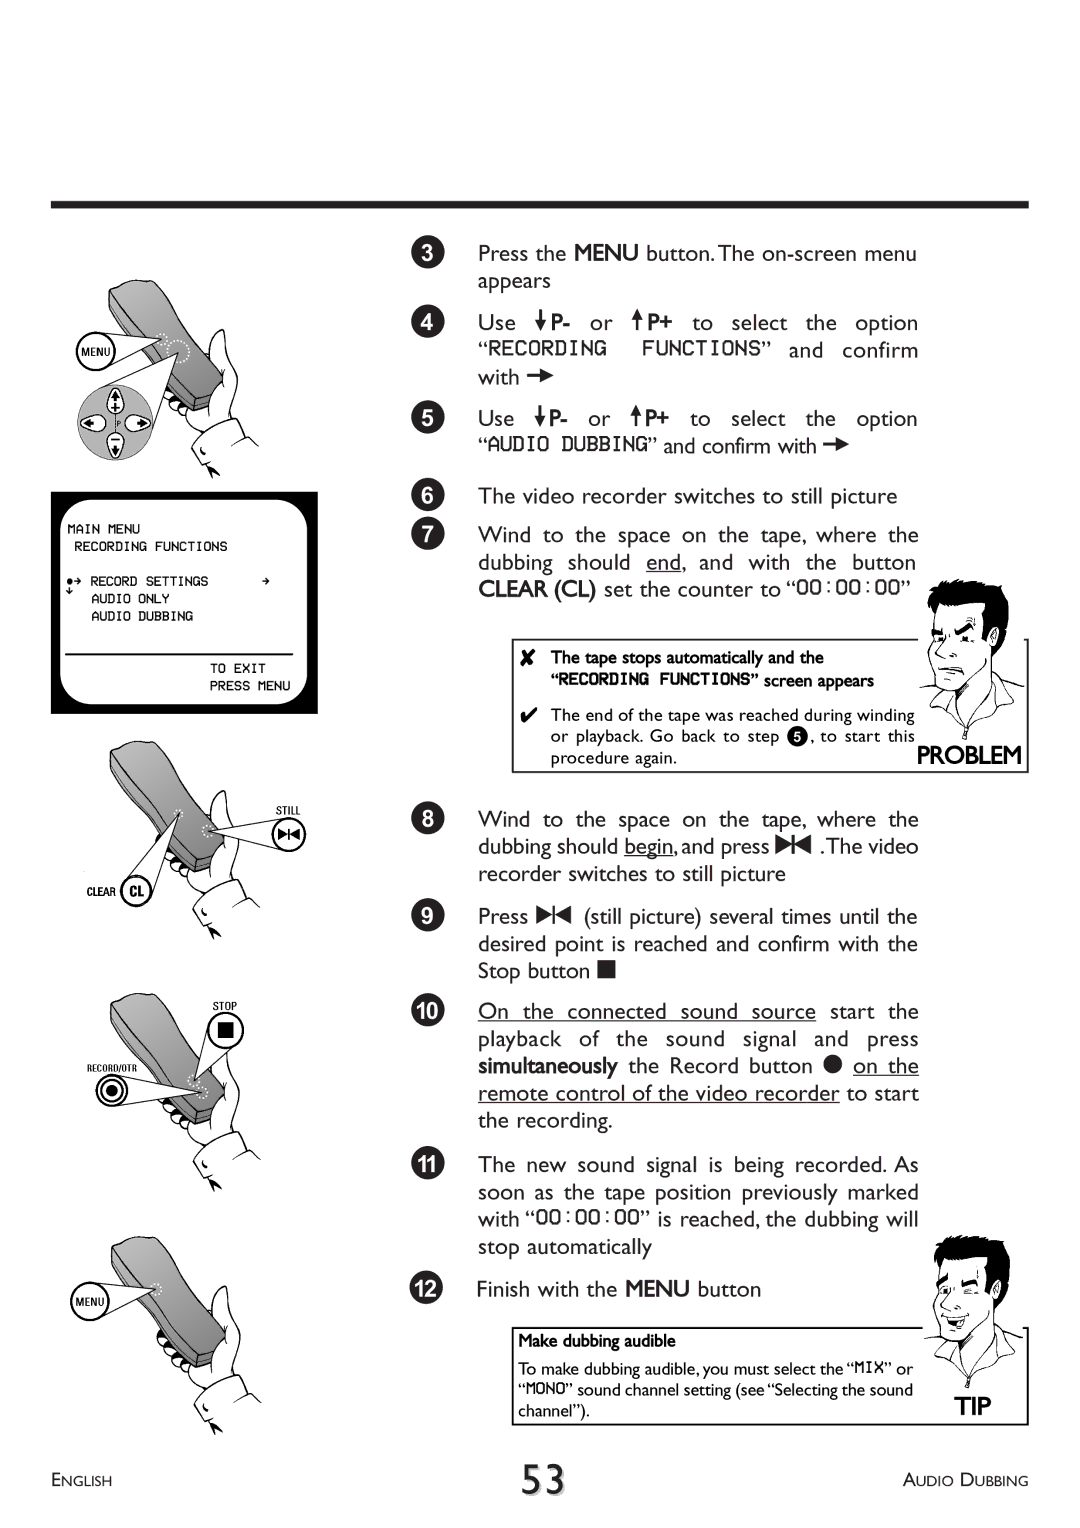
3Press the MENU button.The
4Use =P- or ;P+ to select the option “RECORDING FUNCTIONS” and confirm with P
5Use =P- or ;P+ to select the option “AUDIO DUBBING” and confirm with P
6The video recorder switches to still picture
7Wind to the space on the tape, where the dubbing should end, and with the button CLEAR (CL) set the counter to “00:00:00”
8The tape stops automatically and the
“RECORDING FUNCTIONS” screen appears
4The end of the tape was reached during winding or playback. Go back to step 5, to start this
procedure again. | PROBLEM |
8Wind to the space on the tape, where the dubbing should begin, and press R.The video recorder switches to still picture
9Press R (still picture) several times until the desired point is reached and confirm with the Stop button h
0On the connected sound source start the
playback of the sound signal and press simultaneously the Record button n on the remote control of the video recorder to start the recording.
AThe new sound signal is being recorded. As soon as the tape position previously marked with “00:00:00” is reached, the dubbing will stop automatically
BFinish with the MENU button
Make dubbing audible
To make dubbing audible, you must select the “MIX” or “MONO” sound channel setting (see “Selecting the sound
channel”).TIP
ENGLISH | 53 | AUDIO DUBBING |
|
