09Useful Adjustment Settings
Switching the vertical drive frequency
You can switch the vertical drive frequency for screen display between 75 Hz and 100 Hz. Choose the drive frequency that better suits your broadcasting signals.
1Press HOME MENU.
2Select “Option” (![]() /
/![]() then ENTER).
then ENTER).
3Select “Drive Mode” (![]() /
/![]() then ENTER).
then ENTER).
4Select 75 Hz or 100 Hz (![]() /
/![]() then ENTER).
then ENTER).
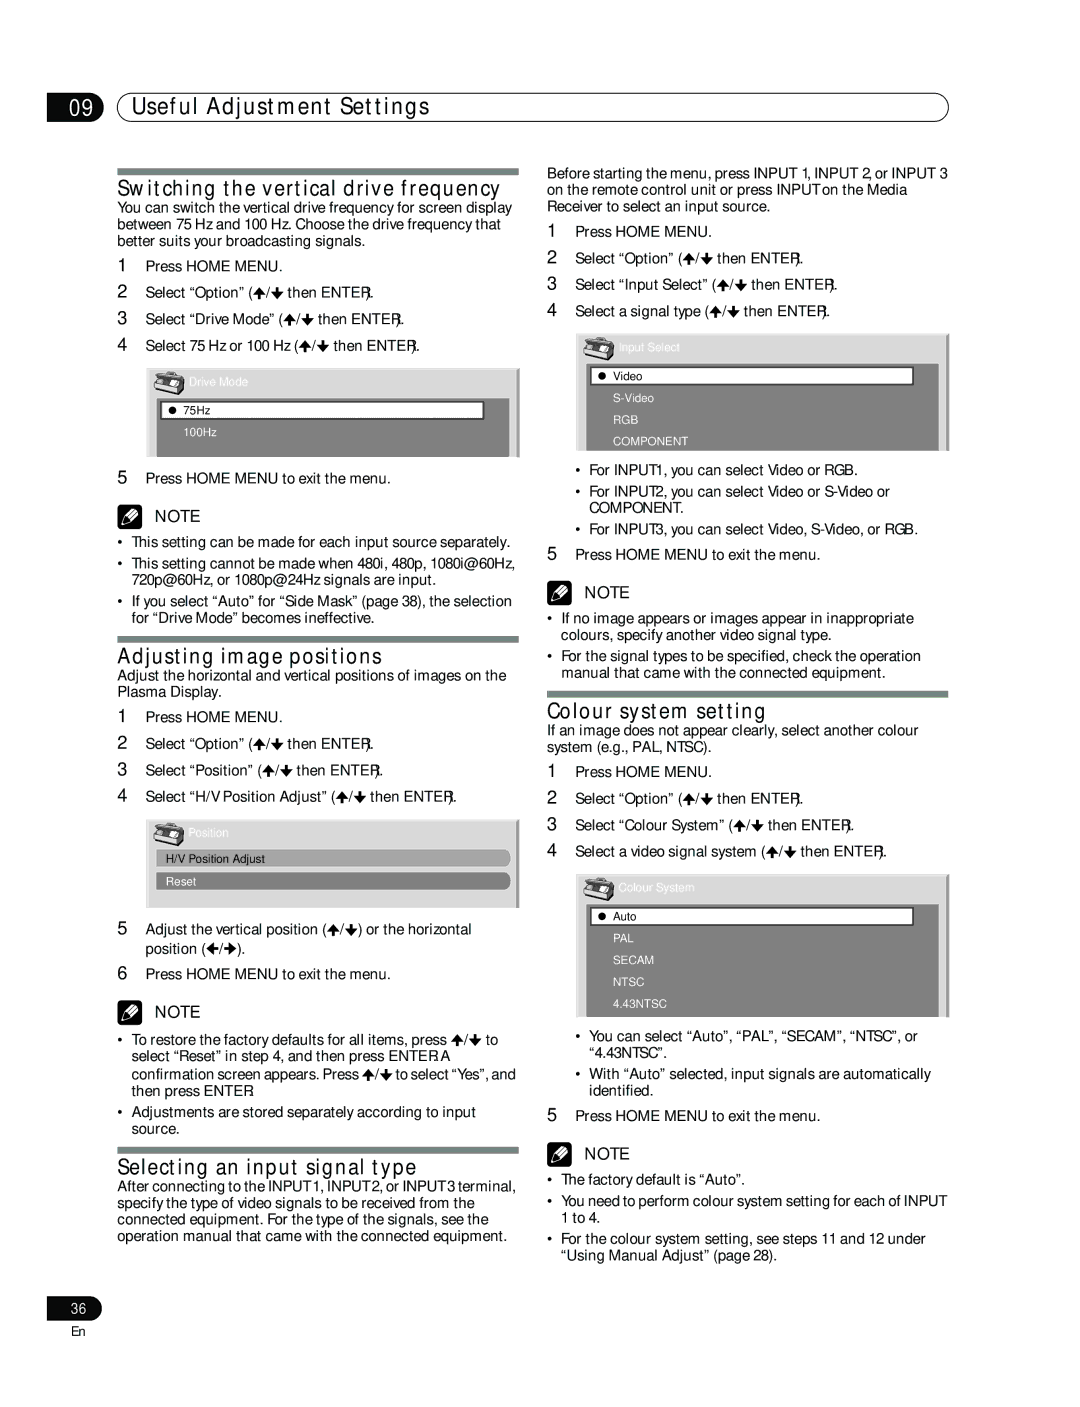
![]() Drive Mode
Drive Mode
75Hz
100Hz
5Press HOME MENU to exit the menu.
NOTE
•This setting can be made for each input source separately.
•This setting cannot be made when 480i, 480p, 1080i@60Hz, 720p@60Hz, or 1080p@24Hz signals are input.
•If you select “Auto” for “Side Mask” (page 38), the selection for “Drive Mode” becomes ineffective.
Adjusting image positions
Adjust the horizontal and vertical positions of images on the Plasma Display.
1Press HOME MENU.
2Select “Option” (![]() /
/![]() then ENTER).
then ENTER).
3Select “Position” (![]() /
/![]() then ENTER).
then ENTER).
4Select “H/V Position Adjust” (![]() /
/![]() then ENTER).
then ENTER).
![]() Position
Position
H/V Position Adjust
Reset
5Adjust the vertical position (![]() /
/![]() ) or the horizontal position (
) or the horizontal position (![]() /
/![]() ).
).
6Press HOME MENU to exit the menu.
NOTE
•To restore the factory defaults for all items, press ![]() /
/![]() to select “Reset” in step 4, and then press ENTER. A
to select “Reset” in step 4, and then press ENTER. A
confirmation screen appears. Press ![]() /
/![]() to select “Yes”, and then press ENTER.
to select “Yes”, and then press ENTER.
•Adjustments are stored separately according to input source.
Selecting an input signal type
After connecting to the INPUT 1, INPUT 2, or INPUT 3 terminal, specify the type of video signals to be received from the connected equipment. For the type of the signals, see the operation manual that came with the connected equipment.
36
Before starting the menu, press INPUT 1, INPUT 2, or INPUT 3 on the remote control unit or press INPUT on the Media
Receiver to select an input source.
1Press HOME MENU.
2Select “Option” (![]() /
/![]() then ENTER).
then ENTER).
3Select “Input Select” (![]() /
/![]() then ENTER).
then ENTER).
4Select a signal type (![]() /
/![]() then ENTER).
then ENTER).
![]() Input Select
Input Select
Video
RGB
COMPONENT
•For INPUT1, you can select Video or RGB.
•For INPUT2, you can select Video or
COMPONENT.
•For INPUT3, you can select Video,
NOTE
•If no image appears or images appear in inappropriate colours, specify another video signal type.
•For the signal types to be specified, check the operation manual that came with the connected equipment.
Colour system setting
If an image does not appear clearly, select another colour system (e.g., PAL, NTSC).
1Press HOME MENU.
2Select “Option” (![]() /
/![]() then ENTER).
then ENTER).
3Select “Colour System” (![]() /
/![]() then ENTER).
then ENTER).
4Select a video signal system (![]() /
/![]() then ENTER).
then ENTER).
![]() Colour System
Colour System
Auto
PAL SECAM NTSC 4.43NTSC
•You can select “Auto”, “PAL”, “SECAM”, “NTSC”, or “4.43NTSC”.
•With “Auto” selected, input signals are automatically identified.
5Press HOME MENU to exit the menu.
NOTE
•The factory default is “Auto”.
•You need to perform colour system setting for each of INPUT 1 to 4.
•For the colour system setting, see steps 11 and 12 under “Using Manual Adjust” (page 28).
En