Recording
White Balance
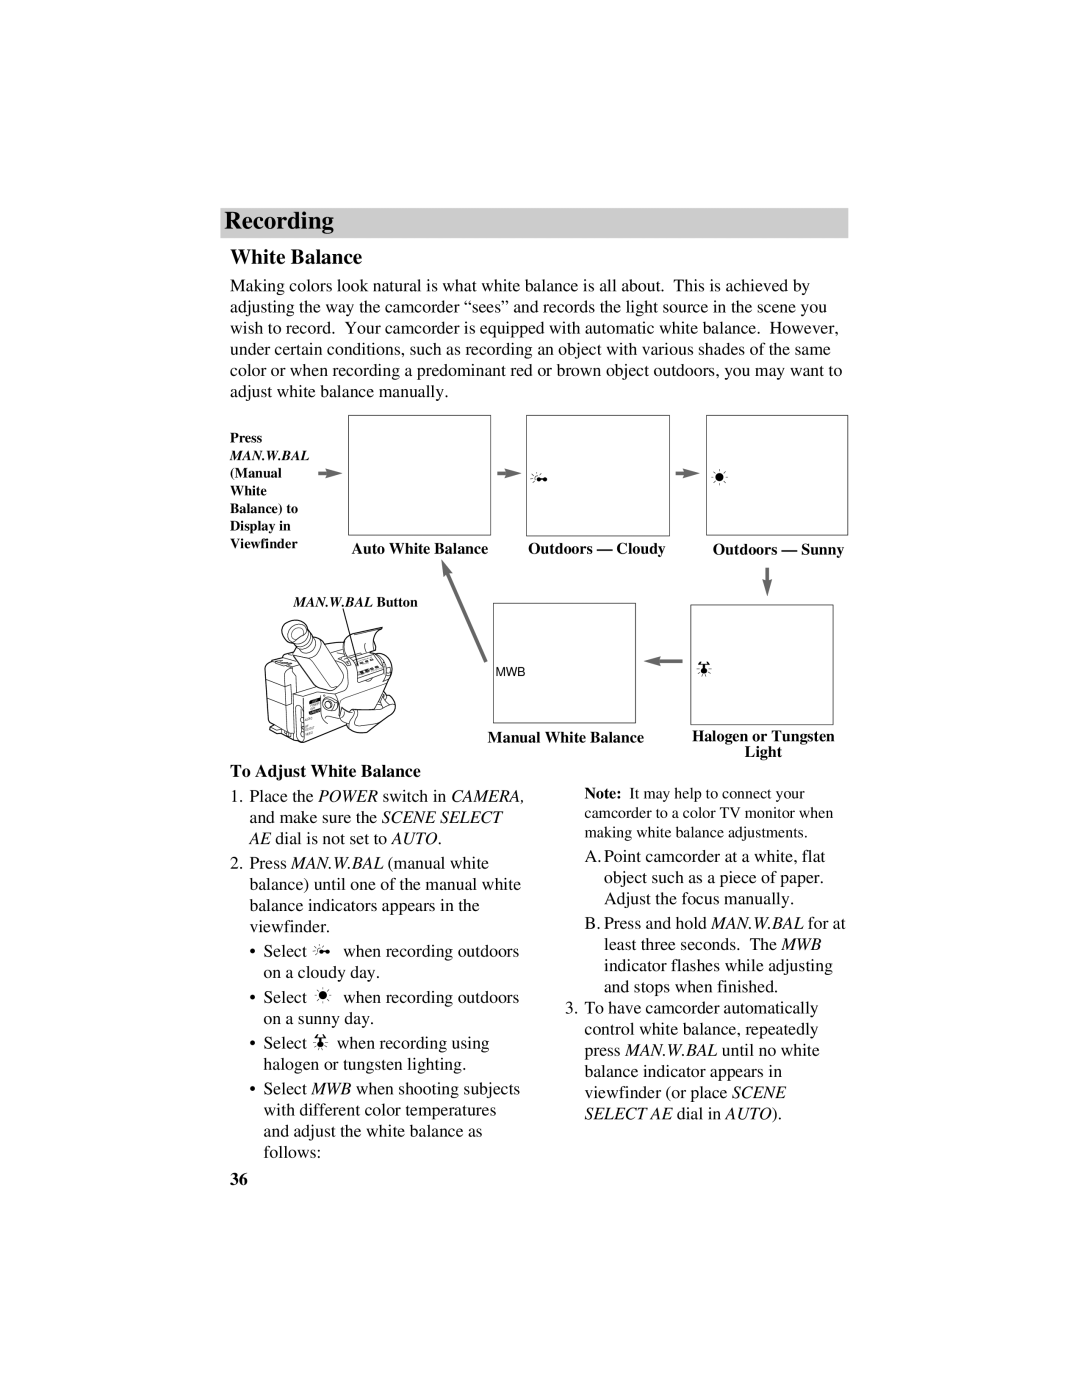
Making colors look natural is what white balance is all about. This is achieved by adjusting the way the camcorder “sees” and records the light source in the scene you wish to record. Your camcorder is equipped with automatic white balance. However, under certain conditions, such as recording an object with various shades of the same color or when recording a predominant red or brown object outdoors, you may want to adjust white balance manually.
Press |
|
|
|
MAN.W.BAL |
|
|
|
(Manual |
|
|
|
White |
|
|
|
Balance) to |
|
|
|
Display in |
|
|
|
Viewfinder | Auto White Balance | Outdoors — Cloudy | Outdoors — Sunny |
|
MAN.W.BAL Button
L
E
N
S
VCR
POWER
OFF
CAMERA
![]() AUDIO
AUDIO
RF
DC OUT
![]() VIDEO
VIDEO
To Adjust White Balance
MWB
Manual White Balance | Halogen or Tungsten |
| Light |
1.Place the POWER switch in CAMERA, and make sure the SCENE SELECT AE dial is not set to AUTO.
2.Press MAN.W.BAL (manual white balance) until one of the manual white balance indicators appears in the viewfinder.
•Select ![]()
![]()
![]() when recording outdoors on a cloudy day.
when recording outdoors on a cloudy day.
•Select ![]()
![]()
![]()
![]()
![]() when recording outdoors on a sunny day.
when recording outdoors on a sunny day.
•Select ![]()
![]() when recording using halogen or tungsten lighting.
when recording using halogen or tungsten lighting.
•Select MWB when shooting subjects with different color temperatures and adjust the white balance as follows:
Note: It may help to connect your camcorder to a color TV monitor when making white balance adjustments.
A. Point camcorder at a white, flat object such as a piece of paper. Adjust the focus manually.
B. Press and hold MAN.W.BAL for at least three seconds. The MWB indicator flashes while adjusting and stops when finished.
3.To have camcorder automatically control white balance, repeatedly press MAN.W.BAL until no white balance indicator appears in viewfinder (or place SCENE SELECT AE dial in AUTO).
36
