Playback
+
+
O
Y
A
L
P
M
A
F
F
O
Y
A
LP
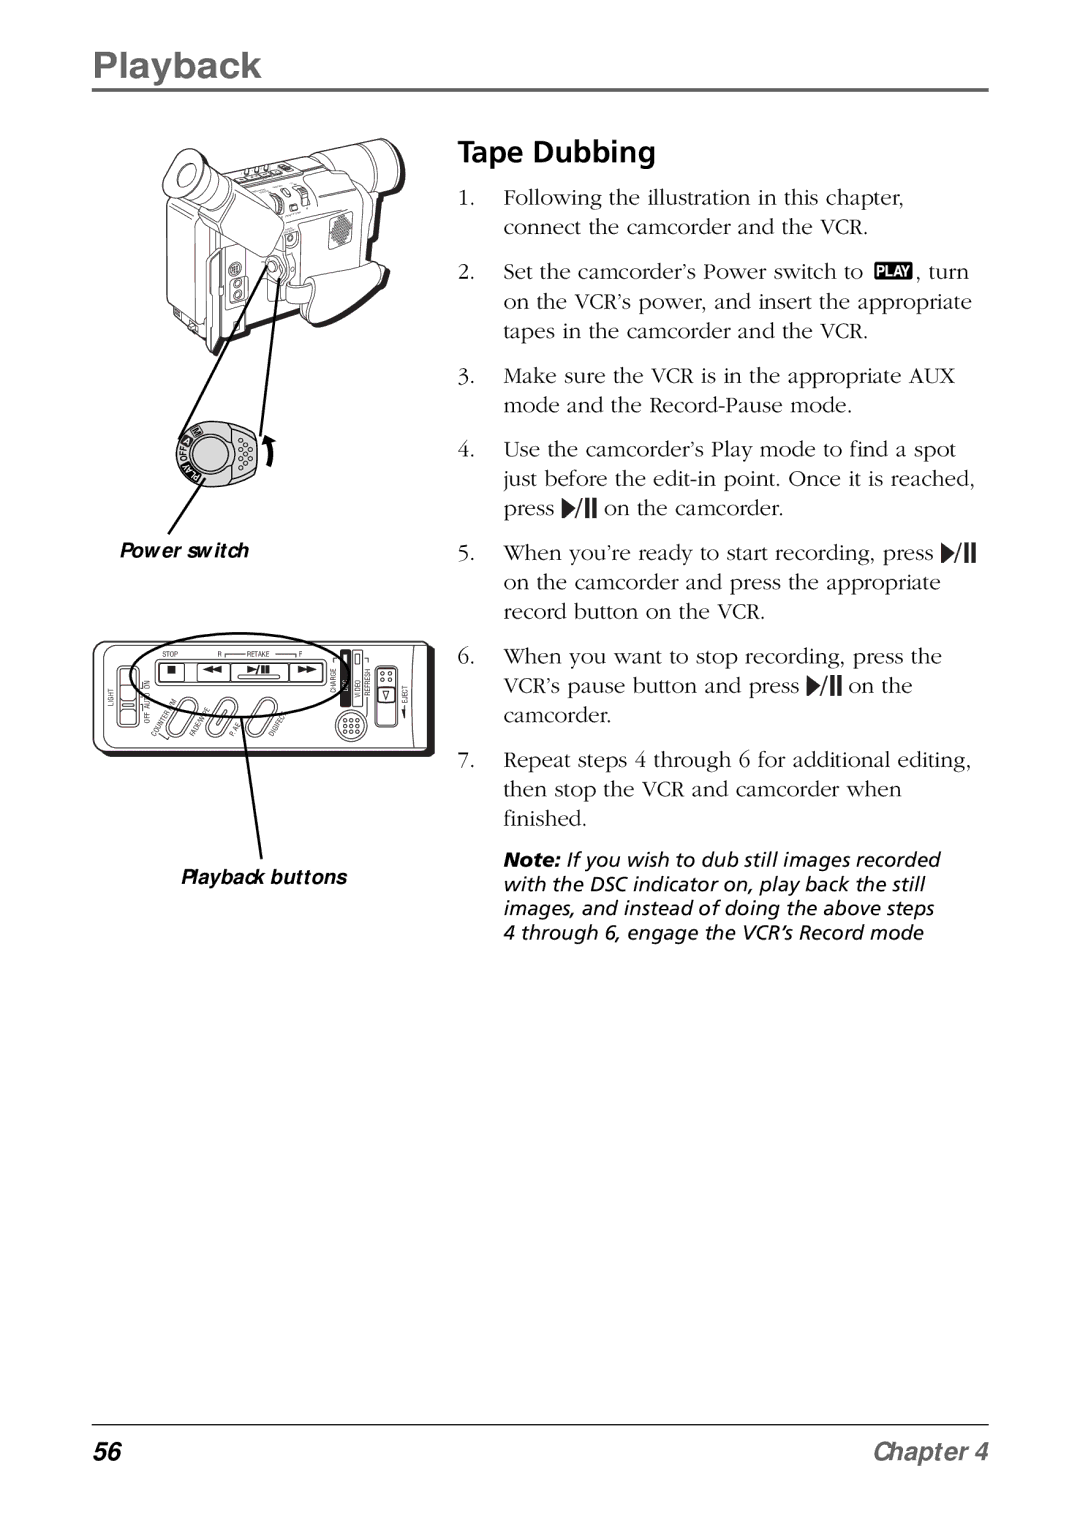
Power switch
|
| STOP |
|
|
| R |
| RETAKE |
|
|
| F |
|
|
| |||
LIGHT | AUTO ON |
|
| R | / M |
|
| I P | E |
|
|
|
|
| CHARGE | DSC | VIDEO REFRESH | EJECT |
|
|
|
|
|
|
|
|
|
|
|
| T |
|
|
| |||
| OFF |
| E | R |
|
|
|
|
|
|
|
|
|
|
|
| ||
| T |
|
| E | / W |
|
| E |
|
| I F | E | C |
|
|
| ||
|
| N |
|
|
|
|
|
|
|
|
|
|
|
|
| |||
|
| U |
|
| F A | D |
|
| P . | A |
| D I | G |
|
|
|
|
|
|
| C O |
|
|
|
|
|
|
|
|
|
|
|
|
| |||
Playback buttons
Tape Dubbing
1.Following the illustration in this chapter, connect the camcorder and the VCR.
2.Set the camcorder’s Power switch to ![]() , turn on the VCR’s power, and insert the appropriate tapes in the camcorder and the VCR.
, turn on the VCR’s power, and insert the appropriate tapes in the camcorder and the VCR.
3.Make sure the VCR is in the appropriate AUX mode and the
4.Use the camcorder’s Play mode to find a spot just before the ![]() /
/![]()
![]() on the camcorder.
on the camcorder.
5.When you’re ready to start recording, press ![]() /
/![]()
![]() on the camcorder and press the appropriate record button on the VCR.
on the camcorder and press the appropriate record button on the VCR.
6.When you want to stop recording, press the VCR’s pause button and press ![]() /
/![]()
![]() on the camcorder.
on the camcorder.
7.Repeat steps 4 through 6 for additional editing, then stop the VCR and camcorder when finished.
Note: If you wish to dub still images recorded with the DSC indicator on, play back the still images, and instead of doing the above steps 4 through 6, engage the VCR’s Record mode
56 | Chapter 4 |
