DIGITAL AND OPTO PORTS
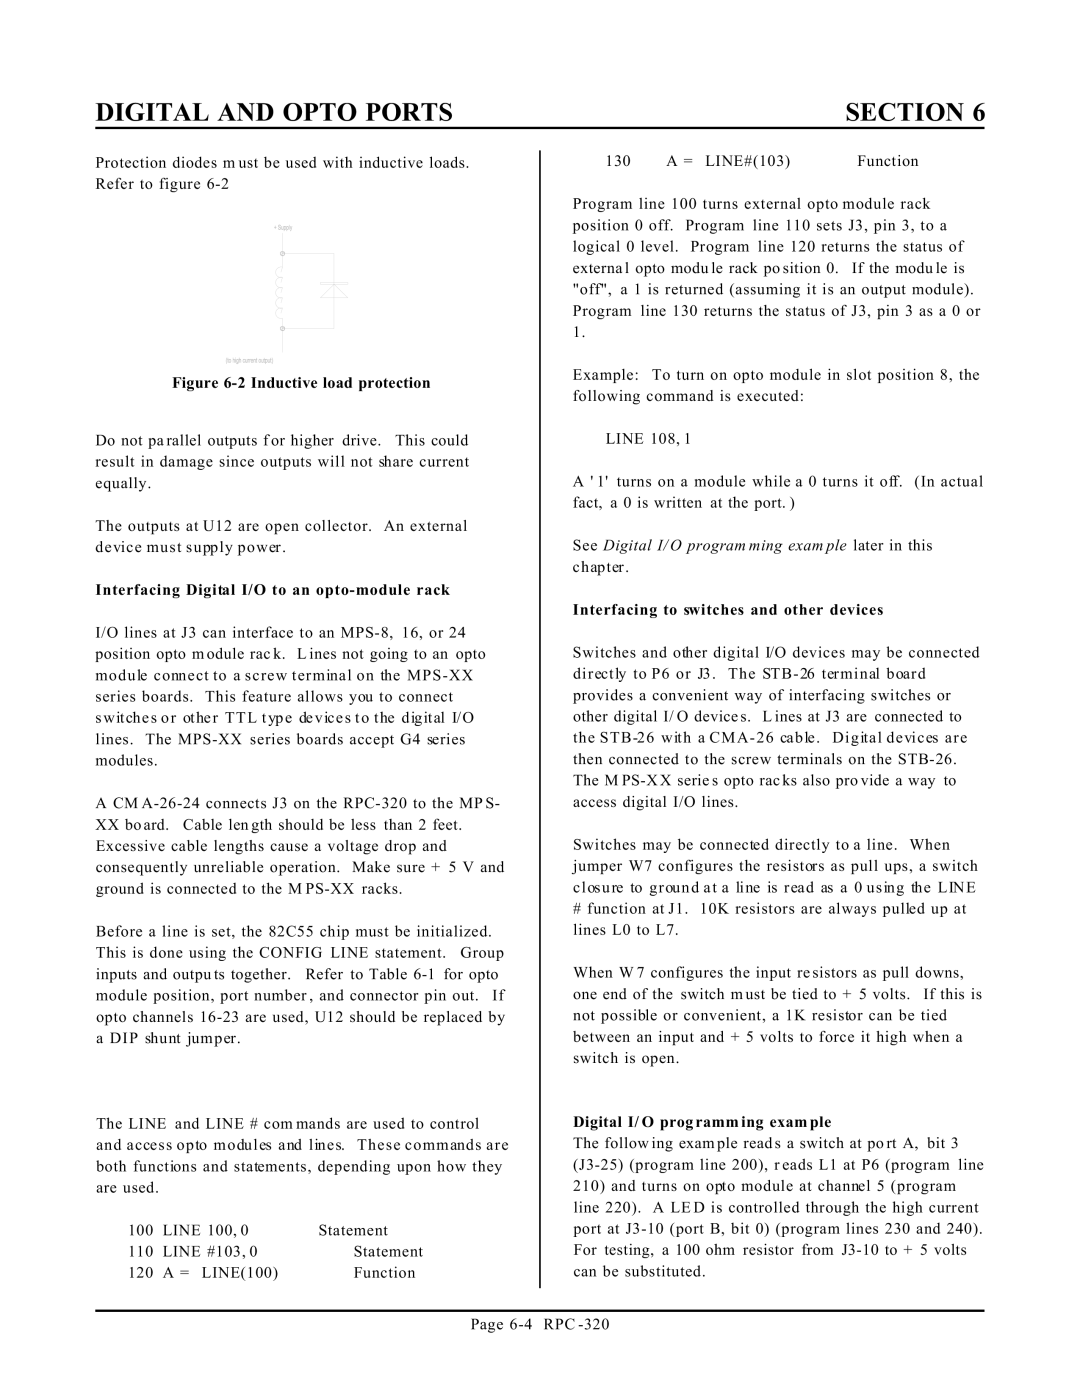
Protection diodes m ust be used with inductive loads. Refer to figure
Figure 6-2 Inductive load protection
Do not pa rallel outputs f or higher drive. This could result in damage since outputs will not share current equally.
The outputs at U12 are open collector. An external device must supply power .
Interfacing Digital I/O to an opto-module rack
I/O lines at J3 can interface to an
ACM
Before a line is set, the 82C55 chip must be initialized. This is done using the CONFIG LINE statement. Group inputs and outpu ts together. Refer to Table
The LINE and LINE # com mands are used to control and access opto modules and lines. These commands are both functions and statements, depending upon how they are used.
100 | LINE 100, 0 | Statement |
110 | LINE #103, 0 | Statement |
120 | A = LINE(100) | Function |
SECTION 6
130 | A = LINE#(103) | Function |
Program line 100 turns external opto module rack position 0 off. Program line 110 sets J3, pin 3, to a logical 0 level. Program line 120 returns the status of externa l opto modu le rack po sition 0. If the modu le is "off", a 1 is returned (assuming it is an output module). Program line 130 returns the status of J3, pin 3 as a 0 or 1.
Example: To turn on opto module in slot position 8, the following command is executed:
LINE 108, 1
A ' 1' turns on a module while a 0 turns it off. (In actual fact, a 0 is written at the port. )
See Digital I/ O program ming exam ple later in this chapter .
Interfacing to switches and other devices
Switches and other digital I/O devices may be connected directly to P6 or J3 . The STB - 26 terminal board provides a convenient way of interfacing switches or other digital I/ O device s. L ines at J3 are connected to the STB
Switches may be connected directly to a line. When jumper W7 configures the resistors as pull ups, a switch closure to ground at a line is read as a 0 using the LINE
#function at J1. 10K resistors are always pulled up at lines L0 to L7.
When W 7 configures the input re sistors as pull downs, one end of the switch m ust be tied to + 5 volts. If this is not possible or convenient, a 1K resistor can be tied between an input and + 5 volts to force it high when a switch is open.
Digital I/ O prog ramm ing exam ple
The follow ing exam ple read s a switch at po rt A, bit 3
210)and turns on opto module at channel 5 (program line 220). A LE D is controlled through the high current port at
Page
