Connecting your radio to your computer network
1.Place your radio on a flat surface and plug the mains adaptor into the DC input socket located on the rear of your radio (marked 'DC in') ensuring that the plug is pushed fully into the socket.
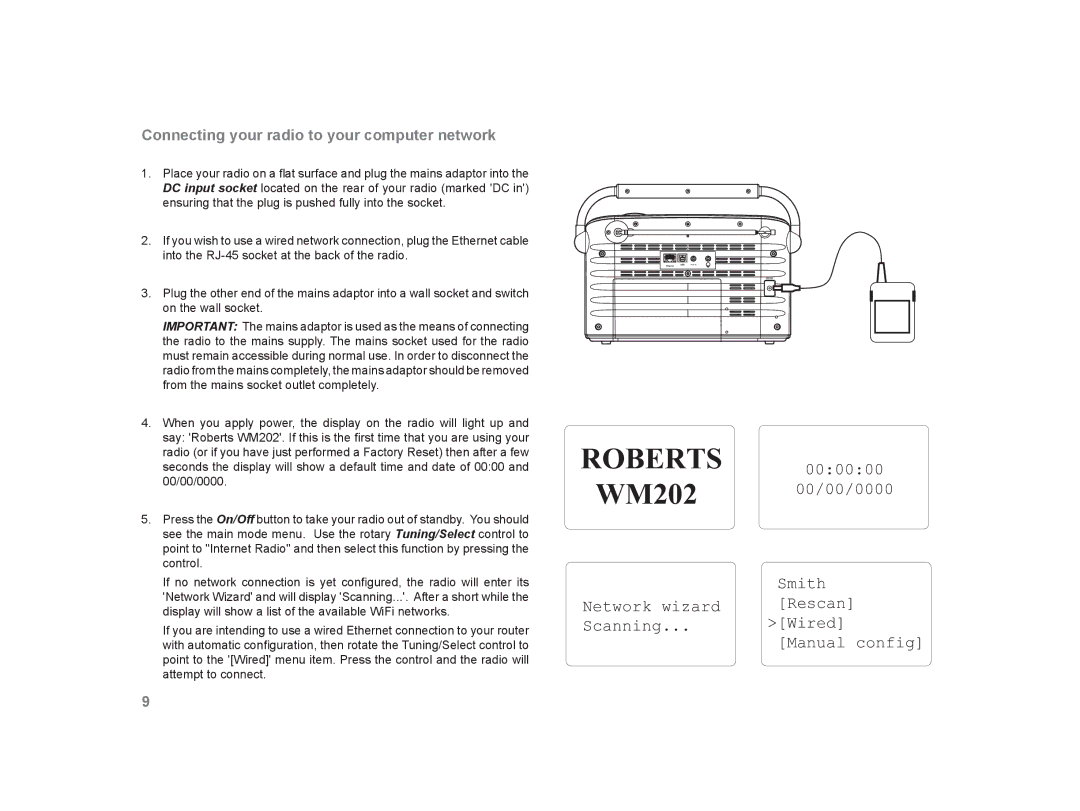
2.If you wish to use a wired network connection, plug the Ethernet cable into the
3.Plug the other end of the mains adaptor into a wall socket and switch on the wall socket.
IMPORTANT: The mains adaptor is used as the means of connecting the radio to the mains supply. The mains socket used for the radio must remain accessible during normal use. In order to disconnect the radio from the mains completely, the mains adaptor should be removed from the mains socket outlet completely.
4.When you apply power, the display on the radio will light up and say: 'Roberts WM202'. If this is the first time that you are using your radio (or if you have just performed a Factory Reset) then after a few seconds the display will show a default time and date of 00:00 and 00/00/0000.
5.Press the On/Off button to take your radio out of standby. You should see the main mode menu. Use the rotary Tuning/Select control to point to "Internet Radio" and then select this function by pressing the control.
If no network connection is yet configured, the radio will enter its 'Network Wizard' and will display 'Scanning...'. After a short while the display will show a list of the available WiFi networks.
If you are intending to use a wired Ethernet connection to your router with automatic configuration, then rotate the Tuning/Select control to point to the '[Wired]' menu item. Press the control and the radio will attempt to connect.
Aux In![]()
![]()
ROBERTS 00:00:00
WM202 00/00/0000
| Smith |
Network wizard | [Rescan] |
Scanning... | >[Wired] |
| [Manual config] |
9