Recording Audio
Procedure
1
2
Make the correct connections, then turn on the power switch.
| "Important Notes on |
| Making Connections and |
Insert a formatted card into one of the slots. | Switching the Power On |
| and Off" (P.9) |
Press the [ ![]() ] or [
] or [ ![]() ] button to select the number of the phrase to be recorded.
] button to select the number of the phrase to be recorded.
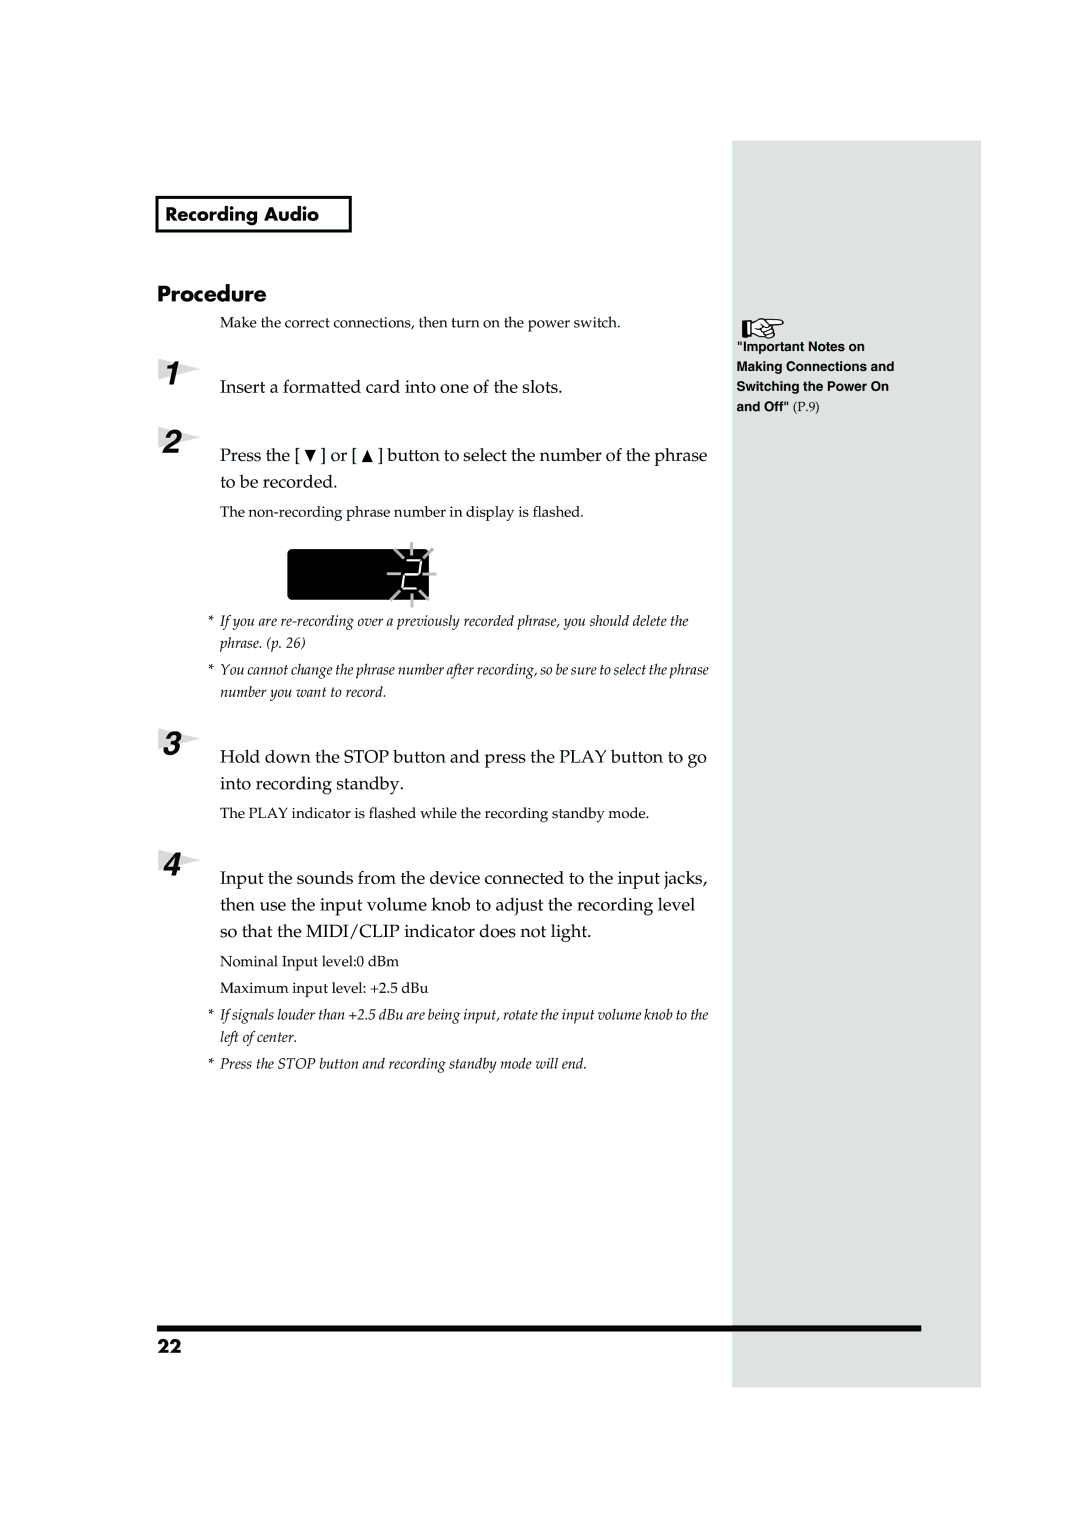
The
fig.rec-05
*If you are
*You cannot change the phrase number after recording, so be sure to select the phrase number you want to record.
3 | Hold down the STOP button and press the PLAY button to go |
| |
| into recording standby. |
The PLAY indicator is flashed while the recording standby mode.
4 | Input the sounds from the device connected to the input jacks, |
| |
| then use the input volume knob to adjust the recording level |
| so that the MIDI/CLIP indicator does not light. |
Nominal Input level:0 dBm
Maximum input level: +2.5 dBu
*If signals louder than +2.5 dBu are being input, rotate the input volume knob to the left of center.
*Press the STOP button and recording standby mode will end.
22
