More about ALL mode
In addition to what you learned on p. 20, here are a few considerations:
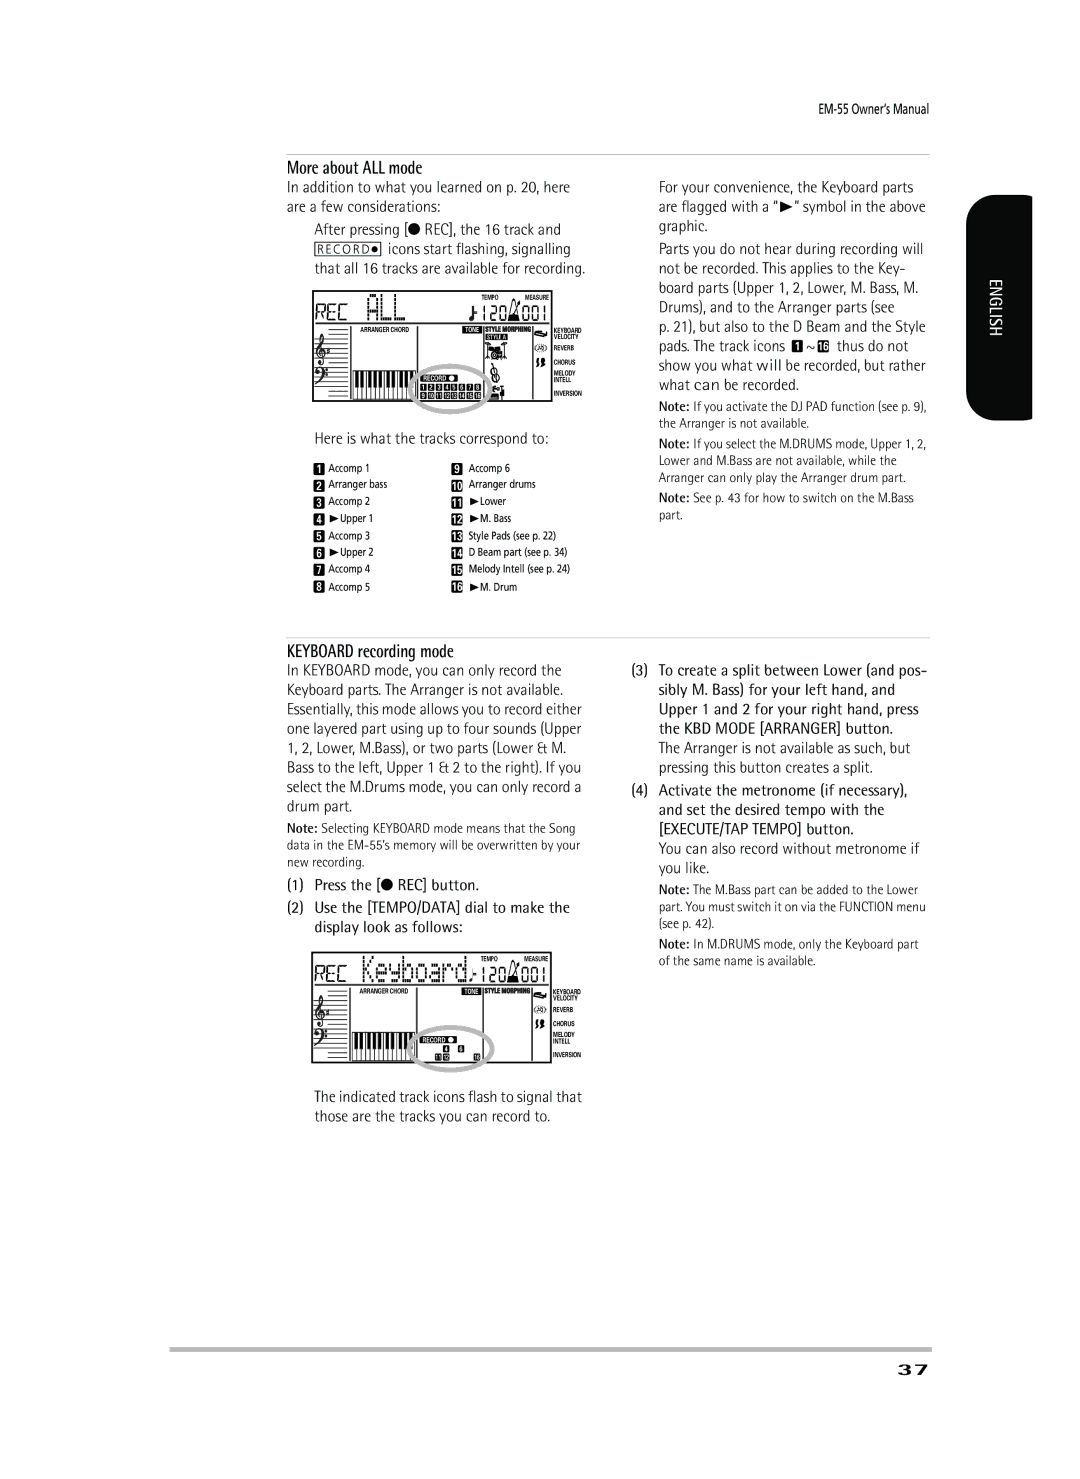
After pressing [● REC], the 16 track and [RECORD∏] icons start flashing, signalling that all 16 tracks are available for recording.
ALL |
|
|
|
|
|
| 120 | 001 | |
|
|
|
|
|
|
| TEMPO | MEASURE | |
ARRANGER CHORD |
|
|
|
|
| TONE | KEYBOARD | ||
|
|
|
|
|
|
|
| VELOCITY | |
|
|
|
|
|
|
|
| REVERB | |
|
|
|
|
|
|
|
| CHORUS | |
RECORD |
|
|
|
| MELODY | ||||
|
|
|
| INTELL | |||||
1 | 2 | 3 | 4 | 5 | 6 | 7 | 8 | INVERSION | |
9 | 10 11 12 13 14 15 16 | ||||||||
| |||||||||
Here is what the tracks correspond to:
For your convenience, the Keyboard parts are flagged with a “®” symbol in the above graphic.
Parts you do not hear during recording will not be recorded. This applies to the Key- board parts (Upper 1, 2, Lower, M. Bass, M. Drums), and to the Arranger parts (see
p. 21), but also to the D Beam and the Style pads. The track icons 1 ~ 16 thus do not show you what will be recorded, but rather what can be recorded.
Note: If you activate the DJ PAD function (see p. 9), the Arranger is not available.
Note: If you select the M.DRUMS mode, Upper 1, 2, Lower and M.Bass are not available, while the
ENGLISH
1Accomp 1
2Arranger bass
3Accomp 2
4®Upper 1
5Accomp 3
6®Upper 2
7Accomp 4
8Accomp 5
9Accomp 6
10Arranger drums
11®Lower
12®M. Bass
13Style Pads (see p. 22)
14D Beam part (see p. 34)
15Melody Intell (see p. 24)
16®M. Drum
Arranger can only play the Arranger drum part.
Note: See p. 43 for how to switch on the M.Bass part.
KEYBOARD recording mode
In KEYBOARD mode, you can only record the Keyboard parts. The Arranger is not available. Essentially, this mode allows you to record either one layered part using up to four sounds (Upper 1, 2, Lower, M.Bass), or two parts (Lower & M. Bass to the left, Upper 1 & 2 to the right). If you select the M.Drums mode, you can only record a drum part.
Note: Selecting KEYBOARD mode means that the Song data in the
(1)Press the [● REC] button.
(2)Use the [TEMPO/DATA] dial to make the display look as follows:
Keyboard![]()
![]() TEMPO
TEMPO ![]() MEASURE
MEASURE
120 001
ARRANGER CHORD | TONE | KEYBOARD | |
|
| VELOCITY | |
|
| REVERB | |
|
| CHORUS | |
RECORD |
| MELODY | |
| INTELL | ||
4 | 6 | INVERSION | |
11 12 | 16 | ||
|
The indicated track icons flash to signal that those are the tracks you can record to.
(3)To create a split between Lower (and pos- sibly M. Bass) for your left hand, and Upper 1 and 2 for your right hand, press the KBD MODE [ARRANGER] button.
The Arranger is not available as such, but pressing this button creates a split.
(4)Activate the metronome (if necessary), and set the desired tempo with the [EXECUTE/TAP TEMPO] button.
You can also record without metronome if you like.
Note: The M.Bass part can be added to the Lower part. You must switch it on via the FUNCTION menu (see p. 42).
Note: In M.DRUMS mode, only the Keyboard part of the same name is available.
37