First steps
 3. First steps
Setting up
The first thing you need to do is connect the supplied ACJ adapter to a suitable wall outlet.
(1)Unpack the
(2)Connect the small end of the adapter cable to the
(3) Press the [POWER ON] button to switch on the
Demo songs
Your EM-55 comes with 16 Tone demos and 8 Style demos.
•Tone demos show off the
•Style demos give you an impression of the quality of the
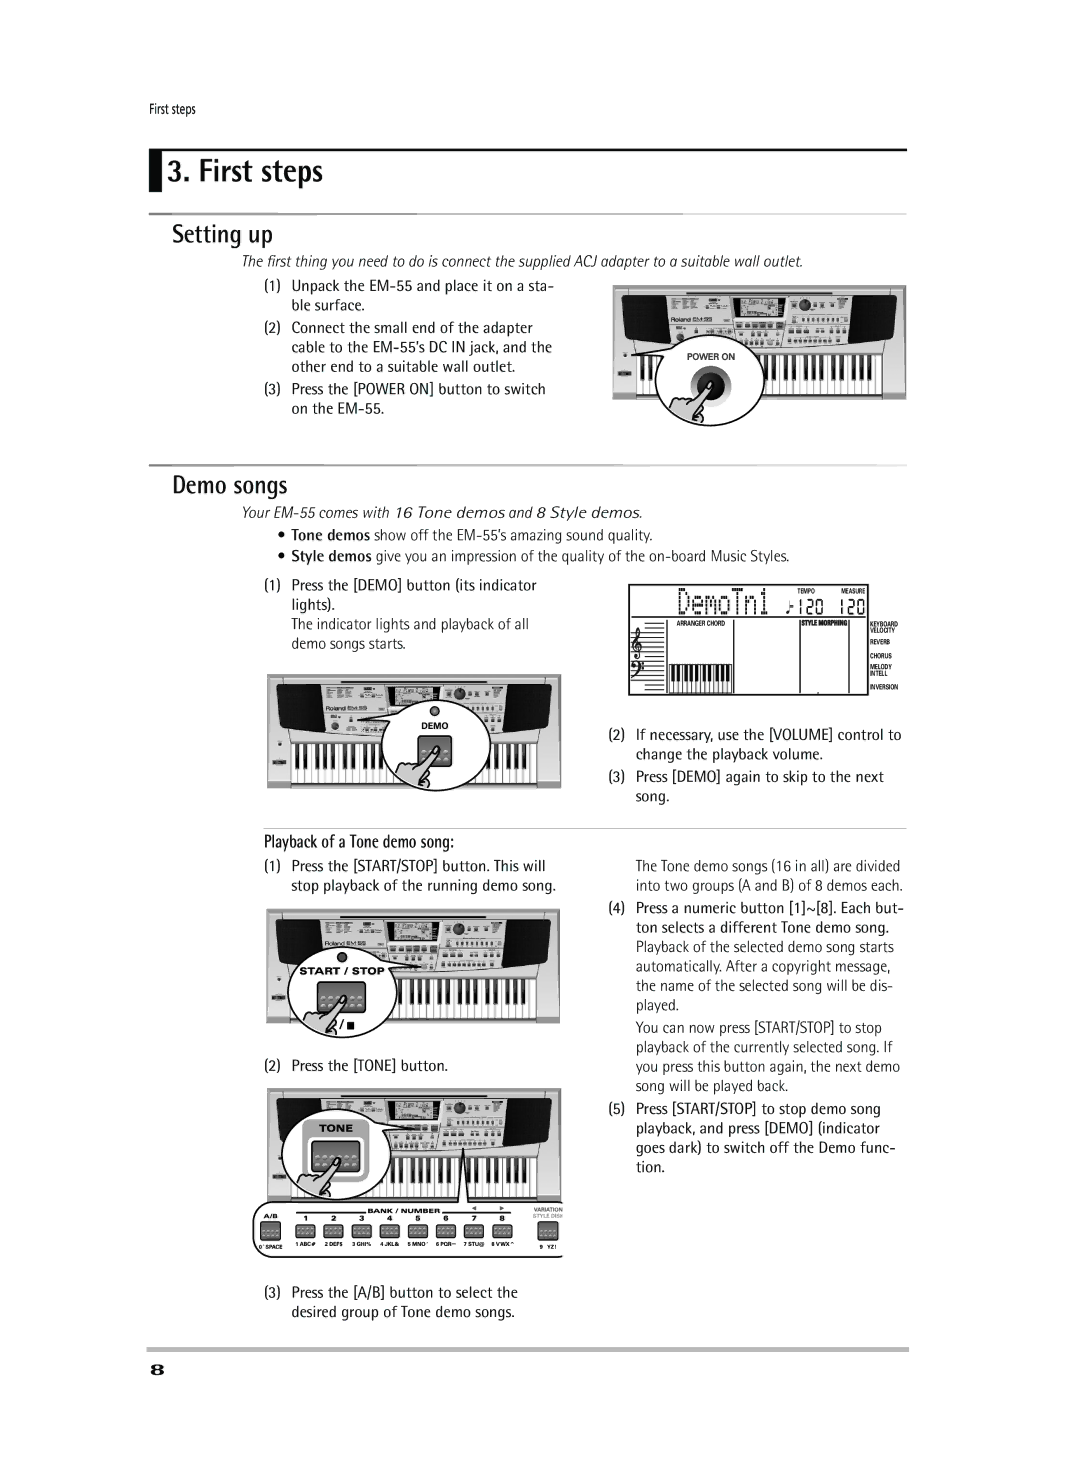
(1)Press the [DEMO] button (its indicator lights).
The indicator lights and playback of all demo songs starts.
DemoTn1 ![]()
![]() TEMPO MEASURE
TEMPO MEASURE
120 120
ARRANGER CHORD | TONE | KEYBOARD |
|
| VELOCITY |
|
| REVERB |
|
| CHORUS |
|
| MELODY |
|
| INTELL |
|
| INVERSION |
(2)If necessary, use the [VOLUME] control to change the playback volume.
(3)Press [DEMO] again to skip to the next song.
Playback of a Tone demo song:
(1)Press the [START/STOP] button. This will stop playback of the running demo song.
(2) Press the [TONE] button.
The Tone demo songs (16 in all) are divided into two groups (A and B) of 8 demos each.
(4)Press a numeric button [1]~[8]. Each but- ton selects a different Tone demo song. Playback of the selected demo song starts automatically. After a copyright message, the name of the selected song will be dis- played.
You can now press [START/STOP] to stop playback of the currently selected song. If you press this button again, the next demo song will be played back.
(5)Press [START/STOP] to stop demo song playback, and press [DEMO] (indicator goes dark) to switch off the Demo func- tion.
(3)Press the [A/B] button to select the desired group of Tone demo songs.
8