The [VARIATION] button also doubles as [STYLE DISK] button (after pressing the [STYLE] button). See p. 26. The numeric keypad also allows you to enter file names.
fPHONES sockets
This is where you can connect two pairs of optional headphones (Roland
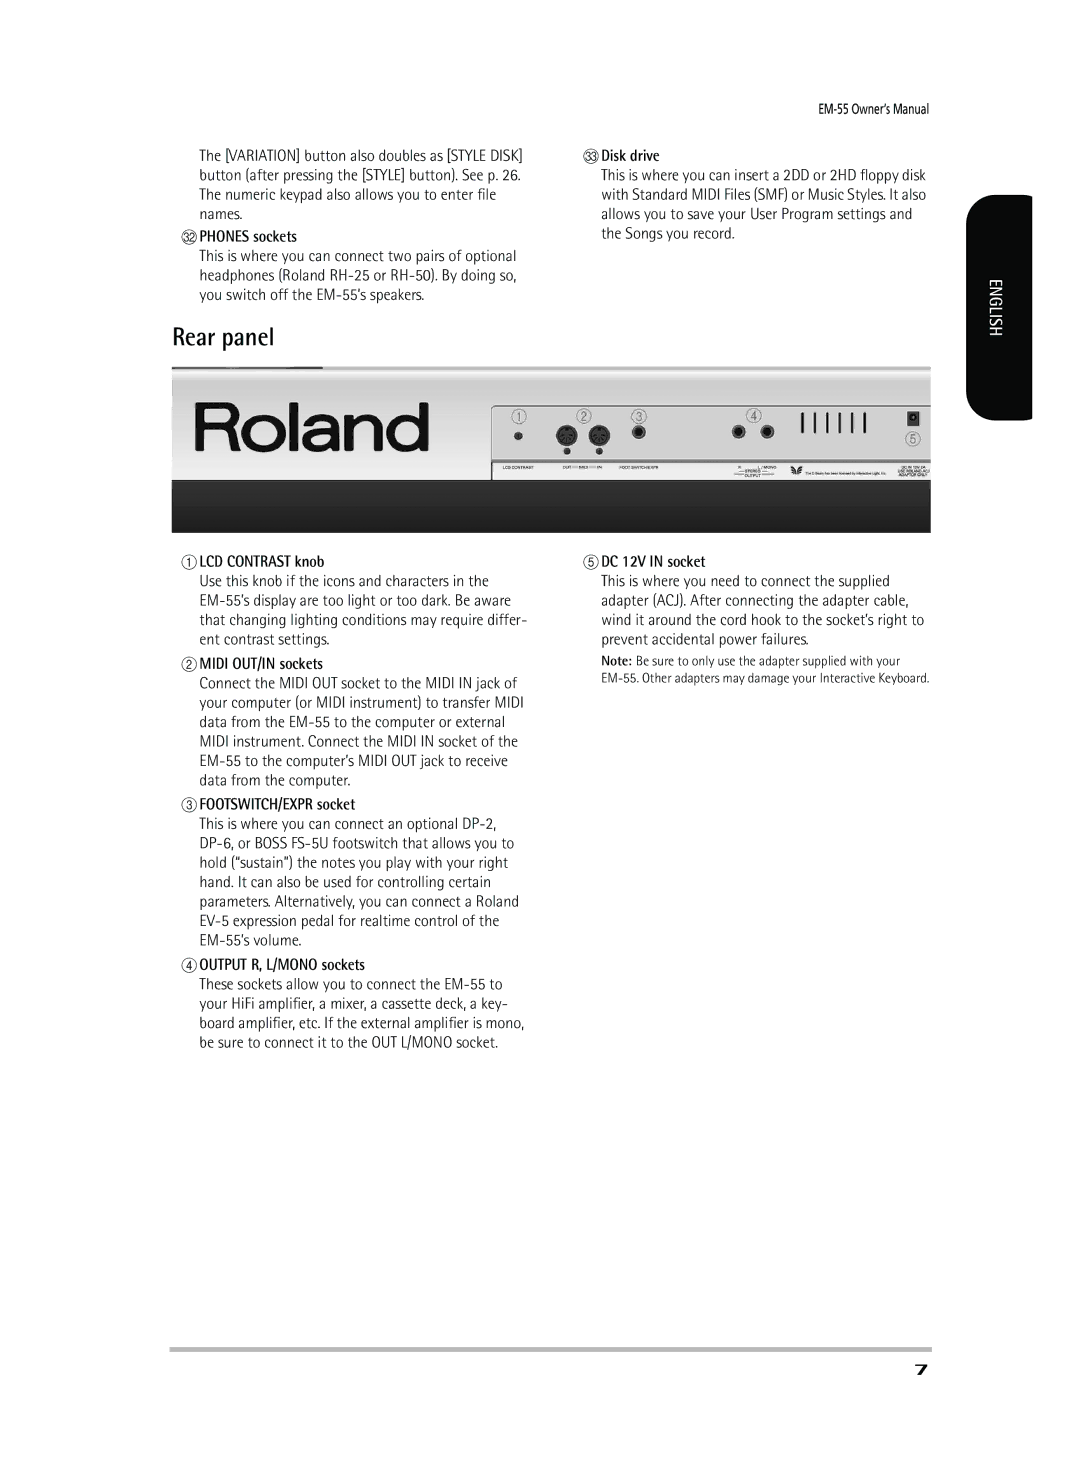
Rear panel
ALCD CONTRAST knob
Use this knob if the icons and characters in the
BMIDI OUT/IN sockets
Connect the MIDI OUT socket to the MIDI IN jack of your computer (or MIDI instrument) to transfer MIDI data from the
CFOOTSWITCH/EXPR socket
This is where you can connect an optional
DOUTPUT R, L/MONO sockets
These sockets allow you to connect the
gDisk drive
This is where you can insert a 2DD or 2HD floppy disk with Standard MIDI Files (SMF) or Music Styles. It also allows you to save your User Program settings and the Songs you record.
EDC 12V IN socket
This is where you need to connect the supplied adapter (ACJ). After connecting the adapter cable, wind it around the cord hook to the socket’s right to prevent accidental power failures.
Note: Be sure to only use the adapter supplied with your
ENGLISH
7
