Disk functions
Disk Copy (copying an entire disk)
This function allows you to make backup copies of important disks.
WARNING: The Disk Copy function uses the RAM memory and erases the Recorder song and its Style Disk memory. Before using Disk Copy, save your song to disk if you haven’t already done so (see p. 52). Disk Copy copies all files of the Source disk (see below) to the Destinat disk.
(1)Press [DISK] to select the Disk mode.
(2)Use the [TEMPO/DATA] dial to select “DIS- KCOPY”.
(3)In response to the “DISKCOPY” message, press the [EXECUTE] button.
The
Improper use of copy infringes Copyright!! For personal
Copying Songs from commercially available Standard MIDI File disks is OK as long as you keep the copy (as safeguard against possible disk errors). Under no circum- stances, however, may you give copies of
Also, the display tells you that the Disk Copy function needs the available RAM memory
–i.e. the memory set aside for the Recorder song and for the Style Disk function. Be aware that really activating the Disk Copy function (which you haven’t done so far), erases the song in the internal memory. Save it to disk before proceeding.
This message is followed by “Sure?” (do you want to proceed?).
Note: You can abort the process at any time by pressing the [DISK] button.
(4)If you are sure you wish to make a backup copy of a disk, press [EXECUTE] (otherwise, press [DISK]).
The display now asks you to insert the origi- nal (or “Source”) disk into the drive.
Note: Before doing so, you must
(5)Insert the original (Source) disk into the drive.
The display now informs you that the
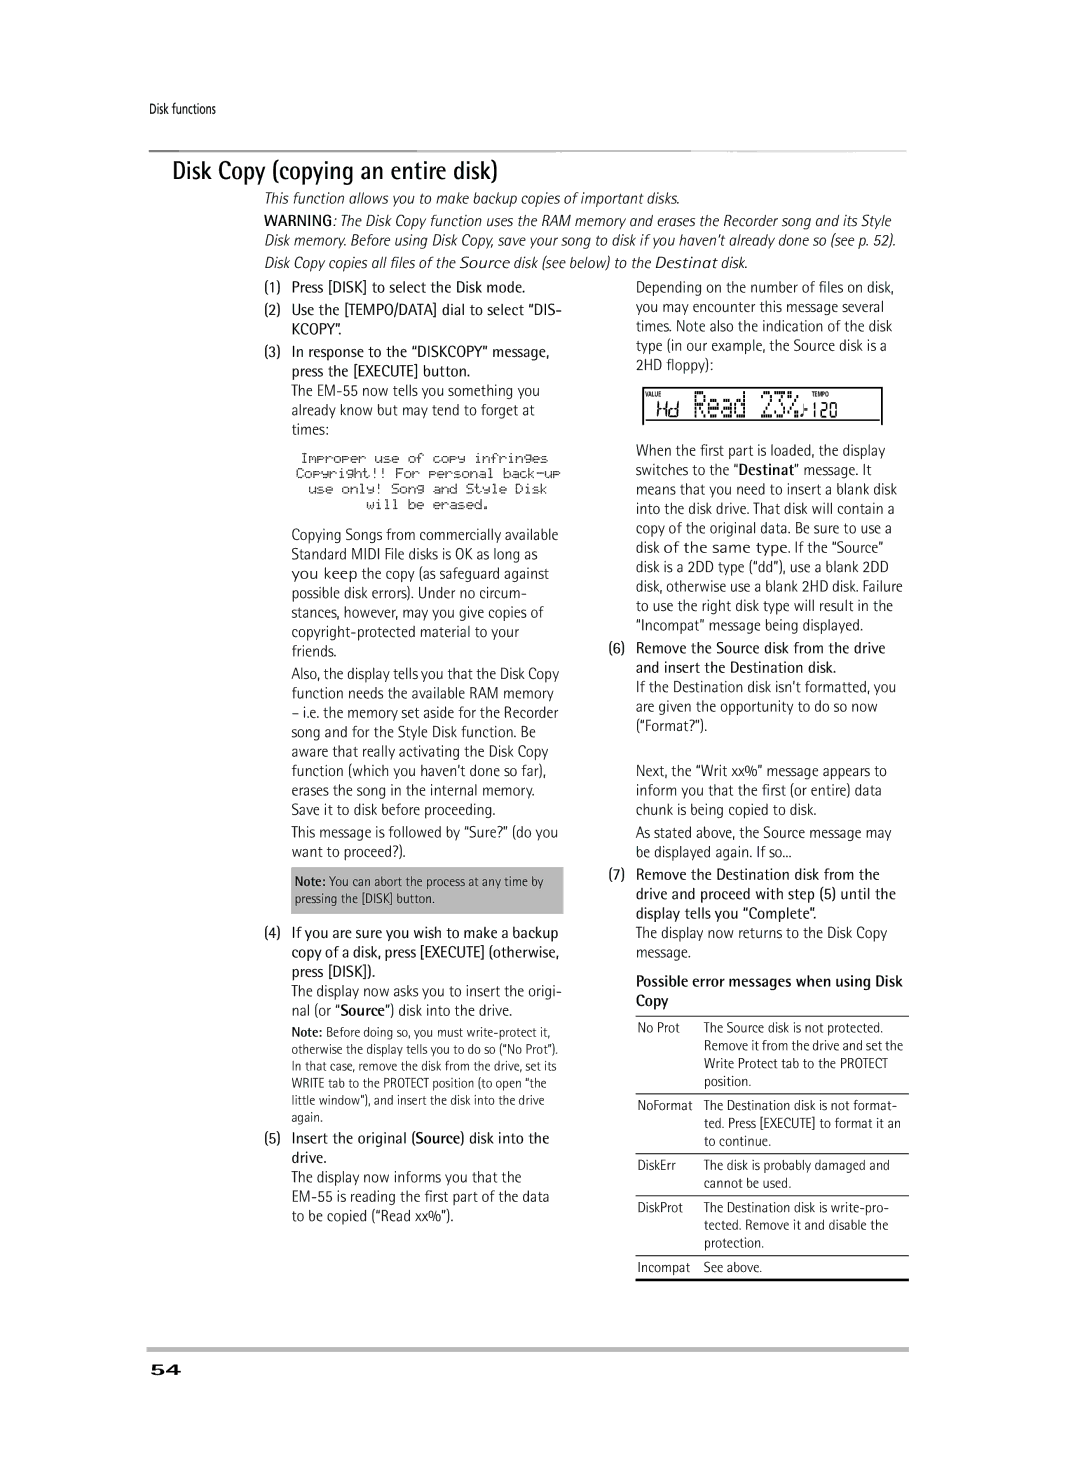
Depending on the number of files on disk, you may encounter this message several times. Note also the indication of the disk type (in our example, the Source disk is a 2HD floppy):
|
|
|
|
VALUE | Read 23% | 120 | |
| TEMPO | ||
|
|
|
|
When the first part is loaded, the display switches to the “Destinat” message. It means that you need to insert a blank disk into the disk drive. That disk will contain a copy of the original data. Be sure to use a disk of the same type. If the “Source” disk is a 2DD type (“dd”), use a blank 2DD disk, otherwise use a blank 2HD disk. Failure to use the right disk type will result in the “Incompat” message being displayed.
(6)Remove the Source disk from the drive and insert the Destination disk.
If the Destination disk isn’t formatted, you are given the opportunity to do so now (“Format?”).
Next, the “Writ xx%” message appears to inform you that the first (or entire) data chunk is being copied to disk.
As stated above, the Source message may be displayed again. If so...
(7)Remove the Destination disk from the drive and proceed with step (5) until the display tells you “Complete”.
The display now returns to the Disk Copy message.
Possible error messages when using Disk Copy
No Prot | The Source disk is not protected. |
| Remove it from the drive and set the |
| Write Protect tab to the PROTECT |
| position. |
|
|
NoFormat | The Destination disk is not format- |
| ted. Press [EXECUTE] to format it an |
| to continue. |
|
|
DiskErr | The disk is probably damaged and |
| cannot be used. |
|
|
DiskProt | The Destination disk is |
| tected. Remove it and disable the |
| protection. |
|
|
Incompat | See above. |
|
|
54
