Part 2 Performing Marking
3. Performing Marking
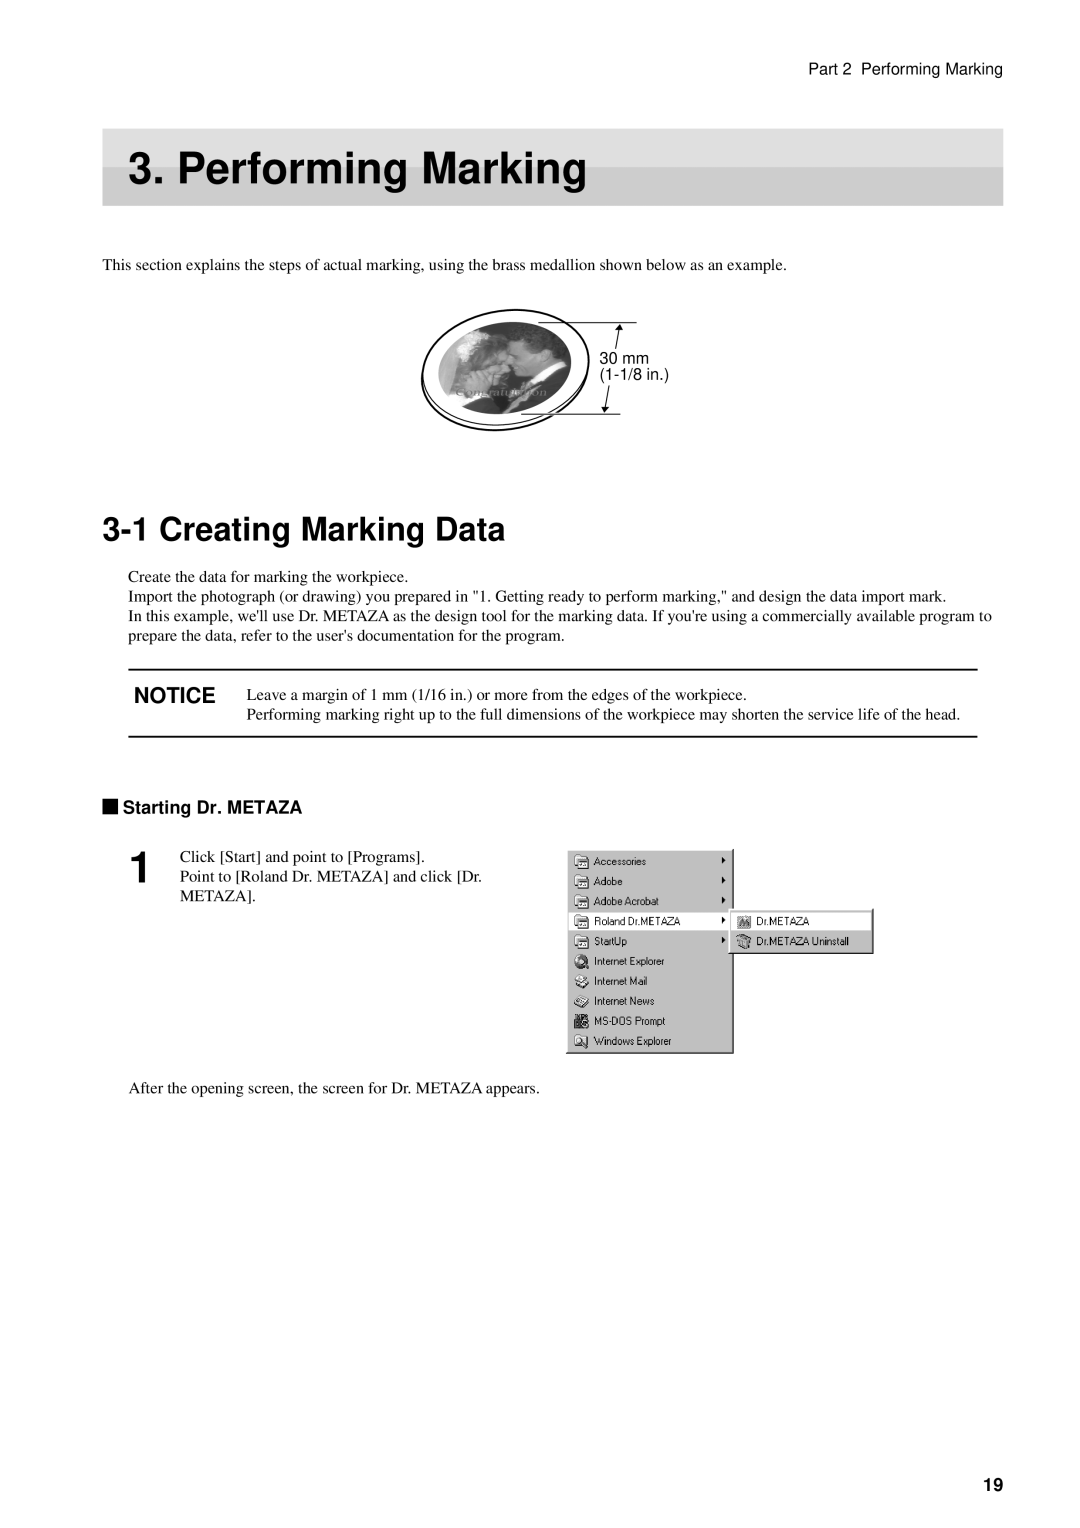
This section explains the steps of actual marking, using the brass medallion shown below as an example.
30 mm
Congratulation
3-1 Creating Marking Data
Create the data for marking the workpiece.
Import the photograph (or drawing) you prepared in "1. Getting ready to perform marking," and design the data import mark.
In this example, we'll use Dr. METAZA as the design tool for the marking data. If you're using a commercially available program to prepare the data, refer to the user's documentation for the program.
NOTICE | Leave a margin of 1 mm (1/16 in.) or more from the edges of the workpiece. |
| Performing marking right up to the full dimensions of the workpiece may shorten the service life of the head. |
|
|
 Starting Dr. METAZA
Click [Start] and point to [Programs].
1 Point to [Roland Dr. METAZA] and click [Dr. METAZA].
After the opening screen, the screen for Dr. METAZA appears.
19