4. Operation
1.Turn on your source components.
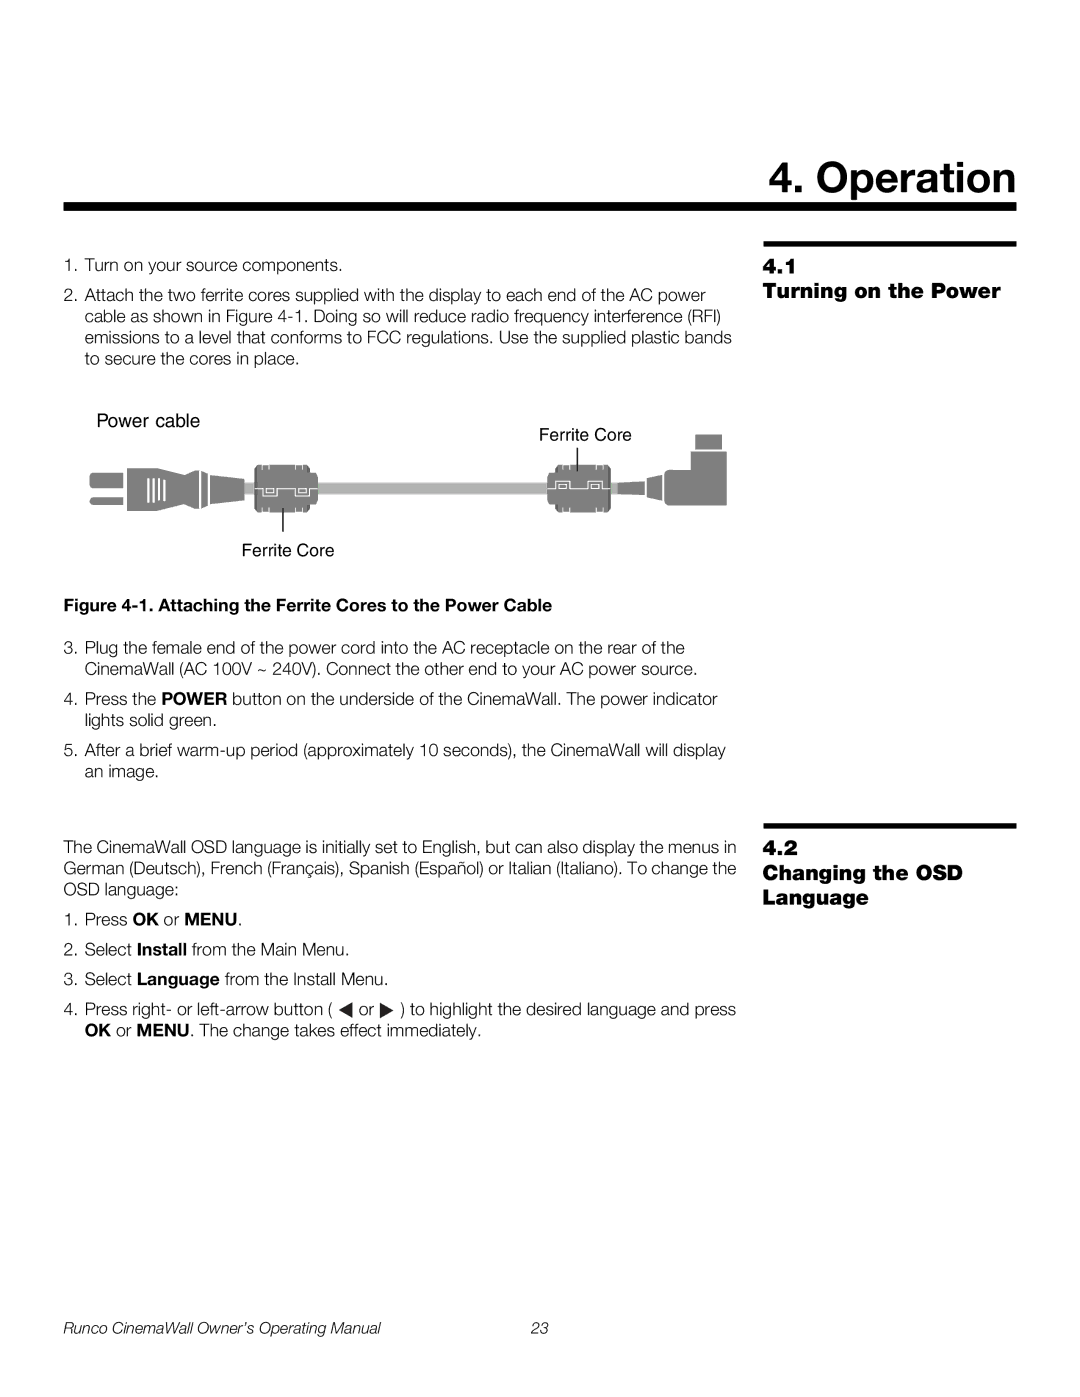
2.Attach the two ferrite cores supplied with the display to each end of the AC power cable as shown in Figure
4.1
Turning on the Power
Power cable
Ferrite Core
Ferrite Core
Figure 4-1. Attaching the Ferrite Cores to the Power Cable
3.Plug the female end of the power cord into the AC receptacle on the rear of the CinemaWall (AC 100V ~ 240V). Connect the other end to your AC power source.
4.Press the POWER button on the underside of the CinemaWall. The power indicator lights solid green.
5.After a brief
The CinemaWall OSD language is initially set to English, but can also display the menus in German (Deutsch), French (Français), Spanish (Español) or Italian (Italiano). To change the OSD language:
1.Press OK or MENU.
2.Select Install from the Main Menu.
3.Select Language from the Install Menu.
4.Press right- or ![]() or
or ![]() ) to highlight the desired language and press OK or MENU. The change takes effect immediately.
) to highlight the desired language and press OK or MENU. The change takes effect immediately.
4.2
Changing the OSD Language
Runco CinemaWall Owner’s Operating Manual | 23 |